8 channel solos, Auto solo, Channel solos – DiGiCo SD Series User Manual
Page 14: Edit name, New group, Solo 1, Solo 2, Update, 8 channel solos -7, Chapter 1 - channel types
Chapter 1 - Channel Types
1-7
To recall a preset, touch the name of the group containing the preset you wish to recall, and then touch the preset’s name. The
recall scope buttons at the bottom of the some preset displays allow you to select which elements are recalled and which
elements remain unchanged. The buttons are included in the recall when they are lit.
To save the current settings as a new preset, touch the group in which you want the preset to be stored and press the new
button. The new preset is automatically named according to the preset type. To alter the preset’s name, type the new name using
the keyboard display that appears (or the external keyboard) then, if relevant, touch and edit the number of channels’ settings that
you want to store in the preset (the default is one channel). Now touch OK.
Note that pressing CAN in the keyboard display will cancel the display but create the new preset with its
default name.
To save the settings as an update of a previous preset, press update, touch the preset you wish to overwrite, and press Yes in
the confirmation display which appears.
Note that when updating a previous preset, failing to press update will result in the preset you wish to
overwrite being recalled, and the settings to be saved being lost.
To create a new group of presets, press new group. A new group will be created, called group n, where n is the next
available preset group number. To alter the group’s name, type the new name using the keyboard display that appears (or the
external keyboard) and touch OK.
Note that pressing CAN in the keyboard display will cancel the display but create the new group with its
default name.
The edit name button allows preset names and group names to be edited, and the preset to be locked, preventing them from
being edited, overwritten, or deleted. The button lightens to indicate that it is active. To edit a preset’s name, make sure the preset
is unlocked (see below), activate the edit name button and touch the preset’s name. Type the new name in the keyboard display
and press OK. To edit a preset group name, activate the edit name button and touch the group name. Type the new name in the
keyboard display and press OK.
To lock the preset, activate the edit name button and touch the preset’s lock column. A grey padlock appears, indicating that the
preset is now locked. Touching the lock again with edit name active unlocks the preset.
To delete a preset, press delete, touch the preset to be deleted, and press confirm. To delete a consecutive range of presets,
press delete followed by select range, touch the first and last preset to be deleted and press confirm. To delete one preset,
or a nonconsecutive range, touch each preset to be deleted and press confirm. To delete an entire group of presets, press
delete followed by select all, then press confirm.
1.2.8 Channel Solos .......................................................................
SD consoles have two solo busses, and each channel can be assigned to solo 1, solo 2 or both solo 1 and 2. If the console
was being used for Stage monitors, this would allow, for example, the first solo buss to feed In-Ear monitors and the second solo
buss to feed a wedge.
Note: The solo busses are configured in the master solo displays, accessed by pressing the Solos button at
the top of the Master Screen.
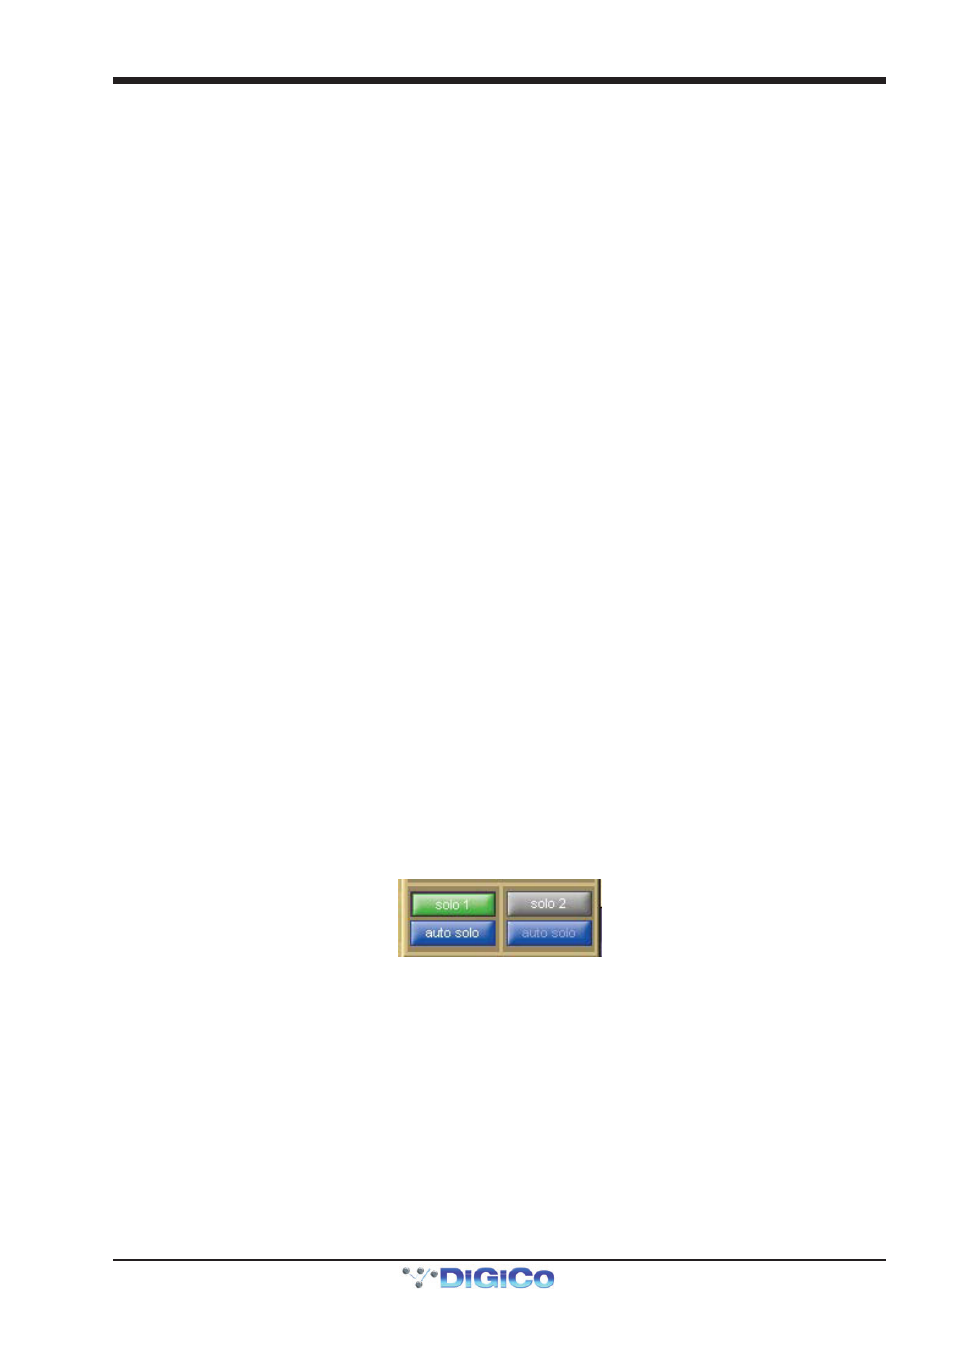
The channel’s solo routing is assigned in the section at the bottom section of the channel Setup display. Pressing the green solo 1
and solo 2 buttons enables the channel to be routed to solo busses 1 and 2 respectively. The buttons are green to indicate that
the solo buss is available, and grey to indicate that it isn’t.
Note that each channel must be enabled for at least one solo buss.
When the blue auto solo buttons are active (indicated by white, rather than grey, text), that channel is automatically routed to
that solo buss whenever another channel is soloed to that buss.
Note that a list of channels with auto solo enabled is displayed in the auto solo section of the master solo
display. The auto solo function has to be activated by pressing the blue enabled button below the auto solo
list in the master solo display. Auto solo is disabled when in single solo mode.
Tip: If you are using effects returns, selecting auto solo can allow soloed tracks to be auditioned with their
effects returns.