HP Hitachi Dynamic Link Manager Software User Manual
Page 172
3. Creating an HDLM Environment
150
2.
Enter the desired number in New Number (KB).
You can specify a value from 1 to 16. The default is 4. The value set here becomes
the maximum of n in
/var/opt/hitachi/HNTRLib2/spool/hntr2
n
.log
.
The recommended value for integrated trace collection is 8.
If you do not want to change the number of integrated trace files, leave New
Number (KB) blank, type
!
, and then press the Enter key to return to the Hitachi
Network Objectplaza Trace Library setup menu.
3.
Press the Enter key.
The new setting is applied and the Hitachi Network Objectplaza Trace Library
setup menu appears again.
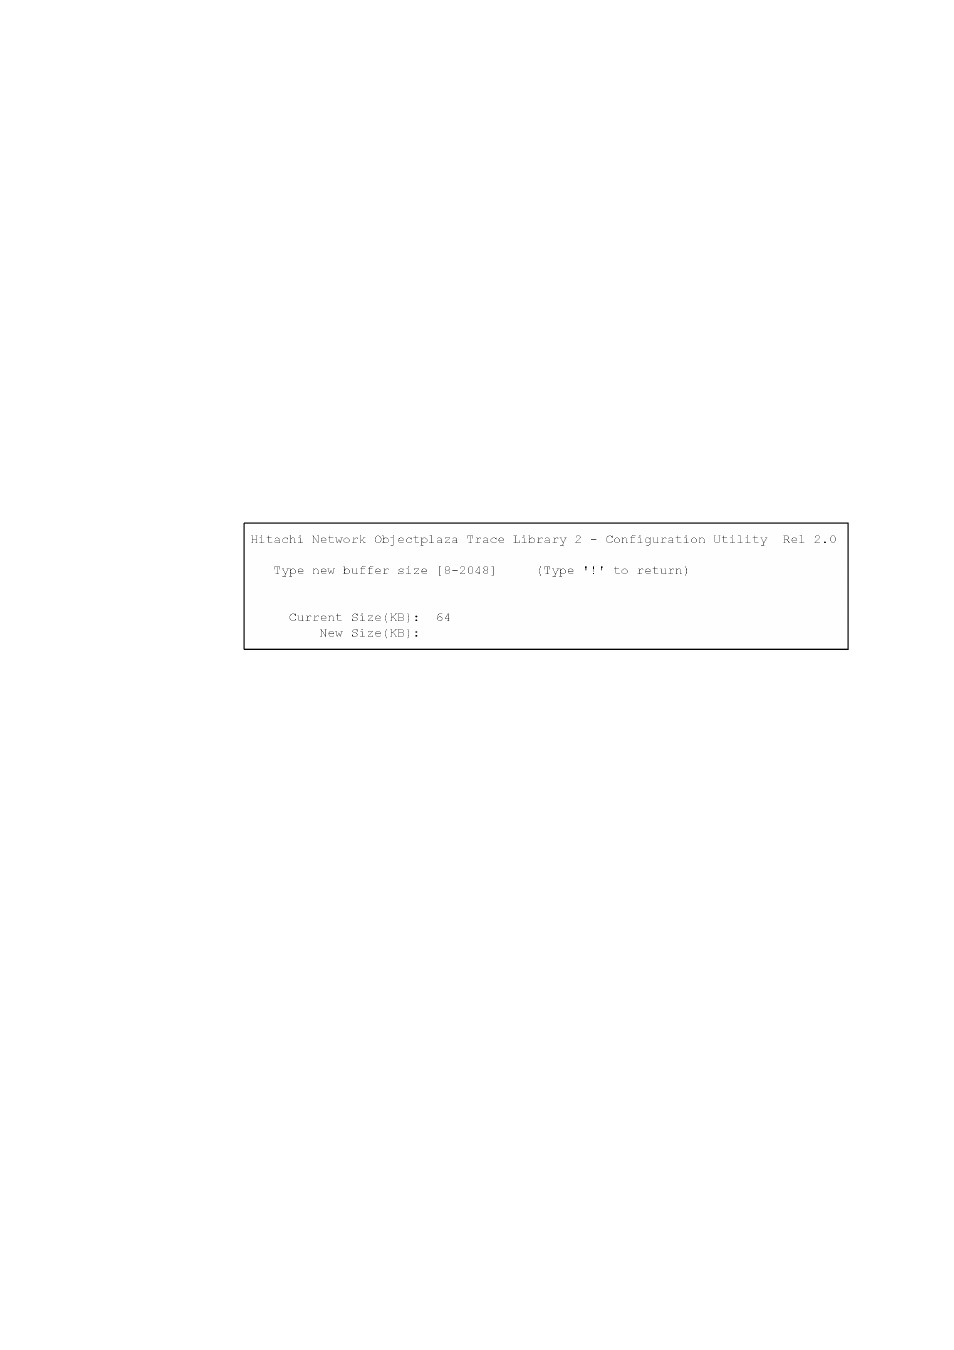
3.8.5 Changing the Buffer Size Per Monitoring Interval Duration
The following procedure shows how to change the buffer size per monitoring interval.
To change the buffer size per monitoring interval:
1.
In the Hitachi Network Objectplaza Trace Library setup menu, type
4
and then
press the Enter key.
A screen to set the buffer size will appear. The current value is displayed in
Current Size (KB).
2.
Enter the desired size in New Size (KB).
Set a new buffer size to fit the monitoring interval set in 5: Interval Timer. The
specifiable range is between 8 KB and 2048 KB, with a default of 64. Set this to
a value smaller than that set in step 2 of 3.8.3 Changing the Size of Integrated
Trace Files. We recommend setting a value of 256 when collecting an integrated
trace.
To leave the buffer size as is, leave New Size (KB) blank, type
!
and press the
Enter key. You will be returned to the Hitachi Network Objectplaza Trace Library
setup menu.
3.
Press the Enter key.
The new setting is applied and the Hitachi Network Objectplaza Trace Library
setup menu appears again.