4 configuring the channel settings, 1 editing the channel label, Configuring the channel settings – Clear-Com HLI-FBS User Manual
Page 53
4.4
Configuring the channel settings
4.4.1
Editing the channel label
The maximum length for a channel label is 10 characters. See 8.1.6 Resource Sharing
between Linked Stations for an explanation of how identical labels are treated when Main
Stations are linked. To edit the channel label:
1)
In Menu mode, select Channels and then the name of the channel you want to edit.
2)
From the third menu, select Label.
3)
Select Clear and press the rotary control to clear the channel label.
4)
In the fourth menu, the following prompt is displayed above the channel label:
[Press to edit]
Press the rotary control.
5)
The first letter of the channel label is shown as selected. The following prompt is
displayed above the channel label:
[Scroll / Press to Select]
Scroll to the character you want to edit by turning the rotary control. To begin
editing, press the rotary control.
6)
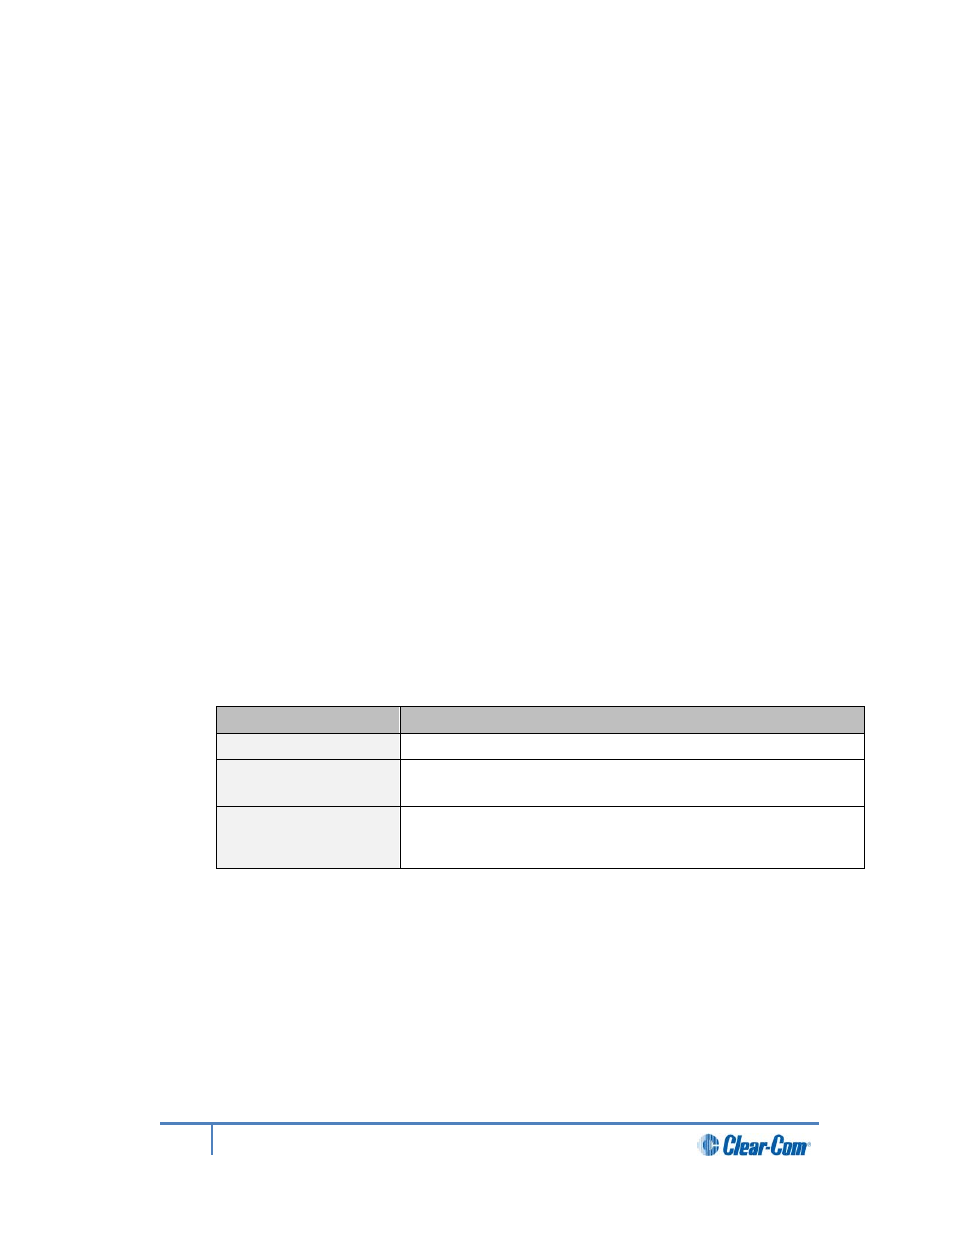
The character you have selected for editing is shown in a box with a dotted border.
To display alternative characters in the box, turn the rotary control. The range of
available characters comprises the following:
Characters
Description / range
Numbers (numeric)
0 to 9
Letters
Capital letters = A to Z
Small letters = a to z
Symbols
# & * ( ) - _ = + / ! @ :
Note:
You can also select a space.
Table 4-3: Channel label characters
To select a character, press the rotary control.
7)
When you have selected a replacement character, scroll to the next character you
want to edit. When you have finished editing the channel label, scroll to Save
(displayed beneath the channel label).
To save the channel label, press the rotary control.
53
HelixNet Partyline User Guide