Pump service & repair, Pump dis-assembly caution, Pump dis-assembly – Alamo HYDRO 15 User Manual
Page 27
Section 2 - 11
HYDRO 15 (Service Manual) 09/06
© 2006
Alamo Industrial
PUMP SERVICE & REPAIR
Pump Dis-Assembly CAUTION! :
Important information - read before dis-assembly:
1.
If prying off sections becomes necessary, take extreme
care not to mar or damage machined surfaces. Excessive
force while prying can result in misalignment and seriously
damage parts.
2.
If parts are difficult to come apart during dis-assembly,
tap gently with a soft hammer (never use an iron hammer).
3.
Gears are closely matched, therefore they must be kept
together as sets when removed from the pump. Handle
gears with care to avoid damage to journals or teeth. Avoid
touching gear journals.
4.
Never hammer bushing into bores: always use an arbor
press.
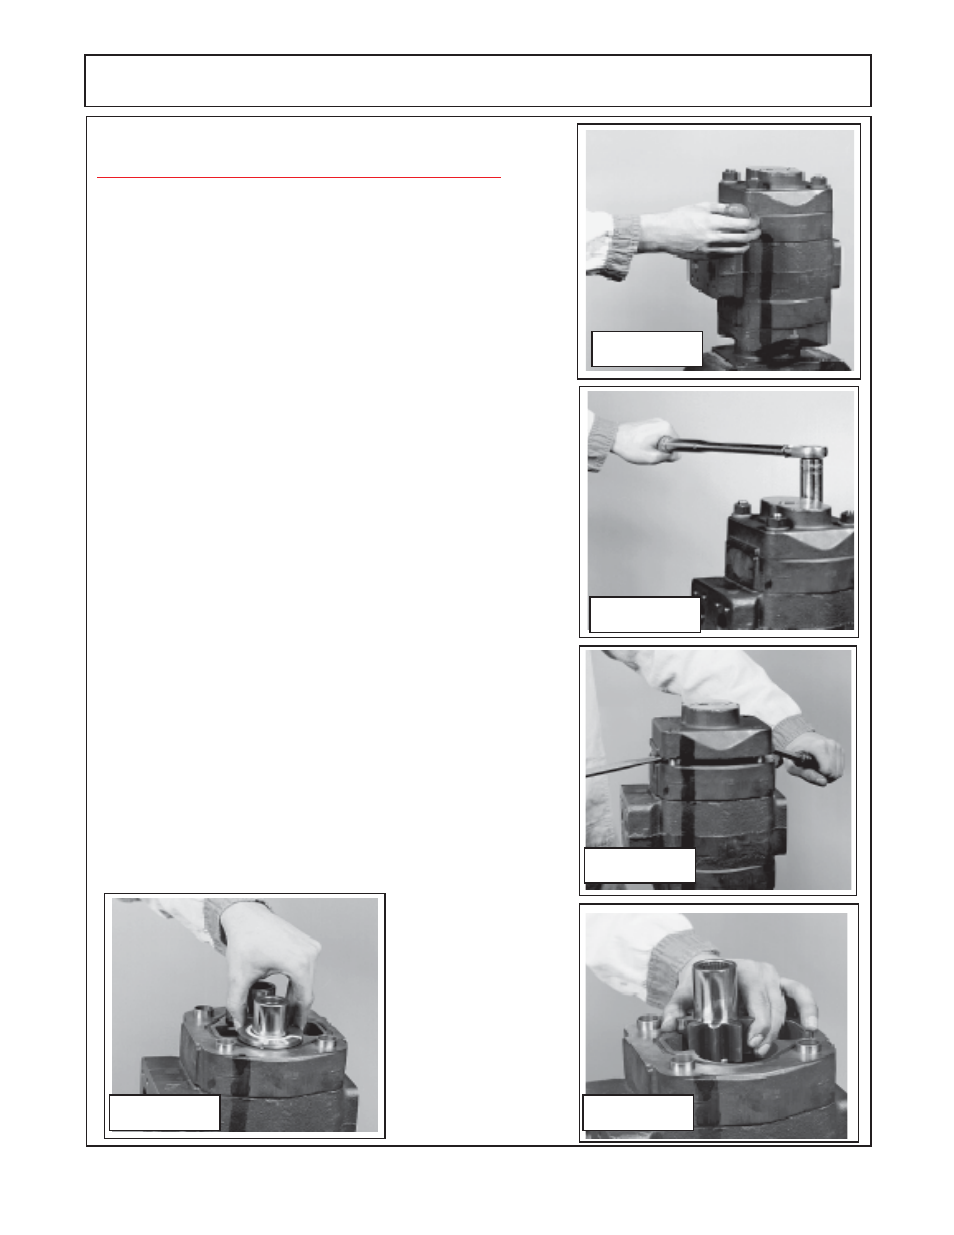
Pump Dis-Assembly:
1.
Place the pump in a vise with the drive shaft pointing down.
Caution
DO NOT
grip on or near any machined surfaces of pump
during assembly or dis-assembly. Mark all sections of the pump
(figure 10A)
, these marks must be done in a manner that will not
wash off and these marks are to identify the orientation of the
component of the pump later for re-assembly. It is recommended
that marks be done with metal stamps that will mark components
for correct assembly order for & during re-assembly. This is
very
important
as if any of the sections of pump are installed in the
wrong direction it could damage pump when re-assembled or when
pump is engaged during operation
(figure 11).
2.
Use a socket Wrench or Boxed end wrenches
(Air impact
wrenches are not recommended for dis-assembly).
Remove the
four hex bolts and washers
(figure 10 item 19 & 20)
, This will allow
for the removal of the outward half of the pump. The inward section
is still connected together with the studs and nuts which will be
removed in a later step. Inspect the bolts for thread condition. If
bad threads on bolts most likely the threads in that hole are bad,
mark the hole so it can be check later.
Figure 11
Figure 12
Figure 13
Figure 14
Figure 15