Leveling control rods service & repair, Figure 8 figure 9 – Alamo HYDRO 15 User Manual
Page 141
Section 10 - 5
HYDRO 15 (Service Manual) 09/06
© 2006
Alamo Industrial
Leveling Control Rods Service & Repair
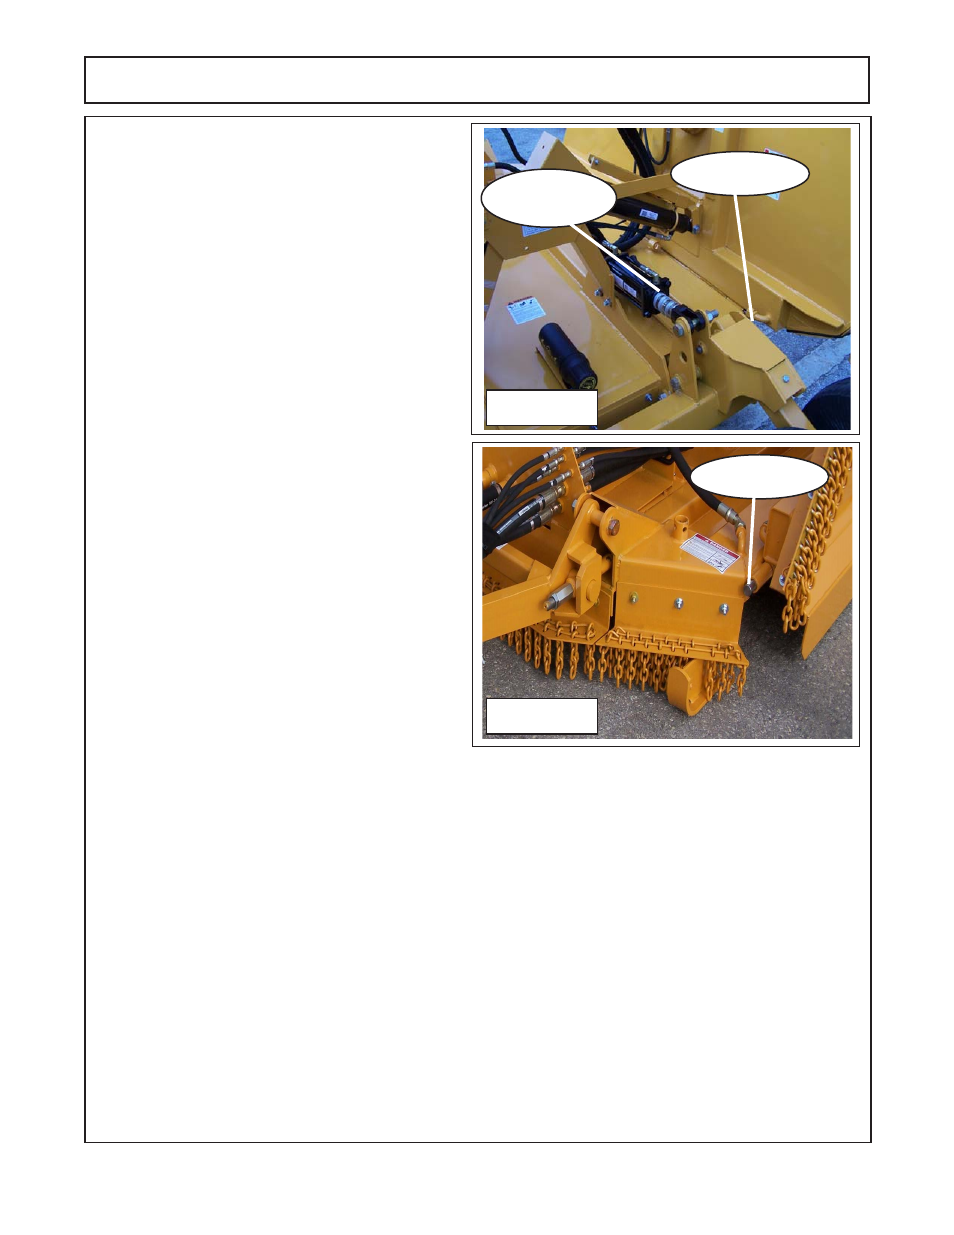
Figure 8
Figure 9
Rear
Wing Hinge Pin
Front
Wing Hinge Pin
8.
Using the height control spacer
(figure 8)
to
set the center axle hydraulic cylinder at the
height to begin adjusting. this height is not a fixed
height, it may vary depending on the type tires
that are on mower. This height will be measure
from the center of the RH wing hinge pin in the
rear to the ground, make note of distance.
(figure
8).
Go to the front of the mower and measure the
distance to the ground (RH Side) and measure
distance to the ground, make note of distance
9.
At this time the front of the control rod
should have the adjusting nut
(item 4)
screwed on
until it is touching the bushing weldment
(figure
6)
. The jam nut
(item 10)
can be on control rod or
not, if it is on it should be screwed out away from
adjusting nut.
10.
Use the measurements you got in
step 7
to
determine which way to turn adjusting nut. Using
distance numbers that are as example only as
the distance you got will be different. Rear mea
surement was 17" from top of hinge pin to ground
on rear. The front measurement was 15-1/2" from
top of hinge pin to ground. This means the front is
to low.
The ideal measurement would be rear 17"
and front 16" to 16-1/2", the front should be run at
least 1/2 to 1" lower in the front than rear.
Run
lower in front will give cleaner cut and distribute
cut grass better.
11
With 17" in rear and 15-1/2" in front means
the mower needs to be raised in front. Raising
the front means shortening the control rod, to do this screw the adjusting nut onto the control rod. The RH
control rod will raise the mower. (Note, tightening the adjusting nut will raise the mower, it will make
adjusting easier if a floor jack is placed under mower and jack the mower up to the desired height of 16 to
16-1/2"). Continue to raise mower until the desired height is reached. Adjust the LH control rod on dual
control rod models until the mower starts to lift. Make certain the control rods have equal pressure on them,
best way to do this is watch the mower, when the LH side adjustment starts to raise the mower it is starting
to pick up the weight.
12.
Install the jam nuts
(item 10)
onto the control rods. This will require two wrenches, one to hold the
adjusting nut so it won't turn and one to tighten jamnut against adjusting nut
(figure 6).
Lock the adjusting
nut securely with the jamnut to prevent the adjustment from changing.
13
This should keep the mower adjusted to the desired cutting height unless something changes. Some
things that will affect this is changing tractors to a different draw bar height. The wear or distortion (bending)
of the blades can change this. Changing type of tires & wheels used can change this. Any time any of these
things are changed the mower will require re-adjusting
Hyd Cyl Stroke
Spacers