Moving clip marks: using the clip length control, Clearing mark-in/mark-out points, Adjusting clip audio level – Grass Valley K2 AppCenter v.9.0 User Manual
Page 86

Moving clip marks: Using the clip length control
Entering a new clip length moves the mark-out point.
1. Click the
Length
timecode entry control.
2. Enter a new clip length and click
OK
.
The clip length changes by moving the mark-out point.
Clearing mark-in/mark-out points
Clearing a mark point resets the mark to its default position — mark-in is set to the beginning of
available media; mark-out is set to the last frame of available media.
To clear a mark point, do one of the following:
•
In Play view, click and hold the
In
or
Out
button, then choose
Clear Mark
in the pop-up menu.
•
In Play view, select the mark-in or the mark-out timecode control and click
Clear
, then
OK
to
clear the mark.
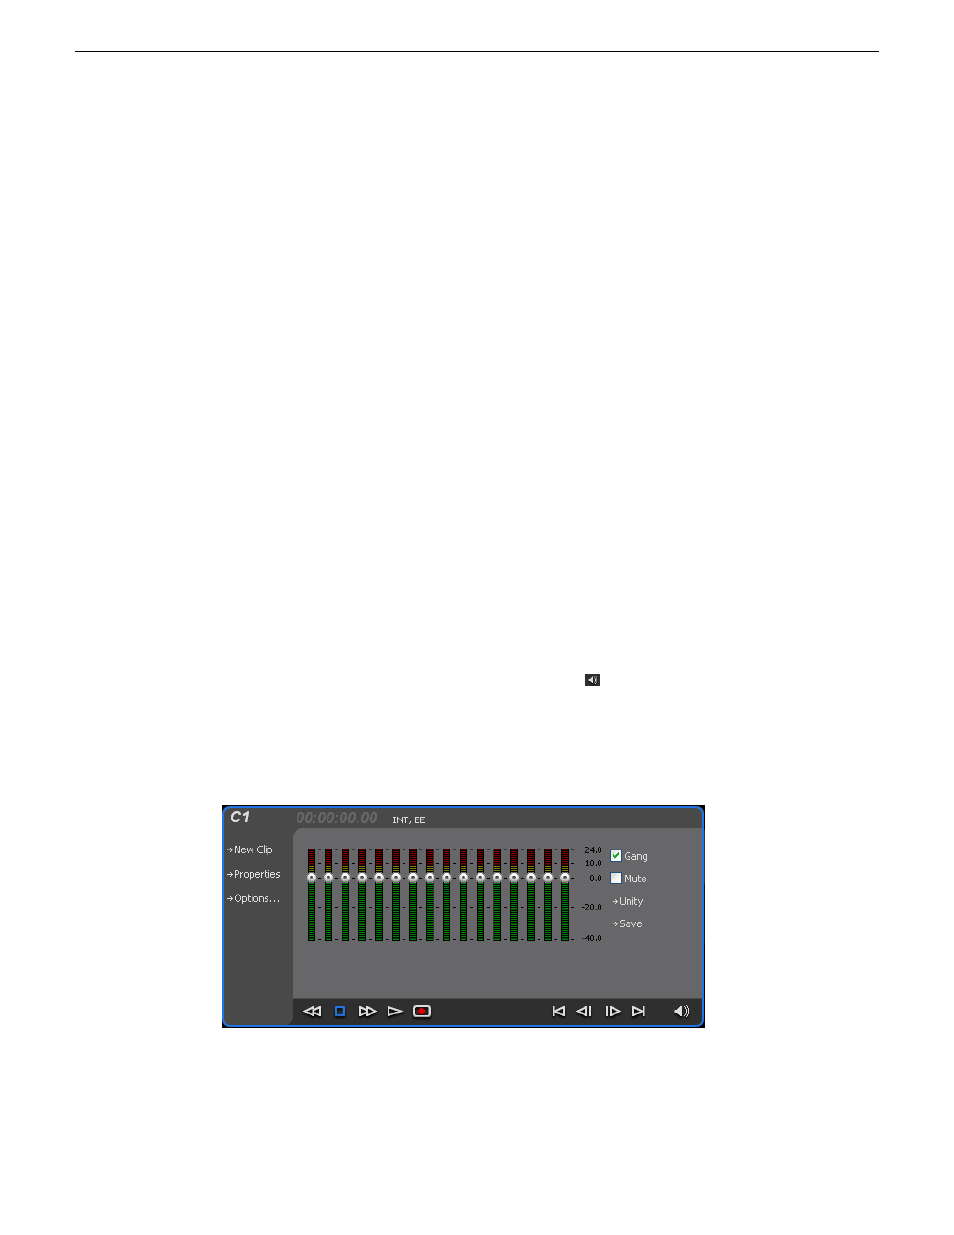
Adjusting clip audio level
The audio meter display provides audio level adjustment for clips loaded in the player display. Saved
audio levels are used every time the clip is loaded and played. Unsaved changes are lost when the
clip is ejected.
To adjust audio level:
1. In the Player application, click the Meter bar button.
2. Adjust the audio level in one of the following ways:
•
Adjust the graphical faders individually or “ganged,” which ensures all channels use the same
gain.
•
Click
Unity
to set audio back to the last saved level.
3. Click
Save
to save changes to the clip audio level.
4. Click
Mute
to mute or unmute the clip audio level.
5. Click the Meter bar button again to return to the Player application.
86
K2 AppCenter User Manual
29 October 2012
Playing and editing clips
