Balance controls for stereo linked pair, Global pan, Ganging – Teac DM-24 User Manual
Page 52: Setup, Ganging setup
7 – Module operations—Common area indicators and controls
52
TASCAM DM-24 Reference Manual
ENTER
), the
CENTER
button described above will be
disabled (grayed out).
Balance controls for stereo linked pair
See “Linked modules” on page 60 for details of
linked modules.
The balance controls in for linked modules are all on
the bottom row of the
MODULE
screen. Move the cur-
sor to the bottom row and use the PODs to change
these parameters.
In the case of a stereo linked pair of modules, the
PAN
is replaced by a
BAL
control. Ganging is not possible,
but a
CENTER
button is available, which centers the
stereo signal.
POD 2 is used to select the source. Either the left
(odd-numbered) channel—
L MONO
or right (even-
numbered) channel—
R MONO
or both together—
STEREO
can be selected. This allows the previewing
of either channel individually, without having to
unlink the channels
POD 3 is used as an image width (
IMAGE
) control.
This controls the width of the stereo spread of the
two channels. The center position is labeled as
L+R
MONO
and provides a pinpoint mixture of the two
channels. Turning the control fully counterclockwise
provides a full stereo (
STEREO
) image. Turning the
control clockwise from the center reverses the left
and right channels in the stereo image. Turning the
control fully clockwise shows
REVERSE
on the screen.
NOTE
In the Options screen (“Balance Level CENTER: 0dB” on
page 21), the way in which the balance control level is
modified at the center position can be changed
between 0dB and a 3dB cut. Make this setting to reflect
your preferred way of working.
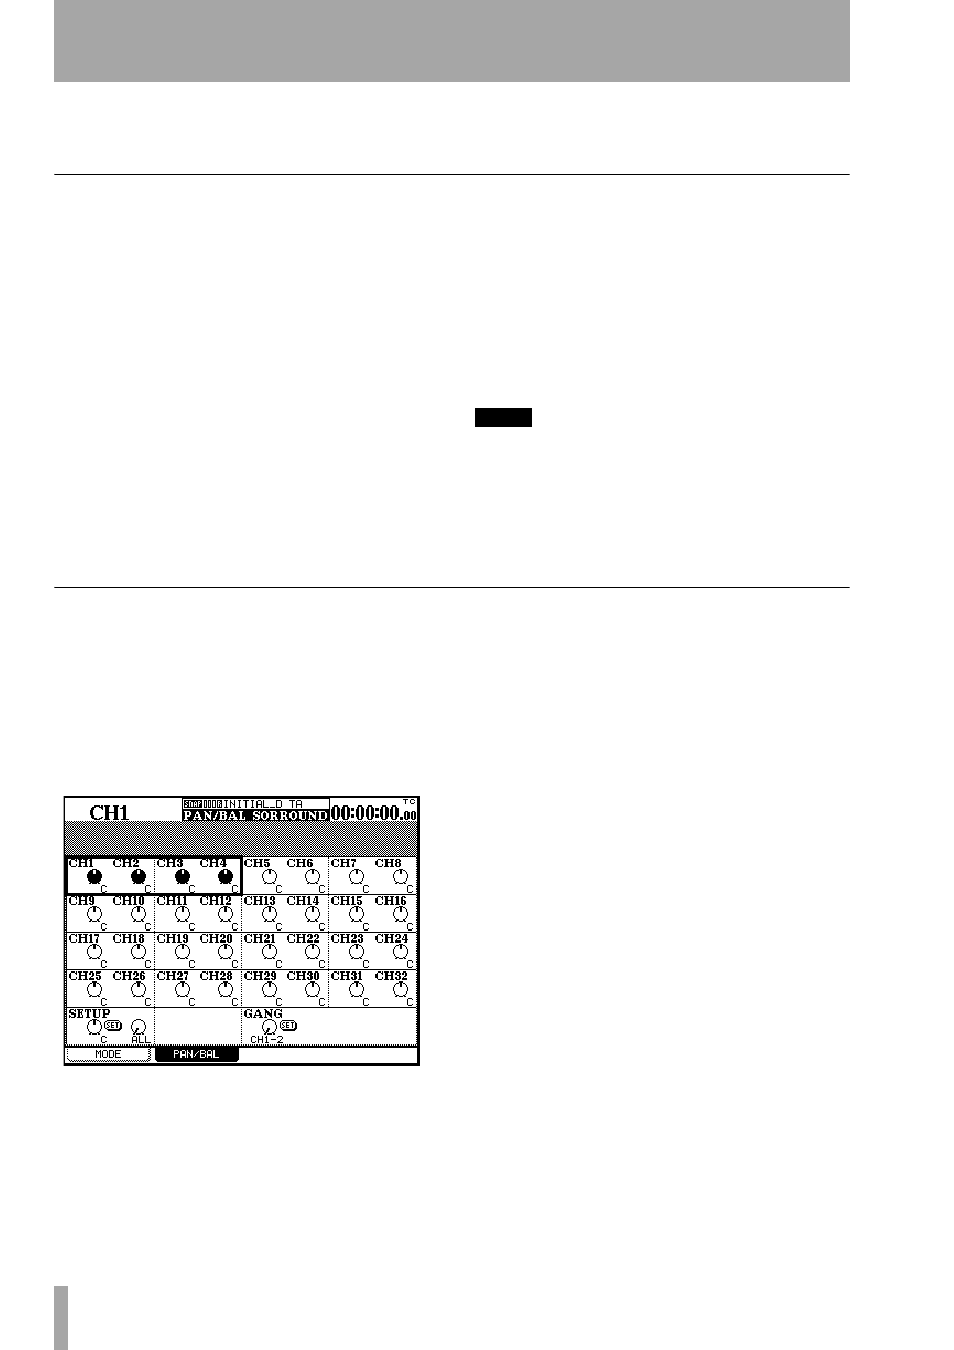
Global pan
As well as individual pan settings, it is also possible
to view and make the pan settings on a global basis.
1
With the
SHIFT
indicator unlit, press the
PAN/BAL SURROUND
key.
2
Continue to press the
PAN/BAL SURROUND
key until the following screen appears (or use
soft key 2):
Use the cursor keys (and channel
SEL
keys) to navi-
gate around the screen and set the pan or balance
positions.
Ganging
Note that ganged channels are displayed
as ganged, but this setting cannot be changed at this
position.
Move to the lower right of the screen and use POD 1
to select a pair of channels to be ganged (linked chan-
nels cannot be selected here).
Use
ENTER
to make the gang setting (or break it if it
has already been made).
Setup
It is possible to apply the same pan/balance
setting to groups of channels.
Move the cursor to the lower left of the screen, and
use POD 1 to set the master pan/balance setting.
The scope of the setting is determined using POD 2:
choose between
ALL
,
EVEN
(even-numbered chan-
nels),
ODD
(odd-numbered channels),
1-8
,
9-16
,
17-24
or
25-32
.
Press
ENTER
to apply the POD 1 setting and press
ENTER
again to confirm this when the popup
appears (cancel with the cursor keys).