Related topics, Adjusting color density accuracy – QuickLabel Vivo! Touch User Manual
Page 95

Printer Settings
Vivo! Touch User Guide
81
4
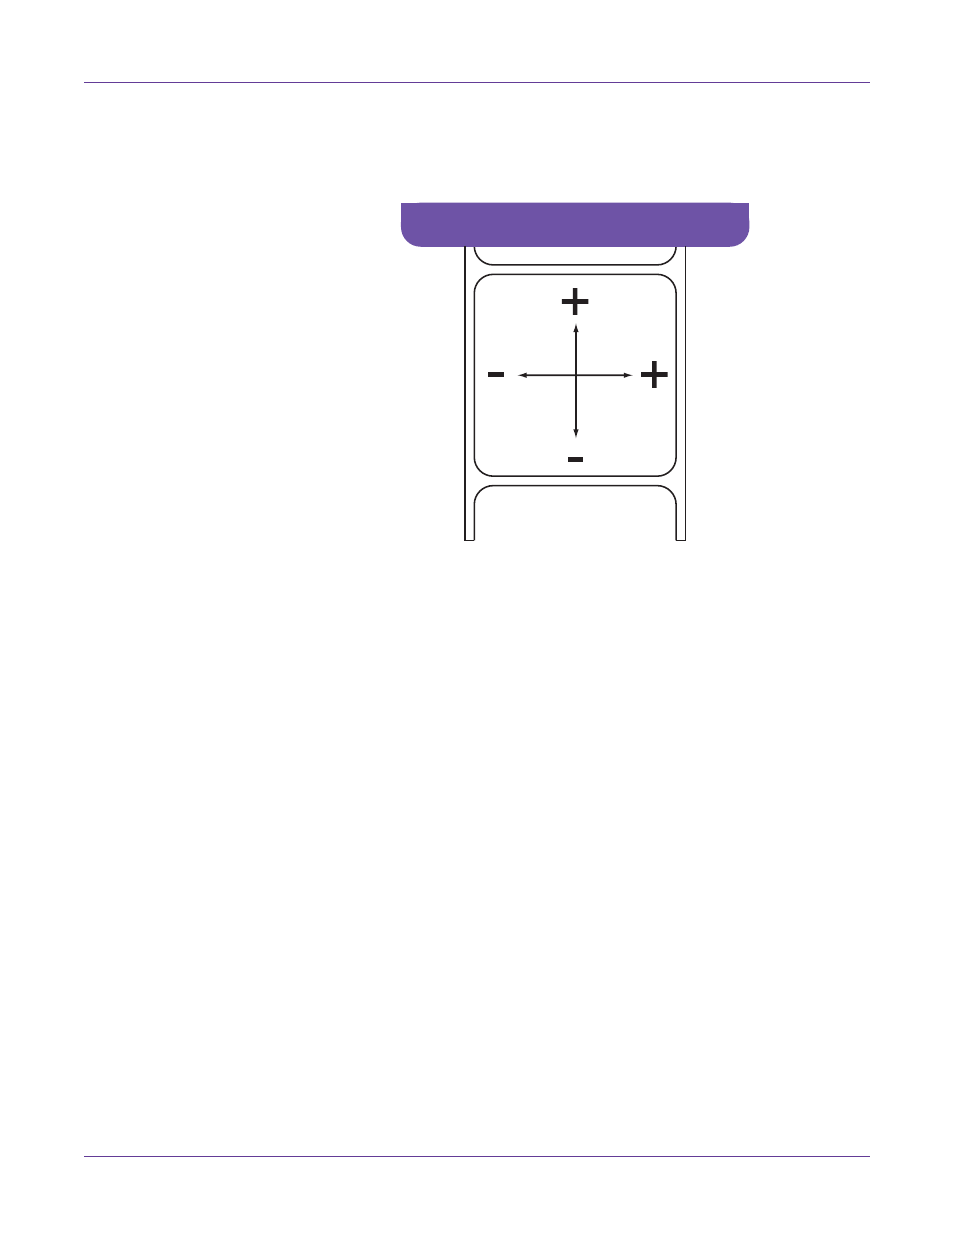
Touch the adjustment buttons to adjust color registration as needed.
In the following illustration, a label is exiting the printer. Note the positive and
negative adjustment directions.
If a print job is in progress, the new settings will be used when printing starts on
the next blank label in the job. Partially printed labels will be finished using the
previous settings. If a print job is not in progress, the new settings will be used
when a new job is printed.
Choose
Close
.
Related Topics:
- Calibrating Color Registration on page 76
Adjusting Color Density Accuracy
The printer automatically performs a density calibration as needed based on
environment and usage factors. During this automatic calibration, color density
adjustments are saved.
When an image on the label is first printed, it is separated (or halftoned) into its
individual CMYK color channels with respect to the last density adjustments. This
separation information is automatically saved on the printer.
After subsequent density calibrations, an image's color separation may become “out of
date” based on updated density adjustments. If the difference is large, the printed
image may appear different compared to the last time it was printed. If the difference
is small, the printed image may appear the same compared to the last time it was
printed.
You can select a density accuracy to control how frequently the printer re-separates
reprinted labels.
•
A lower density accuracy will allow the most difference between an image's color
separations and the current density adjustments. In this situation, the image will
