8 close the top cover of the vivo! touch – QuickLabel Vivo! Touch User Manual
Page 149

Troubleshooting
Vivo! Touch User Guide
135
5
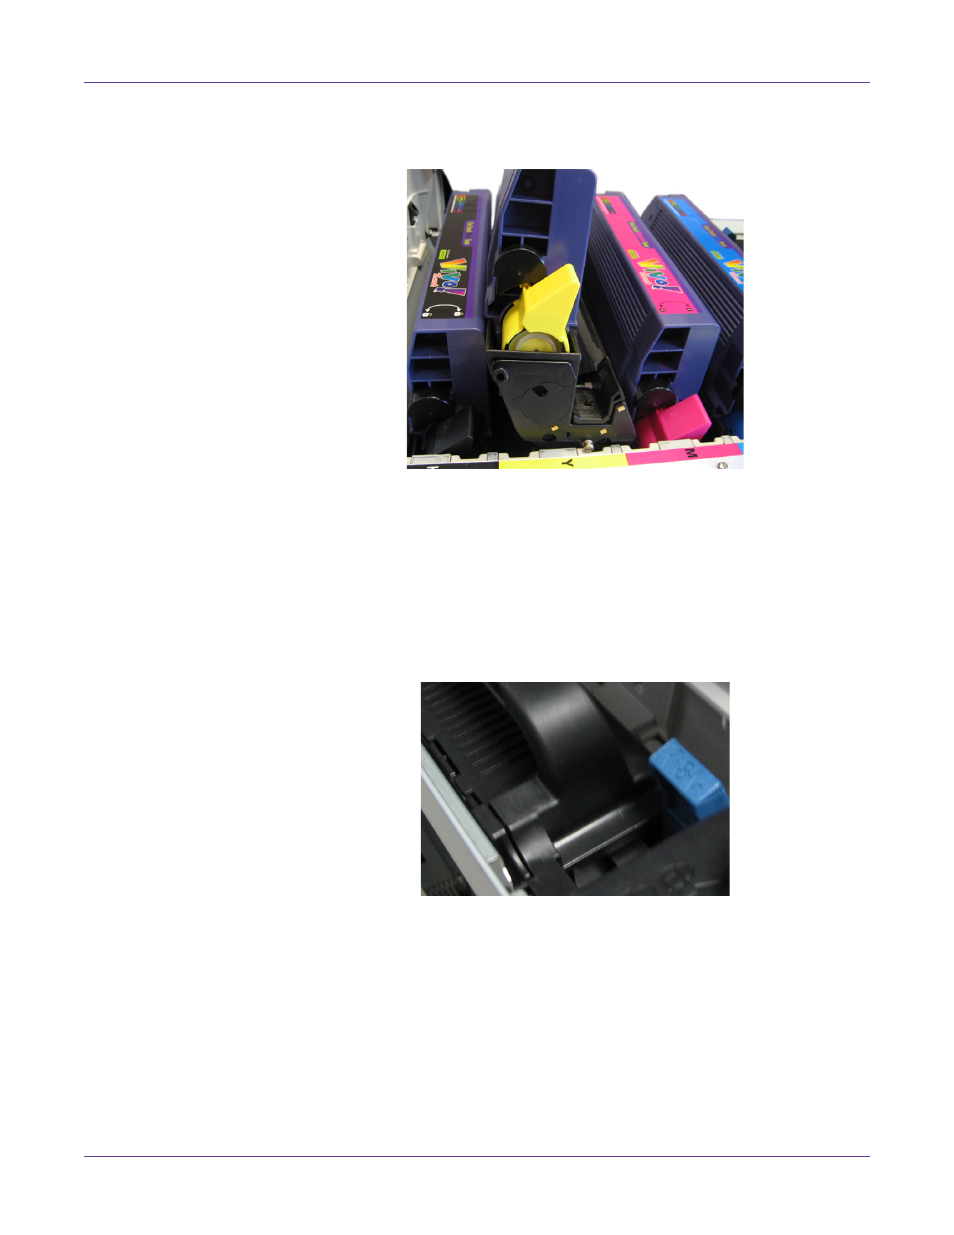
Grasp the top center area of the image drum and lift it, complete with its toner
cartridge, up and out of the printer.
Place the image drum assembly on a piece of paper to avoid marking your surface
with toner. Store the assembly away from light. Repeat this process for the
remaining image drums.
6
Inspect the feeder, media path, fuser, and media exit for a media jam. Remove the
jam.
•
When removing a media jam from the fuser area, you can pull the blue media
lever forward to open the fuser media path. This allows media to travel freely
through the fuser.
7
Replace the four image drums, complete with their toner cartridges, into the
printer in the correct sequence: cyan (nearest the media exit), magenta, yellow, and
black (nearest the media entry).
Note: Color labels are located next to each image drum/cartridge slot. These labels indicate
the correct location for each color.
8
Close the top cover of the Vivo! Touch.
