Printing a touchprint job – QuickLabel Vivo! Touch User Manual
Page 63
Designing and Printing Labels
Vivo! Touch User Guide
49
front of the label. For a batch of labels, this image is generated based on the
front of the first label in the batch.
You can use the rotation buttons to rotate the thumbnail image. This affects
how the thumbnail will be displayed on the touchscreen. It does not change
the printing orientation of the labels.
•
Description - Enter a short description that will be visible on the touchscreen.
By default, this will be the text from the label notes field in Custom
QuickLabel. Note that changing this text will not change the label notes in
Custom QuickLabel.
•
Choose Store Destination - All TouchPrint groups on the printer are
displayed in this list. Select the destination group for the TouchPrint job.
Note: This option is only available if bidirectional communication is enabled with the
printer. If unidirectional communication is used, destination group options will not
appear and the TouchPrint job will be stored in the printer’s “Default” group.
4
Choose
Store
. The TouchPrint job will be saved and the status in the Label Printer
window will change to “STORED”.
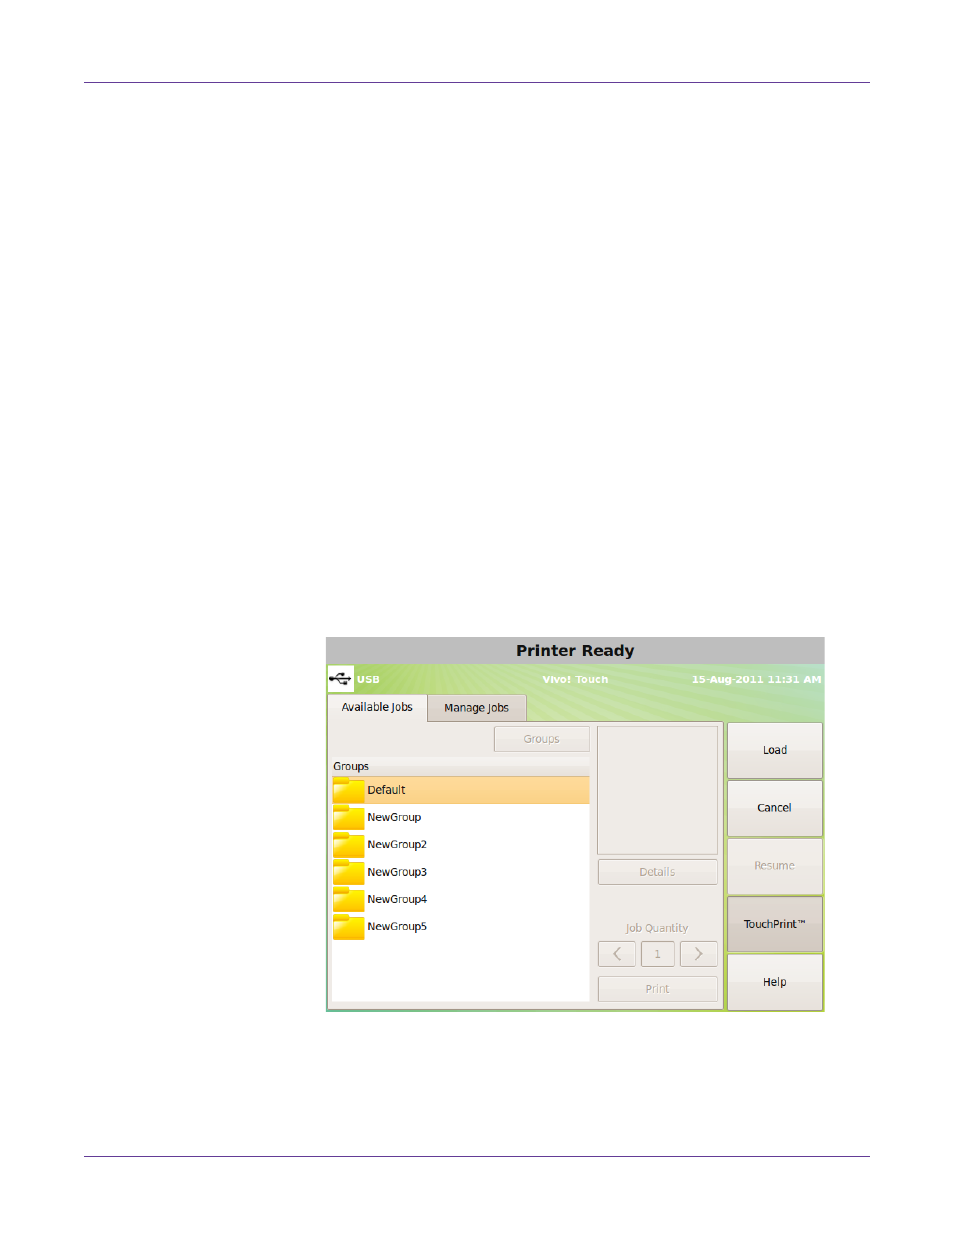
Printing a TouchPrint Job
1
Touch
TouchPrint
on the touchscreen. The
TouchPrint
icon shows and hides the
TouchPrint options. You can choose this icon again to return to the menu.
2
Choose the
Available Jobs
tab. This tab displays a list of TouchPrint groups and
jobs saved on the printer hard drive.