QuickLabel Vivo! Touch User Manual
Page 124

Maintenance
110
Vivo! Touch User Guide
5
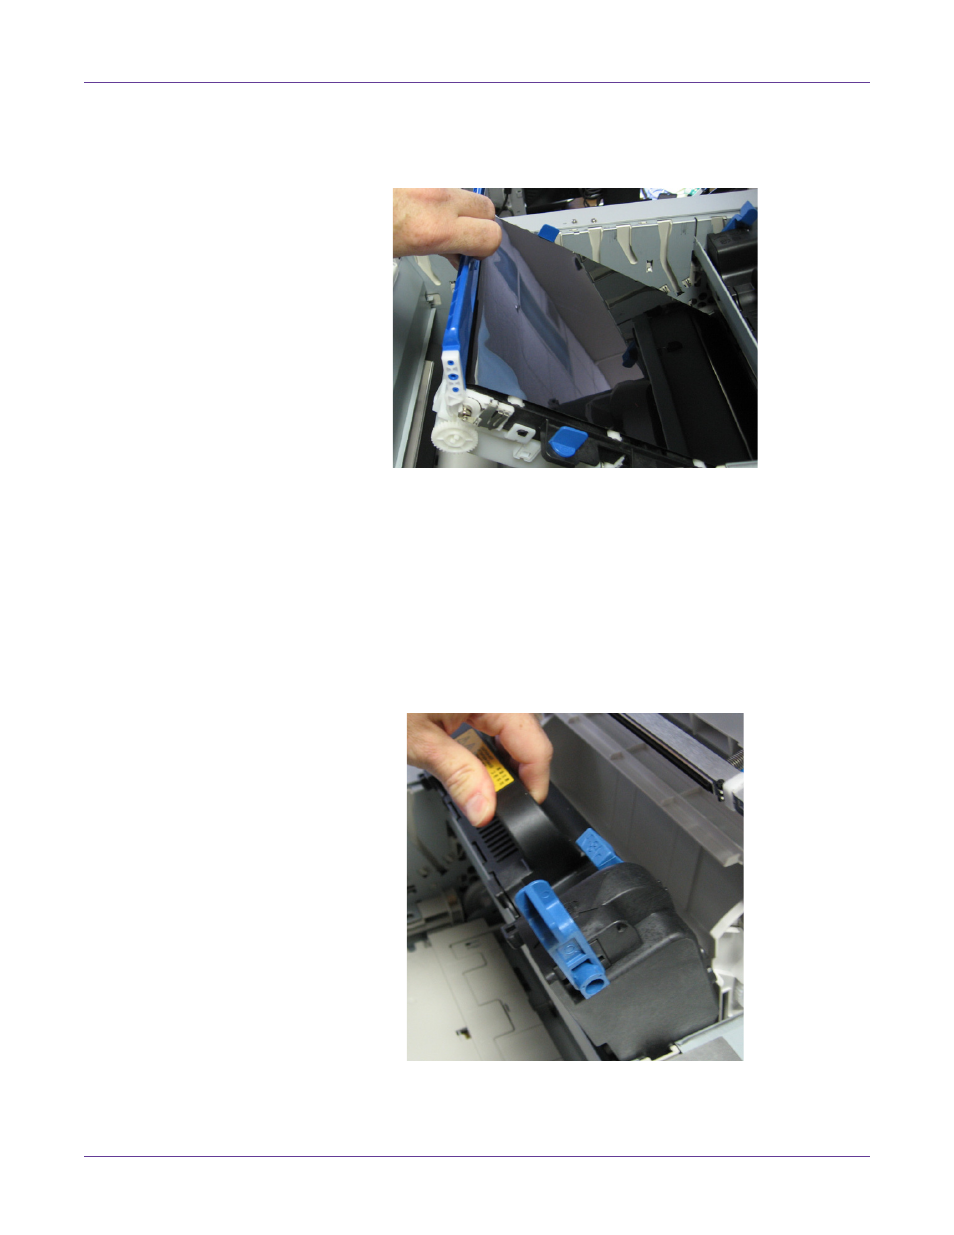
Turn the two blue image belt fasteners counterclockwise. This will release the belt
from the printer chassis. Pull the blue bar on the image belt up and remove the belt
from the printer.
When lifting out the image belt, notice how the drive gear fits into the
corresponding gear in the rear left corner of the printer. This will help you replace
the belt later.
6
Pull the two blue fuser retaining levers towards the front of the printer so that they
are fully upright.
Warning: The fuser is always extremely hot when the printer is in use. Always lift the
fuser by the handle only. Use caution when handling the fuser.
Holding the fuser by its handle, lift the fuser straight up and out of the printer.
Place the fuser upright on a clean, flat surface away from any flammable materials.
7
Assemble and power up the QuickVac as described in the documentation supplied
with the QuickVac.
