QuickLabel Vivo! Touch User Manual
Page 127
Maintenance
Vivo! Touch User Guide
113
4
Grasp the top center area of the image drum and lift it, complete with its toner
cartridge, up and out of the printer.
Place the image drum assembly on a piece of paper to avoid marking your surface
with toner. Store the assembly away from light. Repeat this process for the
remaining image drums.
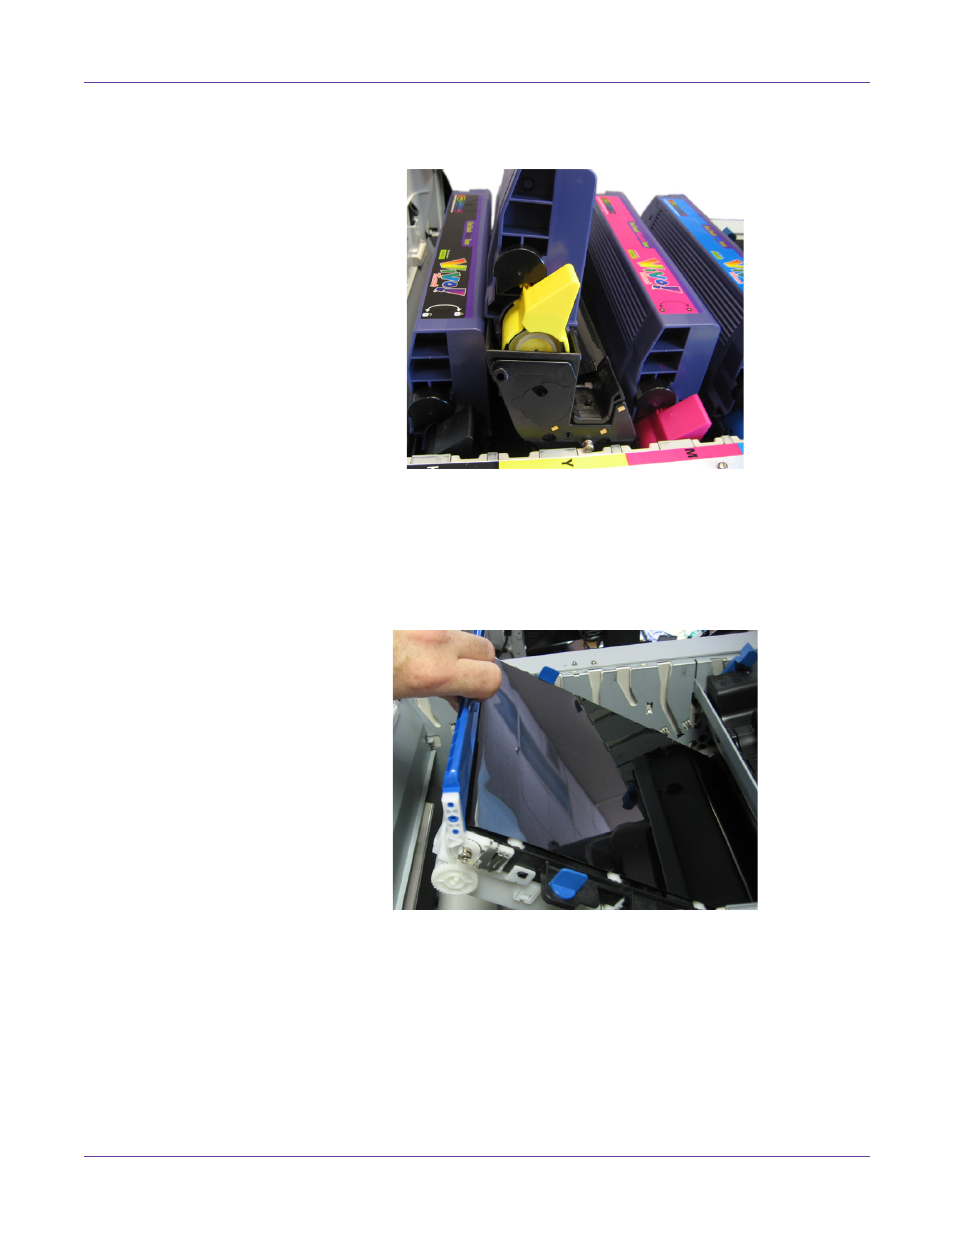
5
Turn the two blue image belt fasteners counterclockwise. This will release the belt
from the printer chassis. Pull the blue bar on the image belt up and remove the belt
from the printer.
When lifting out the image belt, notice how the drive gear fits into the
corresponding gear in the rear left corner of the printer. This will help you replace
the belt later.
6
Inspect the belt. The belt should be smooth and properly seated on the front and
back rollers with no buckling, wrinkling, or tearing. There may be some toner or
adhesive on the belt, which can be cleaned with a pre-moistened alcohol cloth.
If the belt is damaged, you will need to replace it with a new image belt.