QuickLabel Vivo! Touch User Manual
Page 138
Replacing Toner and Wear Parts
124
Vivo! Touch User Guide
4
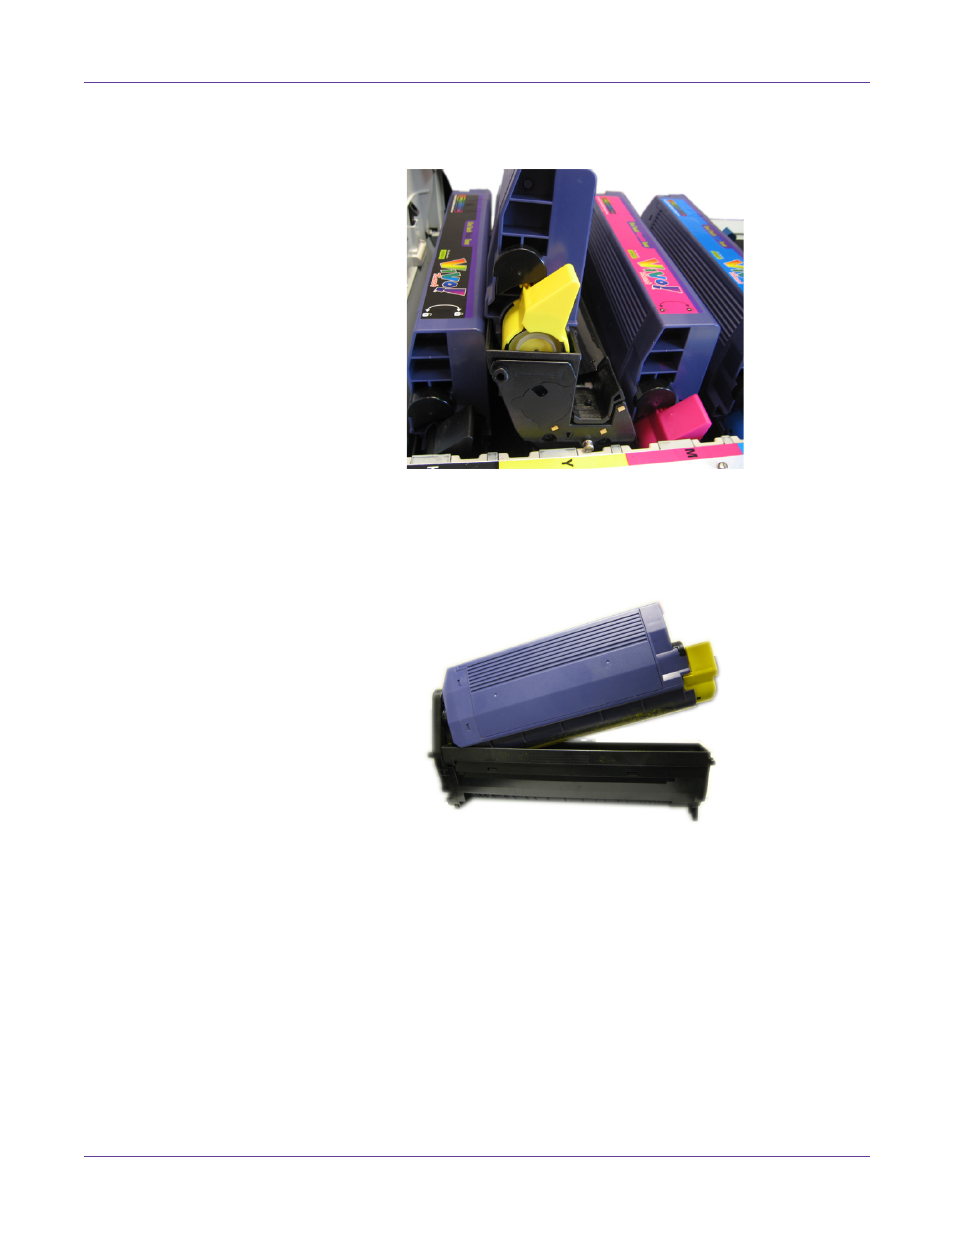
Grasp the top center area of the image drum and lift it, complete with its toner
cartridge, up and out of the printer.
5
Close the top cover of the Vivo! Touch. This will help reduce the amount of light
exposure to the other image drums.
6
Turn the colored toner release lever to the left to prevent toner spillage. Then lift
the cartridge out of the image drum, lifting the side with the colored lever first.
7
Open the new image drum box. Ensure the new image drum contains the correct
color. Remove the bag with the image drum inside. Then open the bag and remove
the tape from the protective shipping sheets. Pull the sheets in the direction of their
respective arrows to remove them, being careful of the possibility of spilling some
toner.
8
Remove the silica gel desiccant and the shipping insert by pressing at the location
marked by the arrow on the insert. This action will open the toner compartment,
so be sure to keep the drum upright once you have completed this step. It will
stand flat on a table if necessary.
9
Confirm the toner cartridge and new image drum contain the same toner color.
Insert the toner cartridge into the new image drum, starting with the side opposite
the colored toner release lever. When the toner cartridge is seated, turn the colored
lever to the right to lock it into place and open the cartridge into the image drum.