8 gently vacuum the interior of the printer, 12 close the top cover of the vivo! touch, Cleaning led arrays – QuickLabel Vivo! Touch User Manual
Page 125

Maintenance
Vivo! Touch User Guide
111
8
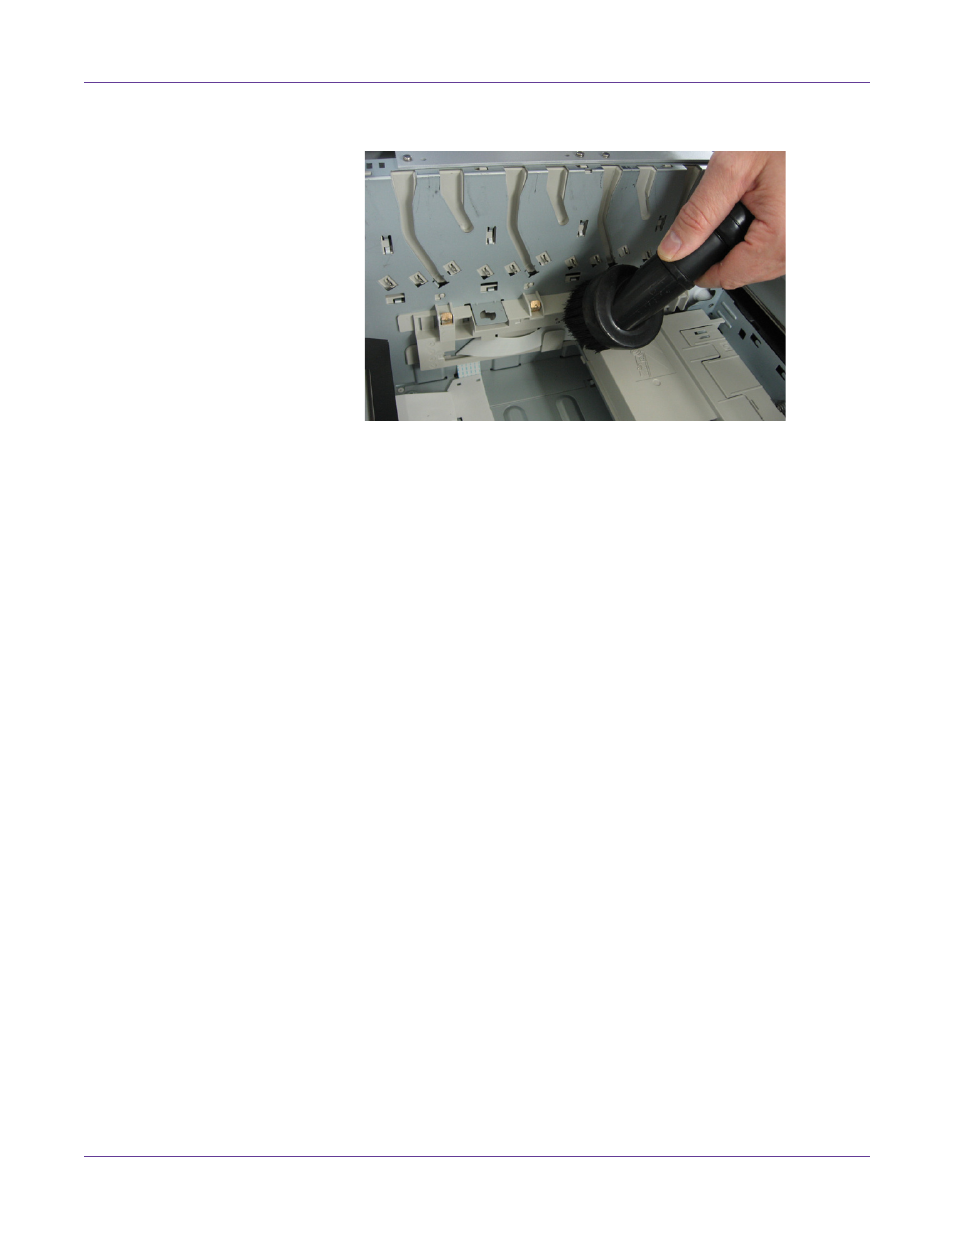
Gently vacuum the interior of the printer.
Note: Use care when vacuuming as there are delicate mechanical components inside the
printer.
9
Holding the fuser by its handle, ensure it is oriented correctly. The blue retaining
levers should be fully upright and the two locating lugs should be towards you.
Lower the fuser into the printer, locating the two lugs into their slots in the metal
partition that separates the fuser area from the image drums.
Push the two blue retaining levers towards the rear of the printer to lock the fuser
in place.
10
Lower the image belt into place, with the blue bar at the front and the drive gear
towards the rear of the printer. Insert the drive gear into the corresponding gear in
the rear left corner inside the printer. Lower the belt flat inside the printer.
Turn the two blue image belt fasteners clockwise. This will lock the belt to the
printer chassis.
11
Replace the four image drums, complete with their toner cartridges, into the
printer in the correct sequence: cyan (nearest the media exit), magenta, yellow, and
black (nearest the media entry).
Note: Color labels are located next to each image drum/cartridge slot. These labels indicate
the correct location for each color.
12
Close the top cover of the Vivo! Touch.
Cleaning LED Arrays
Cleaning LED arrays periodically will help maintain print quality. There are a total of
four LED arrays, one for each of the printer’s colors (cyan, magenta, yellow, and black).
1
Turn the printer power off and wait for the LED near the touchscreen to turn
amber. Then unplug the AC power cord from the receptacle.
