Installing the emu – ADS Environmental Services FlowShark QR 775003 A2 User Manual
Page 118
Communication
4-15
Installing the EMU
Installing the EMU involves mounting the EMU inside the
customer-supplied enclosure, connecting the communication cable
to the monitor, connecting to the external power source, and
verifying the wireless communication signal. Perform these
activities in the following way:
1. Mount the EMU to the panel inside the customer-supplied
enclosure using appropriate fasteners. The holes in which the
plastic screws go into to secure the cover of the EMU to the
chassis are the same holes through which the fasteners secure
the EMU to the enclosure. Therefore, it may necessary to
remove the EMU cover to insert the fasteners through the holes
to mount the EMU to the enclosure. If this occurs, replace the
cover once the EMU is secured to the enclosure.
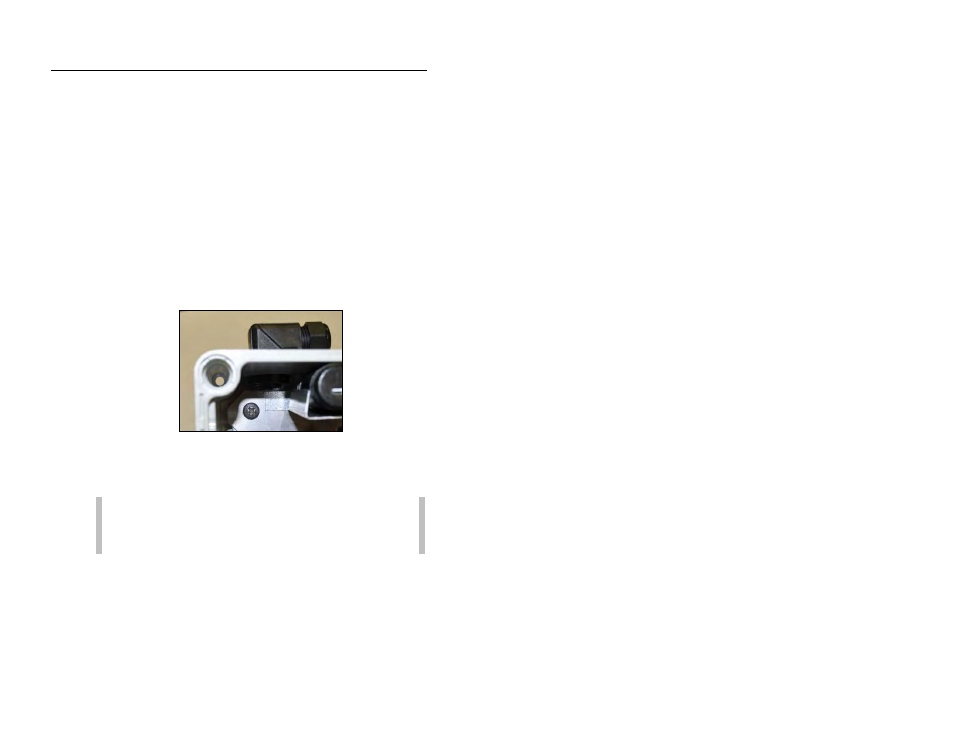
One of the holes through which to secure the EMU to the inside panel of the
enclosure
2. (applies only when using external power) Make sure the 9- or
12-volt battery pack has been removed from the monitor.
Warning:
Failing to remove the battery pack from the
monitor before applying external power will damage both
the battery pack and the monitor.
3. Connect the monitor end of the communication cable to the
COMM
port on the top of the monitor. Wrap rubber stretch
tape around the entire cable connection, extending 1 to 2 inches
onto the cable beyond the connection.