2 image window – Banner PresencePLUS P4 COLOR Series User Manual
Page 13
Inspection-Specific Screens
Set up the camera, lens, trigger, and lighting to acquire images. Create a reference image to be
used later.
Setup
Add tools to an inspection. Build the inspection from scratch, or load tools from a previous
inspection file saved on the controller or a PC.
Tools
Teach the Sensor good products. This screen automatically configures the parameters chosen in
the Tools screen.
Teach
Choose which inspection file the Sensor will run, and view the results of the inspection
Run
System-Wide Screens
Set up the discrete inputs and outputs and communication configuration. This screen also has the
Sensor diagnostic tools.
System
Name the current inspection files and save them to the controller or a PC for future use.
Save
Call the Help window or the About window.
Help
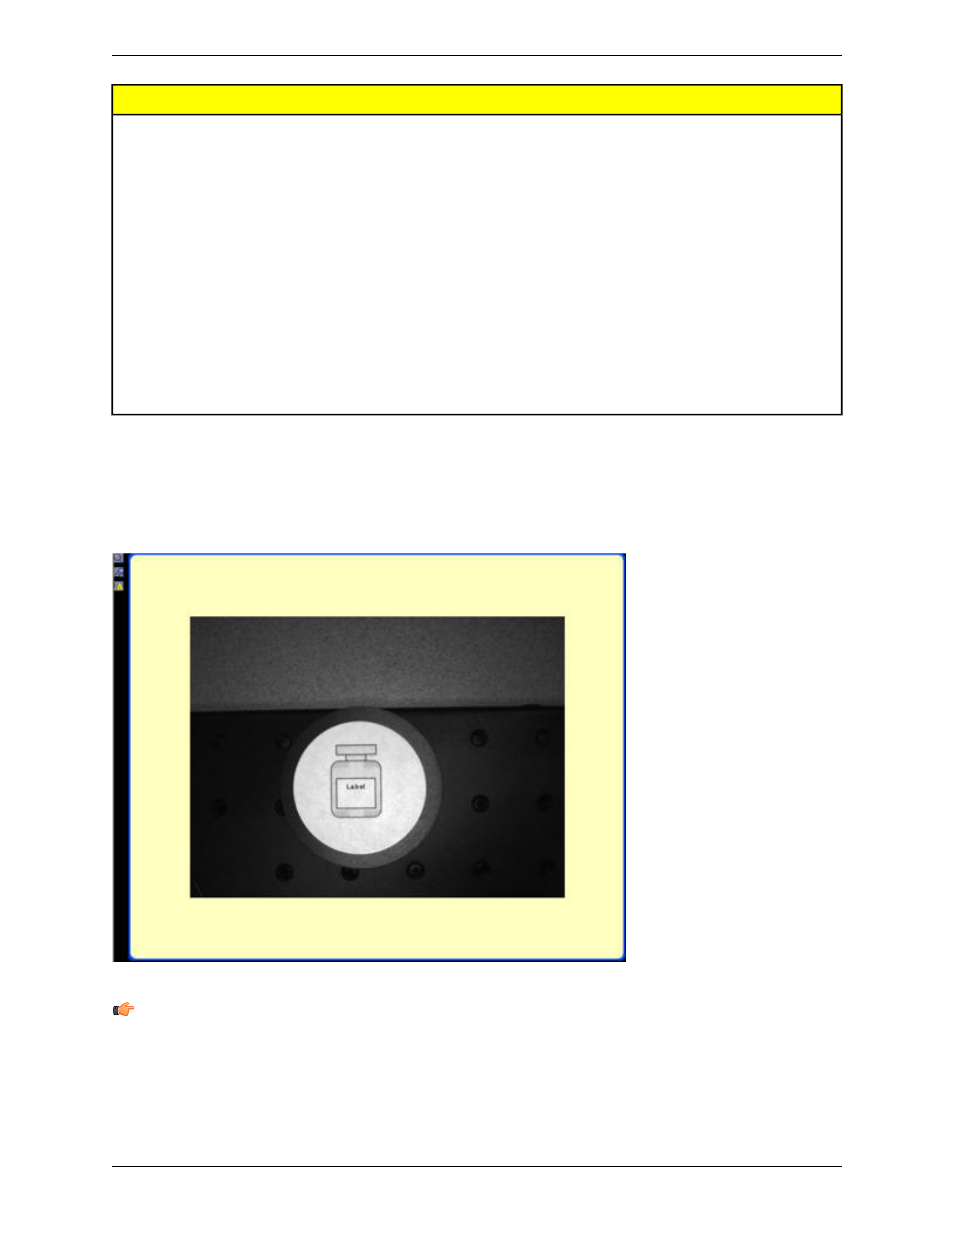
2.2.2 Image Window
The Image window, on the left side of the screen, displays images acquired from the camera or the reference image
that is set for the current inspection. The toolbar buttons in the Image window are explained below.
Note: The reference image is used as a template for developing an inspection; it establishes the initial values for
the Vision tools. The reference image also is used by Quick Teach.
13
Minneapolis, MN USA
Banner Engineering Corp.
System Description
2/2010