Dascom 7010 PrintServer Manual User Manual
Page 53
Print Server Installation
Print Server User Manual
53
6. Select Authentication, if necessary; see: ’Encrypted Socket
Printing with Certificate Validation (Windows)’
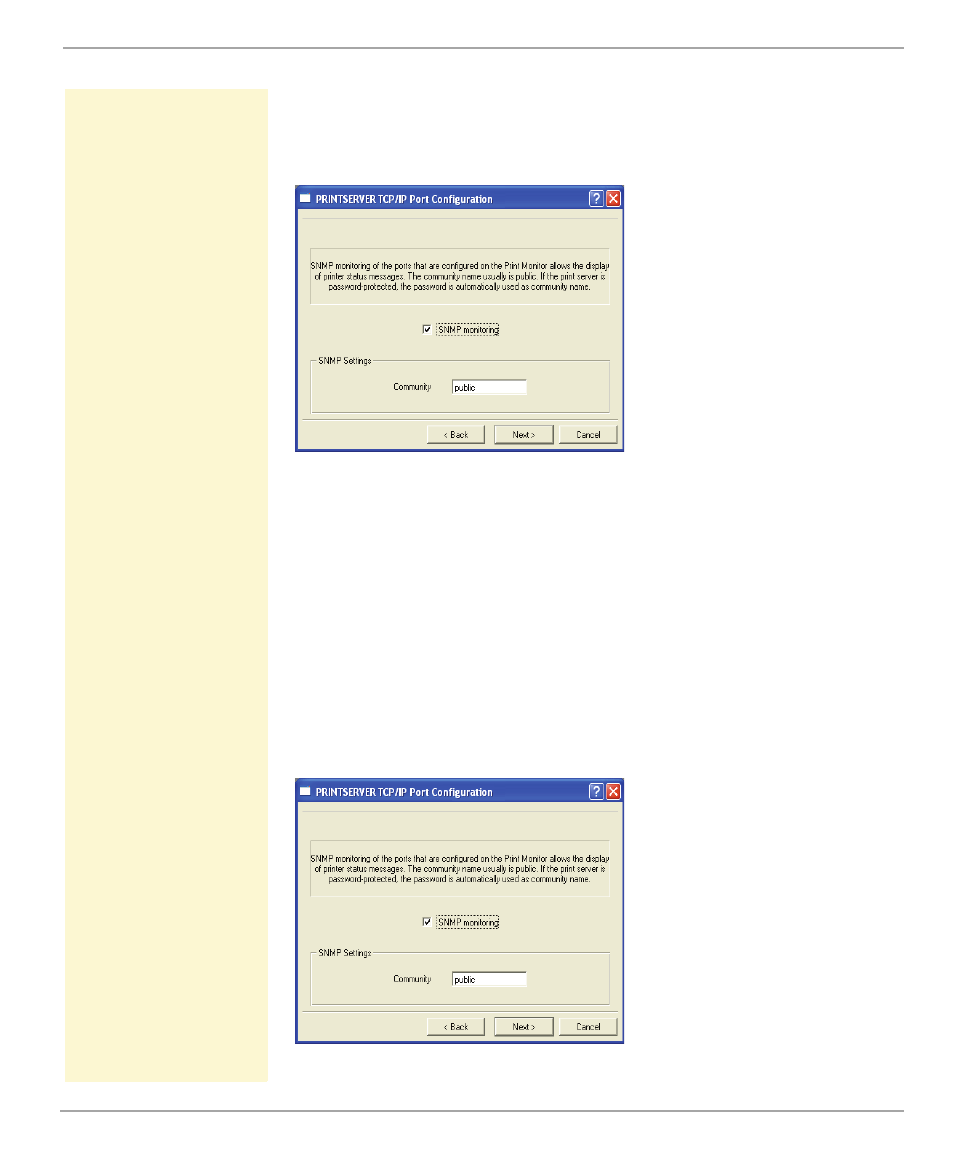
7. Click Next. The following dialog appears:
Fig. 14: PRINTSERVER Print Monitor - SNMP
8. Tick SNMP monitoring in order to enable the reception of
printer status messages.
9. Enter the following into the 'Community' box:
If there is a write protection on the print server (see
), you must enter the
password.
If there is no write protection on the print server, you must enter 'public'.
If there is a read protection on the print server (see
), the 'Community'
box does not appear. When starting thePRINTSERVER Print Monitor you will be
asked to enter a password. The password will be used as Community name
within the SNMP communication.
10. Click Next. The following dialog appears:
Fig. 15: PRINTSERVER Print Monitor - Proxy Server