Dascom 7010 PrintServer Manual User Manual
Page 51
Print Server Installation
Print Server User Manual
51
4. Select a port number from the list and confirm by clicking Next.
The following dialog appears:
Different logical printers are addressed via the port number (9100 - 9107). The
logical printer defines the printer port to which the print data is sent. This is
relevant for print server models with several physical printer ports (COM1, USB1,
etc.).
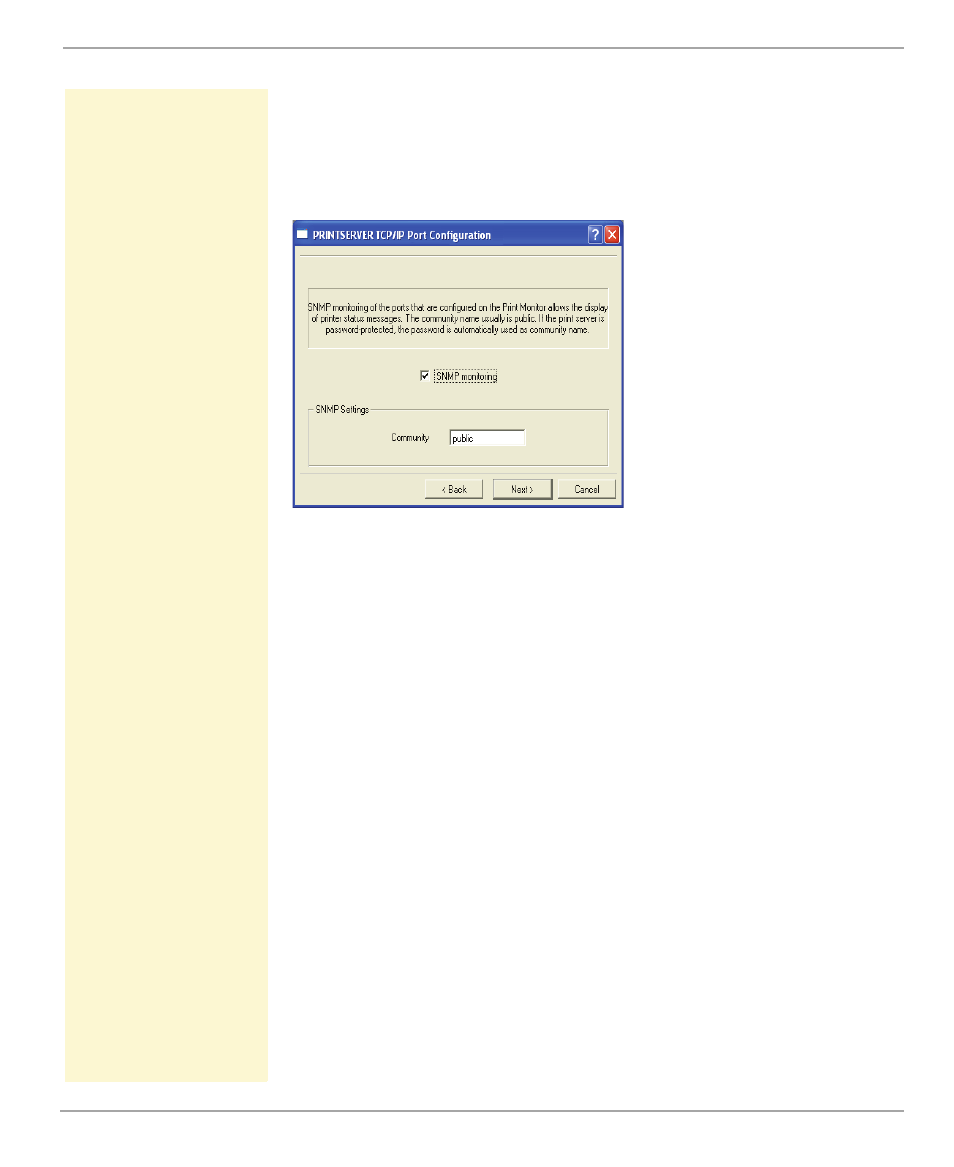
Fig. 11: PRINTSERVER Print Monitor - SNMP
5. Tick SNMP monitoring in order to enable the reception of
printer status messages.
6. Enter the following into the 'Community' box:
If there is a write protection on the print server (see
), you must enter the
password.
If there is no write protection on the print server, you must enter 'public'.
If there is a read protection on the print server (see
), the 'Community'
box does not appear. When starting thePRINTSERVER Print Monitor you will be
asked to enter a password. The password will be used as Community name
within the SNMP communication.
7. Click Next. The dialog that appears contains all entries.
8. Check your entries and click Finish.
ª
The configuration is saved and the TCP/IP printer port is added
to the client.