Tool length and diameter offset preset, 3 pr obing cy cles – ACU-RITE CNC 3500i User Manual
Page 229

ACU-RITE 3500i
203
7.
3 Pr
obing Cy
cles
The Z-axis then does a guarded Z move down 0.1" (2.54 mm) or
whatever amount was placed in the E cycle parameter and then
moves over toward the probe stylus 0.3" (7.62 mm) or until it
touches the probe stylus. If contact is not made with the probe or if
contact is made during a guarded move, then an alarm is generated
and the canned cycle terminates.
After the probe stylus is touched on the first side, the machine then
rapids up and over the stylus, then down on the opposite side, then
over to the other two sides until it has touched the probe stylus on
all four quadrants. This establishes the center of the probe stylus.
The spindle then turns off and the machine touches off on two sides
of the probe with the spindle off finding the effective probe stylus
diameter. Then, rapids up above the probe stylus and over to the
center.
Remove the calibration standard. You are now ready to start running
the G151 to set your tool-length offsets or tool diameter registers.
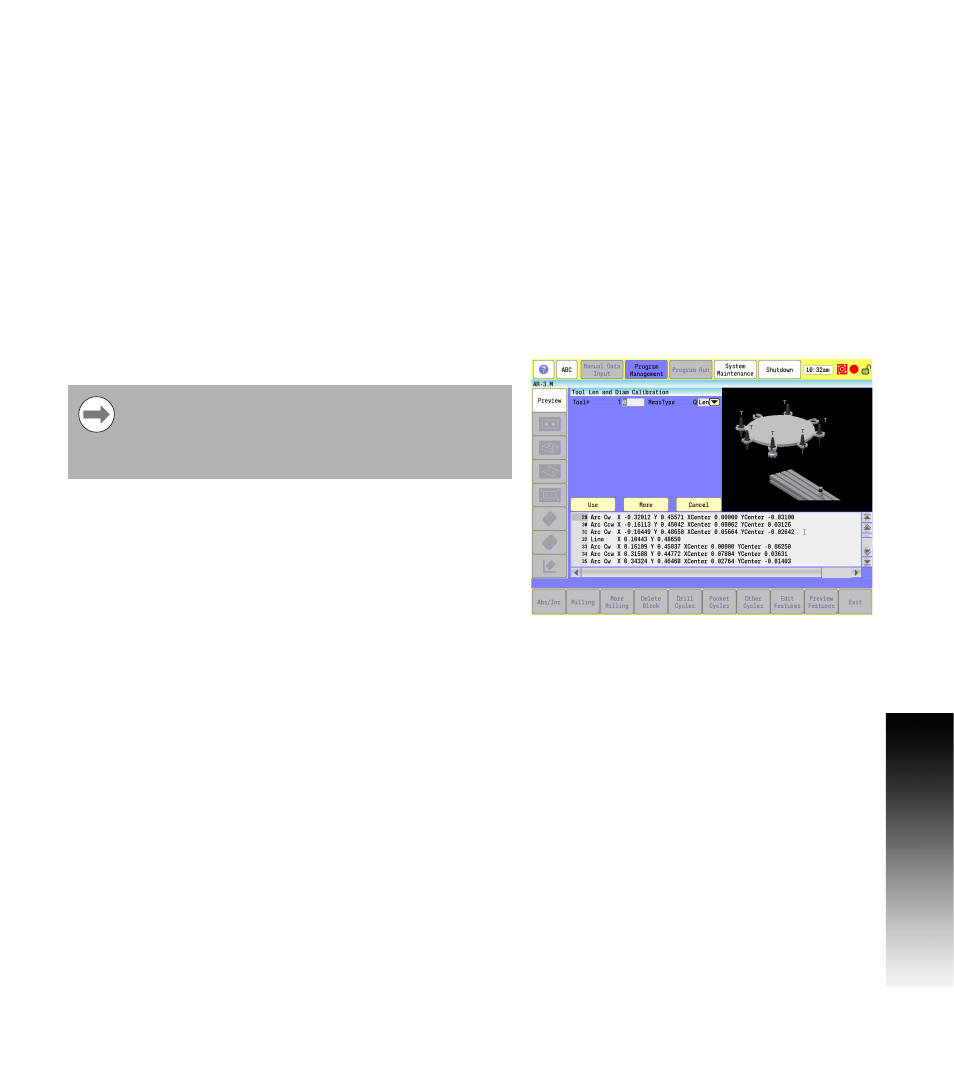
Tool Length and Diameter Offset Preset
Updates length and diameter tool registers.
Each tool must have the length set once before trying to set the
diameter. Call this cycle up the first time using Q2 because it
automatically sets the length first then the diameter.
Calibrate the tool probe at least once before trying to automatically
preset a tool. This is done initially, but if the stylus is ever changed
or the probe is moved, then you must again calibrate the tool probe
This tool preset (G151) can be run from within a program or from the
Manual Data Input Mode with G-code MDI selected.
If the tool has a hole on the bottom so that the probe
would fall between the tool teeth, do not use this cycle.
Damage to the probe could result. In this case, use G152
for manual length preset or G153 for manual diameter
preset.
