Telos Zephyr Xstream User Manual
Page 21
USER’S MANUAL
Section 1: QUICK RESULTS
9
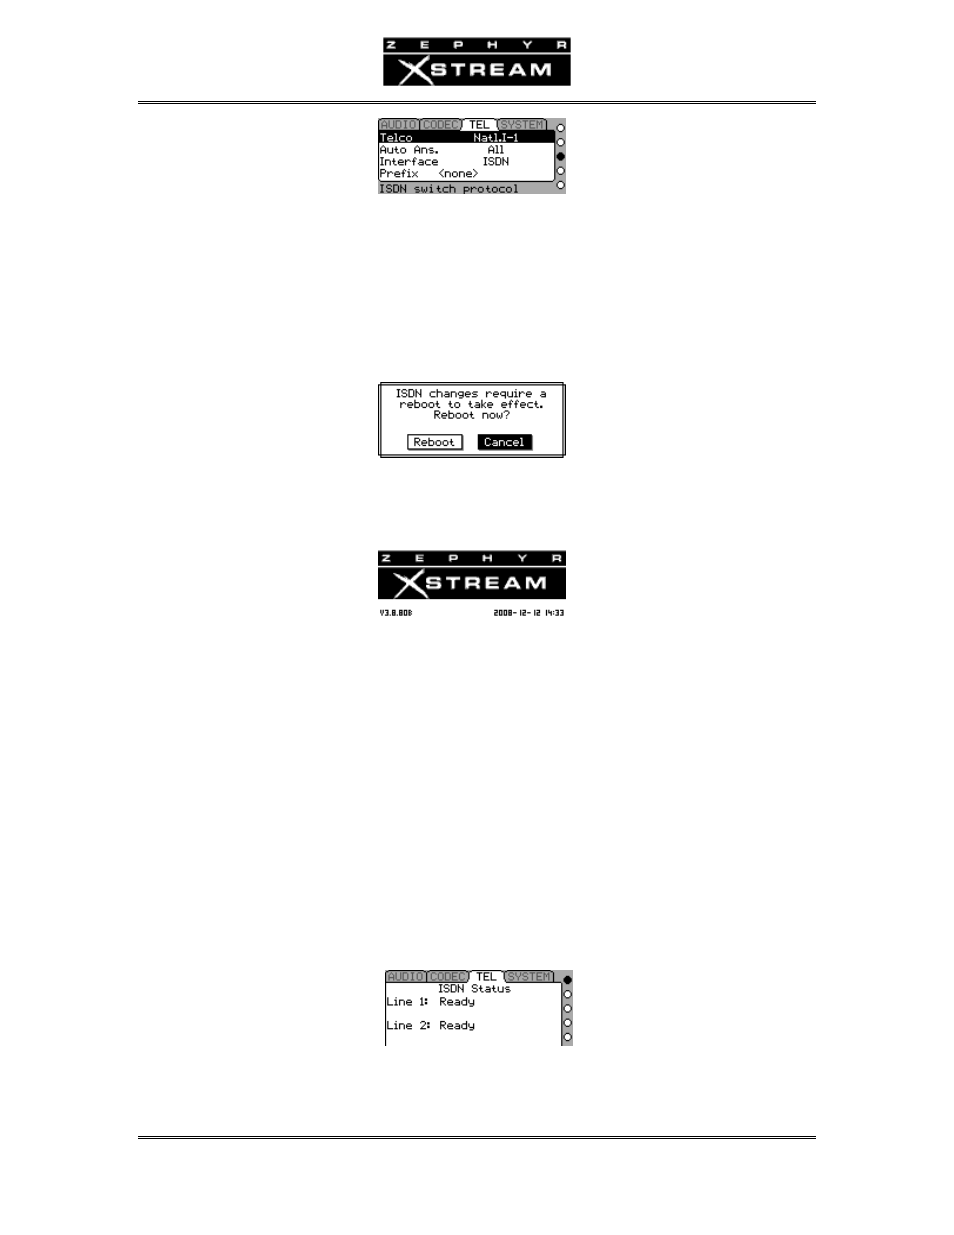
5. Make sure the dark cursor bar is highlighting the line labeled “Telco”. Press
the
5> or <6> button repeatedly until the
type of ISDN you have appears on the screen. Then press the
to accept it. Even if the correct ISDN type is shown, press the
to choose this item and then again to deselect it.
You should now see the following screen:
Press the <
6> button and then
Zephyr Xstream will reboot. After a few moments, you should see the
following screen:
In addition, you should observe the following:
• The SYNC lamp will be glowing green near the top of your Zephyr
Xstream’s front panel (above the Send meter).
• If you are using the Zephyr Xstream’s internal NT1 (i.e. are a user in the
USA or Canada), the little green LED (at the bottom left, of the back of
the unit) should be illuminated solidly, not blinking or flickering.
Note: if you are using an external (Telco provided) NT1 this LED will be
flickering, this is normal.
• Press the
screen should both indicate “Ready” (you may need to wait as long as
30 seconds for the ISDN to initialize, so be patient).
6. If these conditions are met, you are ready to place your first call. If not,
something is not right with your ISDN line, the way you have configured