HEIDENHAIN TNC 335 Technical Manual User Manual
Page 122

8/95
TNC 360
1 Machine Axes
4-25
Example:
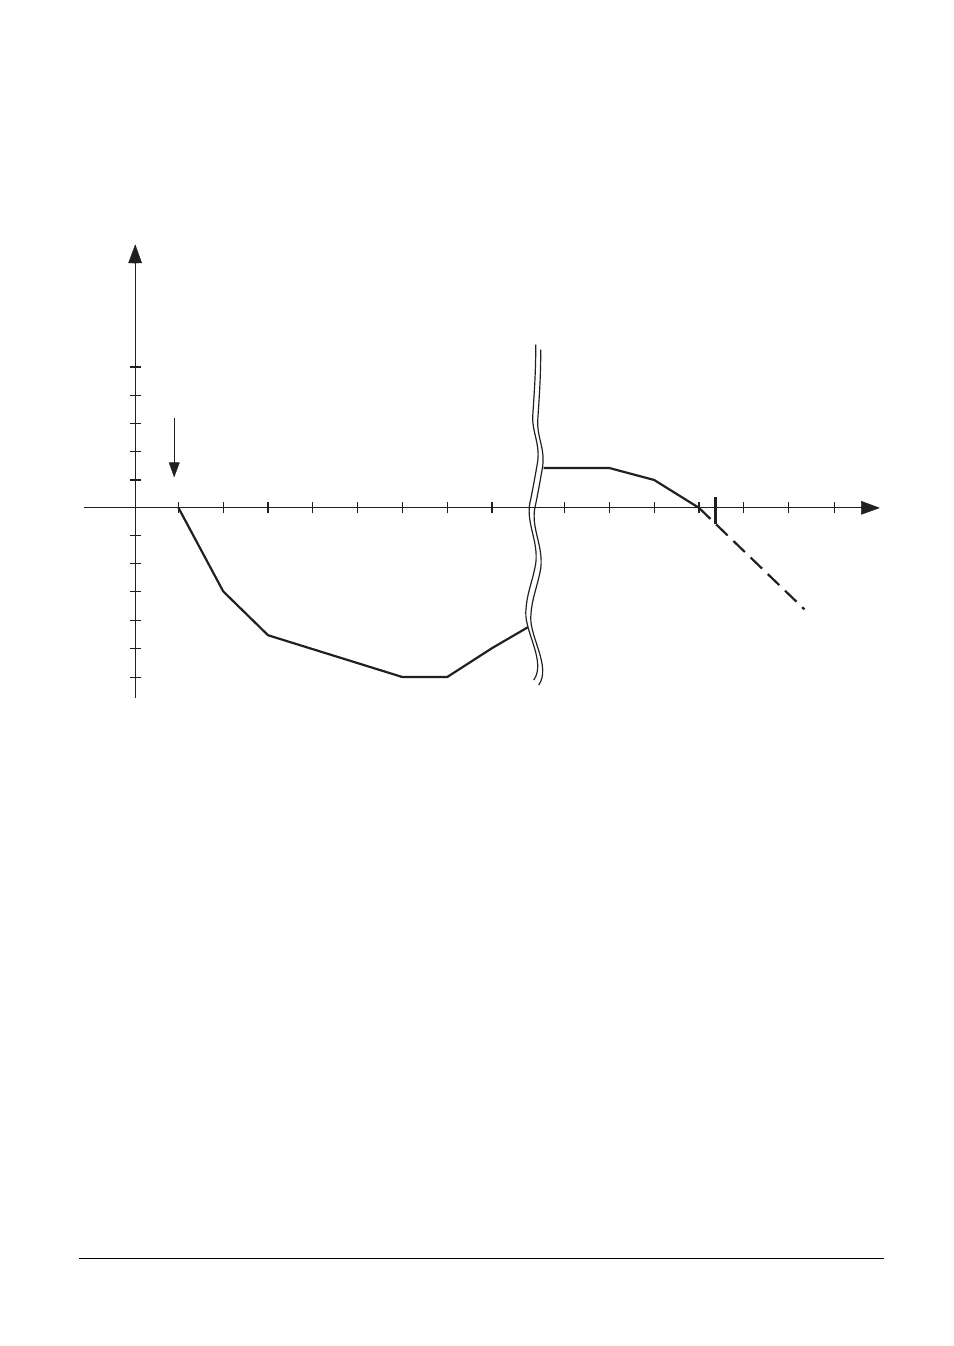
Y = F(Z)
Measurement length on Z axis = 1 000 mm
Desired distance between correction points = 1 000 mm : 64 = 15.62 mm
Possible exponent (base 2) = 2
14
= 16.384 mm
Datum point: - 990
–963.7856
–911.3568
–924.464
Error in Y
[mm]
Z
[mm]
0.1
0.08
0.06
0.04
0.02
-0.1
-0.08
-0.06
-0.04
-0.02
–990
–976.8928
–950.6784
–937.5712
–898.2496
-0.12
–46.2816
–33.1744
–20.0672
–6.96
+6.1472
+19.2544
Machine
datum
Datum
0
The errors which have thus been determined can be entered in the form of a table directly into the
HEIDENHAIN contouring control. However, the axis-error compensation is only effective when it is
enabled for a specific axis by the machine parameter MP730.
Before entering the correction table the code number 105 296 must be entered. After the code
number has been entered the control will initially show the correction table for the X axis:
X = F(X)
DATUM POINT +0
SETUP 1
0 X+0 X+0
1 X+0.001 X+0
2 X+0.002 X+0
.
.
.
- TNC 122 User Manual (63 pages)
- TNC 122 Technical Manual (70 pages)
- TNC 360 Service Manual (157 pages)
- TNC 416 Technical Manual (510 pages)
- TNC 360 User Manual (237 pages)
- TNC 360 ISO-Programmierung (2 pages)
- TNC 415 (280 540) User Manual (227 pages)
- TNC 370D (92 pages)
- TNC 416 (289 pages)
- TNC 415 (280 540) Technical Manual (752 pages)
- TNC 415 (259 96x) Service Manual (195 pages)
- TNC 407 (280 580) User Manual (376 pages)
- iTNC 530 (340 420) Pilot (104 pages)
- TNC 407 (280 580) ISO Programming (333 pages)
- TNC 415 (280 540) Service Manual (252 pages)
- PT 880 Installation (112 pages)
- ND 100 User Manual (116 pages)
- ND 287 User Manual (147 pages)
- ND 280 Quick Start (12 pages)
- ND 200 (156 pages)
- ND 282 (10 pages)
- ND 287 Quick Start (26 pages)
- ND 282 B (39 pages)
- ND 281 A (44 pages)
- ND 281 B v.1 (53 pages)
- ND 281 B v.2 (65 pages)
- ND 221 v.2 (10 pages)
- ND 231 B v.2 (56 pages)
- ND 231 B v.1 (44 pages)
- ND 221 B v.2 (45 pages)
- ND 550 v.2 (8 pages)
- NDP 560 (10 pages)
- ND 523 (93 pages)
- ND 570 (8 pages)
- ND 750 v.2 (46 pages)
- ND 760 v.3 (72 pages)
- ND 770 v.1 (40 pages)
- ND 770 v.3 (41 pages)
- ND 760 E (44 pages)
- IOB 49 (21 pages)
- NDP 960 (68 pages)
- ND 780 Installation (132 pages)
- ND 970 (47 pages)
- ND 1100 Quick Start (36 pages)
