Verilink 8100A (34-00237) Product Manual User Manual
Page 99

C o n f i g u r a t i o n
4-25
1
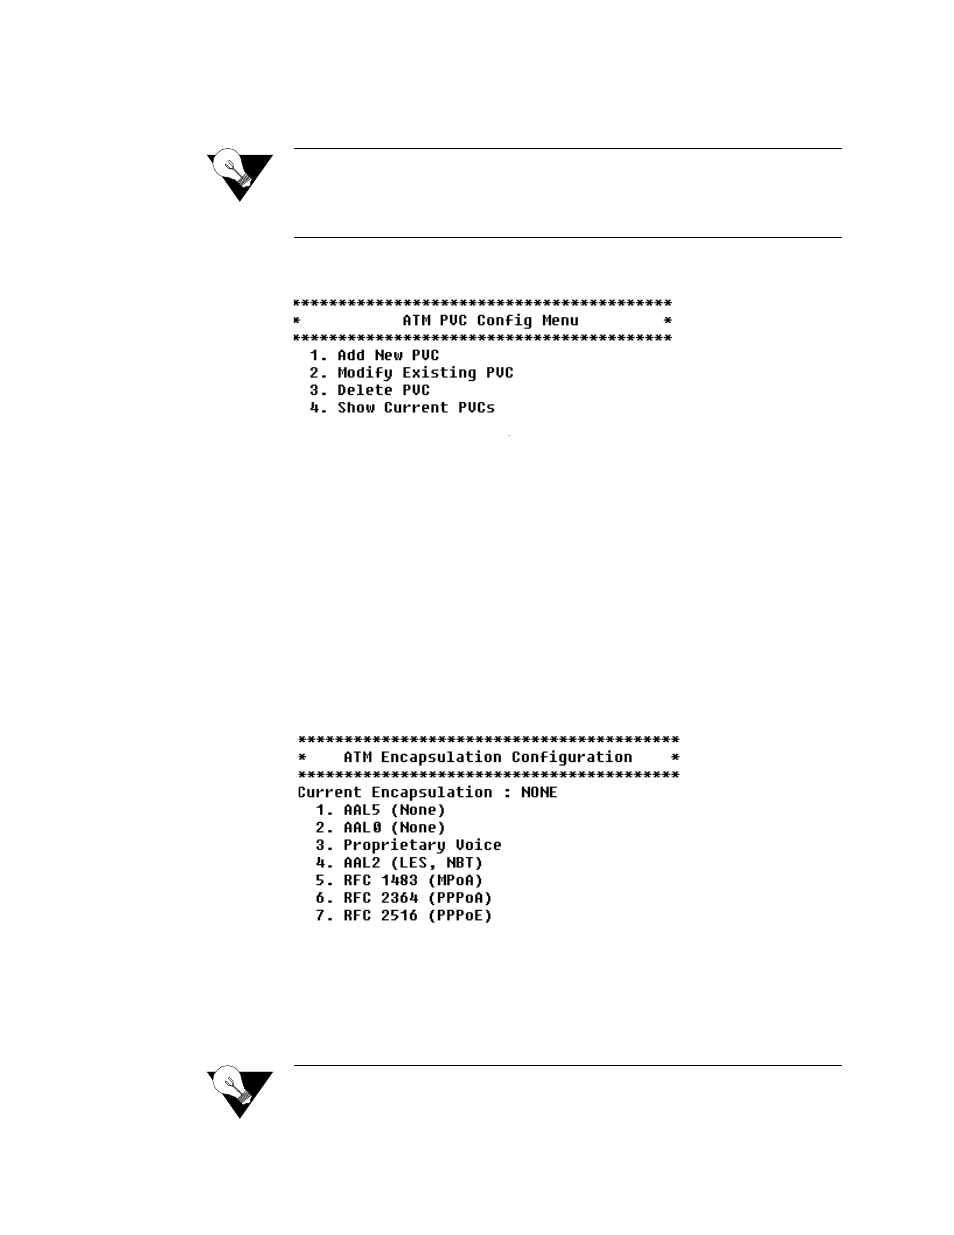
Type “3” on the WAN Configuration menu (Figure 4.4). The IAD displays
the ATM PVC Configuration menu (Figure 4.36).
NOTICE:
Before you configure PVCs, you must first set the datalink protocol to
ATM. If option 3 on the WAN Configuration menu displays Configure
DLCIs instead of Configure PVCs, your datalink protocol is set to
Frame Relay instead of ATM.
Figure 4.36
ATM PVC Configuration Menu
2
Type the option to perform a task. Each option is described below.
Add New PVC
To add a new PVC, follow the steps below.
1
On the ATM PVC Configuration menu, type “1”. The IAD prompts you to
enter the VPI.
2
Type a VPI value between 0 and 255 (default 0) and press Enter. The IAD
then prompts you for the VCI.
3
Type a VCI value between 32 and 65535 and press Enter. The IAD displays
the ATM Encapsulation Configuration menu as shown in Figure 4.37.
Figure 4.37
ATM Encapsulation Configuration Menu
4
Type the option for the encapsulation to configure for this PVC. The IAD
displays the ATM Service Category Configuration menu (Figure 4.38). If
you select either RFC 2364 (PPPoA) from the above menu, follow the on-
screen messages to set the PPP authorization type.
NOTICE:
The WAN Datalink Protocol Configuration menu sets up the IAD
internet link for Level 2 Transmission Convergence onto the physical
- 8108 Series IAD (34-00339.B) Product Manual 8508 Series IAD (34-00339.B) Product Manual 8208 Series IAD (34-00339.B) Product Manual 8308 Series IAD (34-00339.B) Product Manual 7500p Series IAD (34-00334.B) Product Manual 7200p Series IAD (34-00334.B) Product Manual 7000 Series (34-00334) Product Manual
