Saving selected slices, Anti-aliasing options, Text anti-aliasing – Adobe Illustrator CC 2015 User Manual
Page 102: Adjust path segments
97
Drawing
Last updated 6/5/2015
Saving selected slices
To save only selected slices from the artwork, click File > Save Selected Slices.
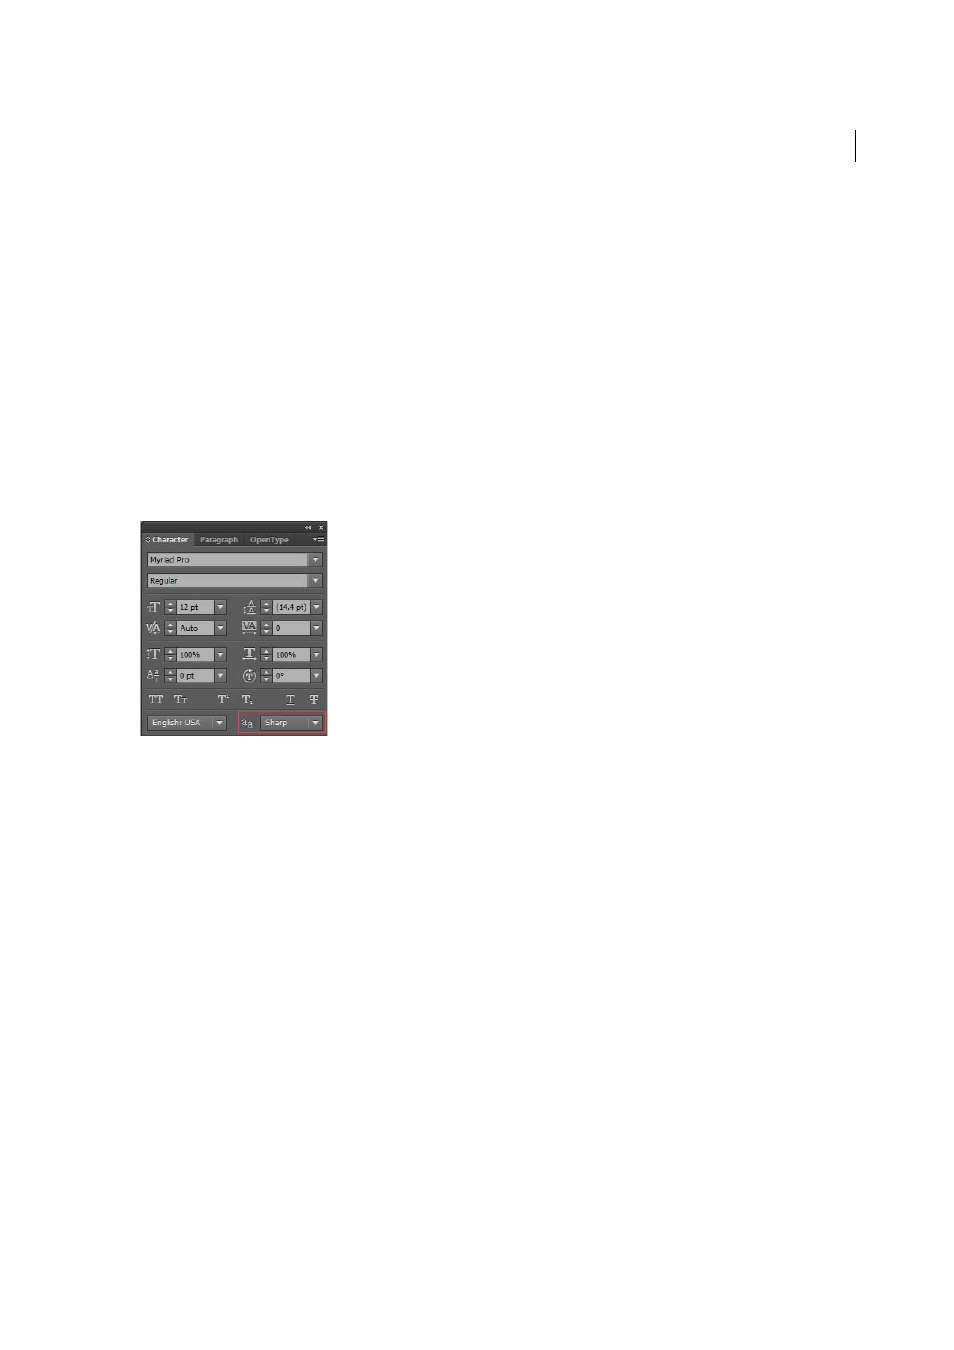
Anti-aliasing options
Text anti-aliasing
The Character panel in Illustrator provides the following text anti-aliasing options:
• None
• Sharp
• Crisp
• Strong
You can set anti-aliasing options for each text frame. These text anti-aliasing attributes get saved as part of the
document. These options are also supported for PDF, AIT, and EPS formats. Text anti-aliasing options can be exported
to or imported from PSD.
While exporting to BMP, PNG, Targa, JPEG, or TIFF formats the following options are available in the anti-aliasing
drop-down list: None, Art Optimized and Type Optimized.
• Art optimized option produces raster for each of these formats in the same way as in earlier versions. However, text
anti-aliasing options are not honored while rasterizing the artwork in this case.
• Type optimized option honors the newly introduced anti-aliasing options for the text frames in the raster produced.
These options are also available in Save for Web dialog box.
Adjust path segments
Editing path segments works similarly in Adobe applications. You can edit a path segment at any time, but editing
existing segments is slightly different from drawing them. Keep the following tips in mind when editing segments:
• If an anchor point connects two segments, moving that anchor point always changes both segments.
• When drawing with the Pen tool, press Ctrl (Windows) or Command (Mac OS) to temporarily activate the last used
selection tool (Illustrator) or the Direct Selection tool (InDesign and Photoshop) so that you can adjust segments
you’ve already drawn.