Translating the welcome.htm file – Echelon i.LON SmartServer 2.0 User Manual
Page 201
i.LON SmartServer 2.0 Programming Tools User’s Guide
187
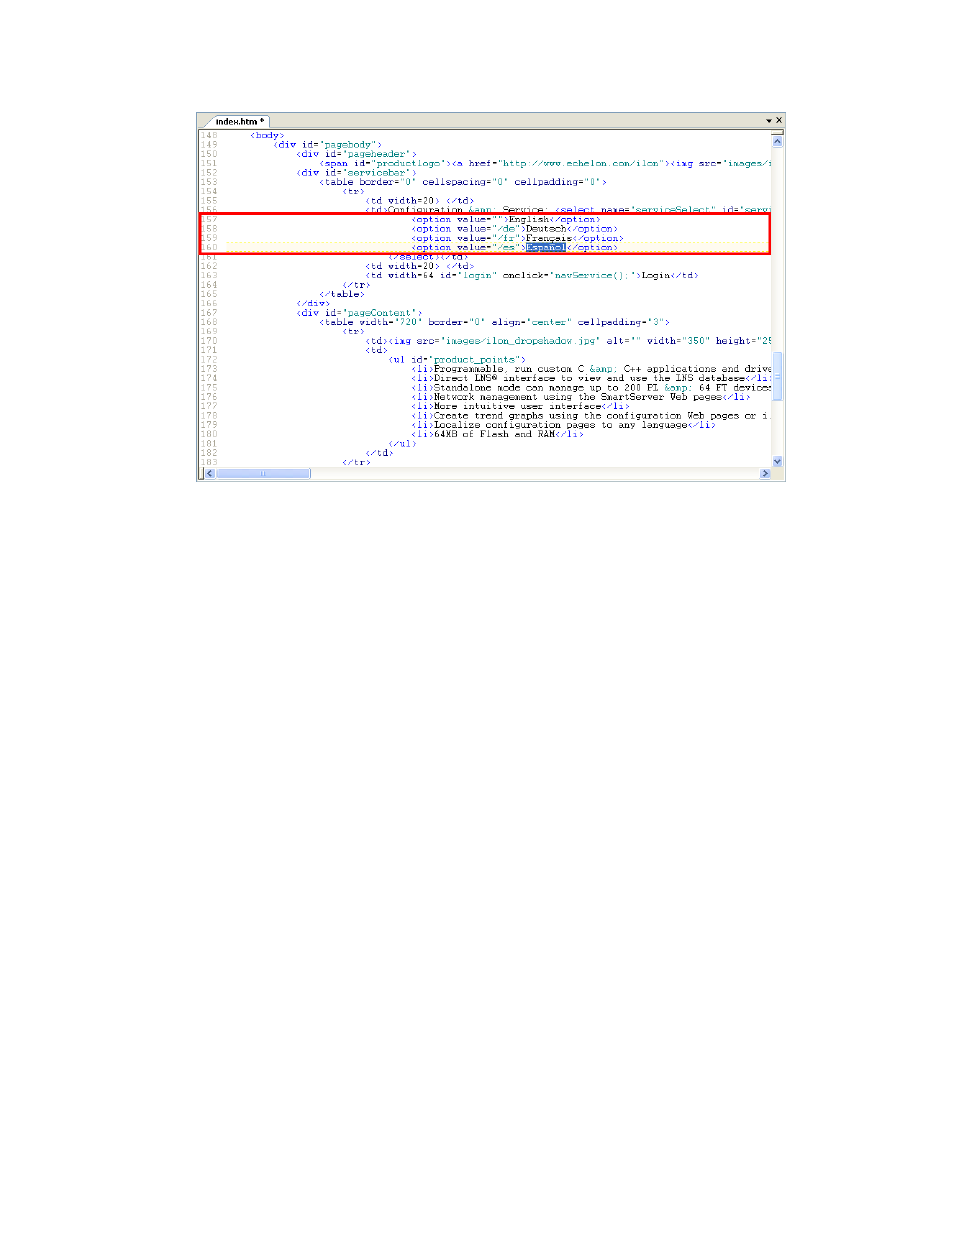
4. Save the index.htm file.
5. Copy the index.htm file to the SmartServer. To do this, follow these steps:
a. Browse to the LonWorks\iLon100\images\iLon100 4.0<x> <Language>\web folder on your
computer (or other location where the index.htm file in your working copy of the
SmartServer embedded image is stored).
b. Use FTP to access the root/web folder on the SmartServer flash disk.
c. Copy the index.htm file on your computer to the root/web folder on the SmartServer flash
disk.
Translating the Welcome.htm File
You can translate the Welcome.htm file in the web/user/echelon/<language[_REGION] [_variant]>
folder in your working copy of the SmartServer embedded image. You can do the translation with
i.LON Vision 2.0, or you can do it with a text editor.
Translating the Welcome.htm File with i.LON Vision 2.0
You can translate the Welcome.htm file using i.LON Vision 2.0. To do this, follow these steps:
1. Copy your web\user\echelon\<language[_REGION] [_variant]> folder on your computer to the
SmartServer. To do this, follow these steps:
a. Browse to the LonWorks\iLon100\images\iLon100 4.0<x> <Language>\web\user\echelon
folder on your computer (or other location where your working copy of the SmartServer
embedded image is stored).
b. Use FTP to access the root/web/user/echelon folder on the SmartServer flash disk.
c. Copy the <language[_REGION] [_variant]> folder on your computer to the
root/web/user/echelon folder on the SmartServer flash disk.
2. Start i.LON Vision 2.0. To do this, click Start, point to Programs, point to Echelon i.LON
Vision 2.0 SmartServer 2.0, and then click i.LON Vision 2.0 SmartServer 2.0. i.LON Vision
2.0 opens.
3. Connect i.LON Vision 2.0 to your SmartServer. To do this, click Manage Connections in the
Sites pane on the left side, or click File and then click Site Manager. The Site Manager dialog