Echelon i.LON SmartServer 2.0 User Manual
Page 200
186
Localizing the SmartServer Web Interface
To create a new web/user/echelon/<language[_REGION] [_variant]> folder, follow these steps:
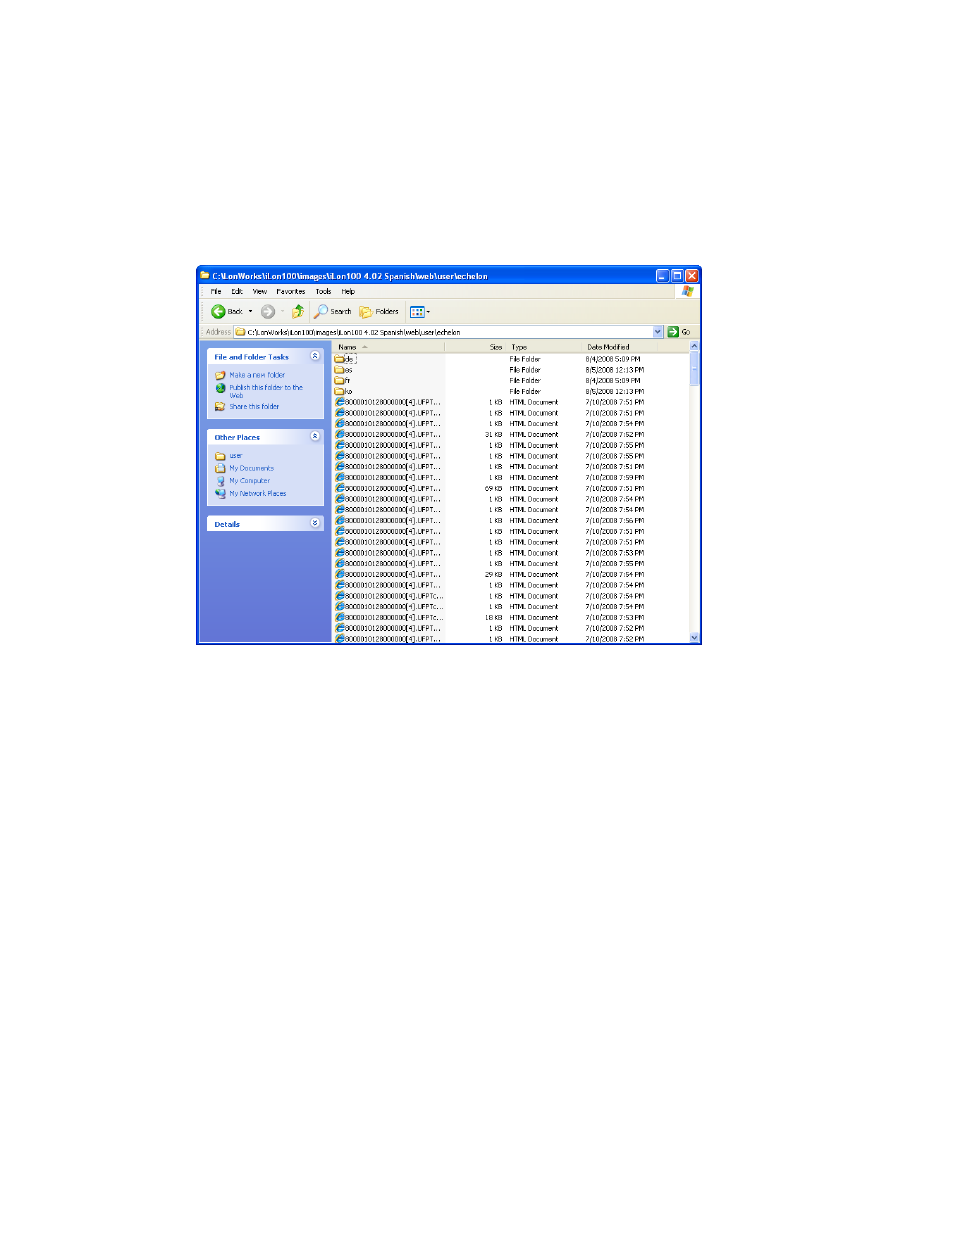
1. Browse to the LonWorks\iLon100\images\iLon100 4.0<x> <Language>\web\user\echelon folder
on your computer (or other location where your working copy of the SmartServer embedded
image is stored).
2. Create a new folder named <language[_REGION] [_variant]>. For example, if you are creating a
Korean translation, create a new folder named “ko”. If you are creating a Spanish translation,
create a new folder named “es”.
3. Copy the index.htm, Menu.htm, Sidebar.htm, Welcome.htm files to the new
<language[_REGION] [_variant]> folder.
4. Copy the <language[_REGION] [_variant]> folder to the SmartServer. To do this, follow these
steps:
a. Use FTP to access the root/web/user/echelon folder on the SmartServer flash disk.
b. Copy the <language[_REGION] [_variant]> folder on your computer to the
root/web/user/echelon folder on the SmartServer flash disk.
Editing the index.htm File to Enable a New Language on the SmartServer
You can edit the index.htm file in the web folder with a text editor so that you can select your
language from your i.LON SmartServer 2.0’s home page. After you enable your localized language in
the index.htm file, you can copy the file to the SmartServer. To do this, follow these steps:
1. Browse to the LonWorks\iLon100\images\iLon100 4.0<x> <Language>\web folder on your
computer (or other location where the index.htm file in your working copy of the SmartServer
embedded image is stored).
2. Open the index.htm file with a text editor such as Notepad, WordPad, or TextPad.
3. Locate the “
language. For example, if you are creating a Spanish translation, insert the following text:
value="es/"> Español