Echelon i.LON SmartServer 2.0 User Manual
Page 193
i.LON SmartServer 2.0 Programming Tools User’s Guide
179
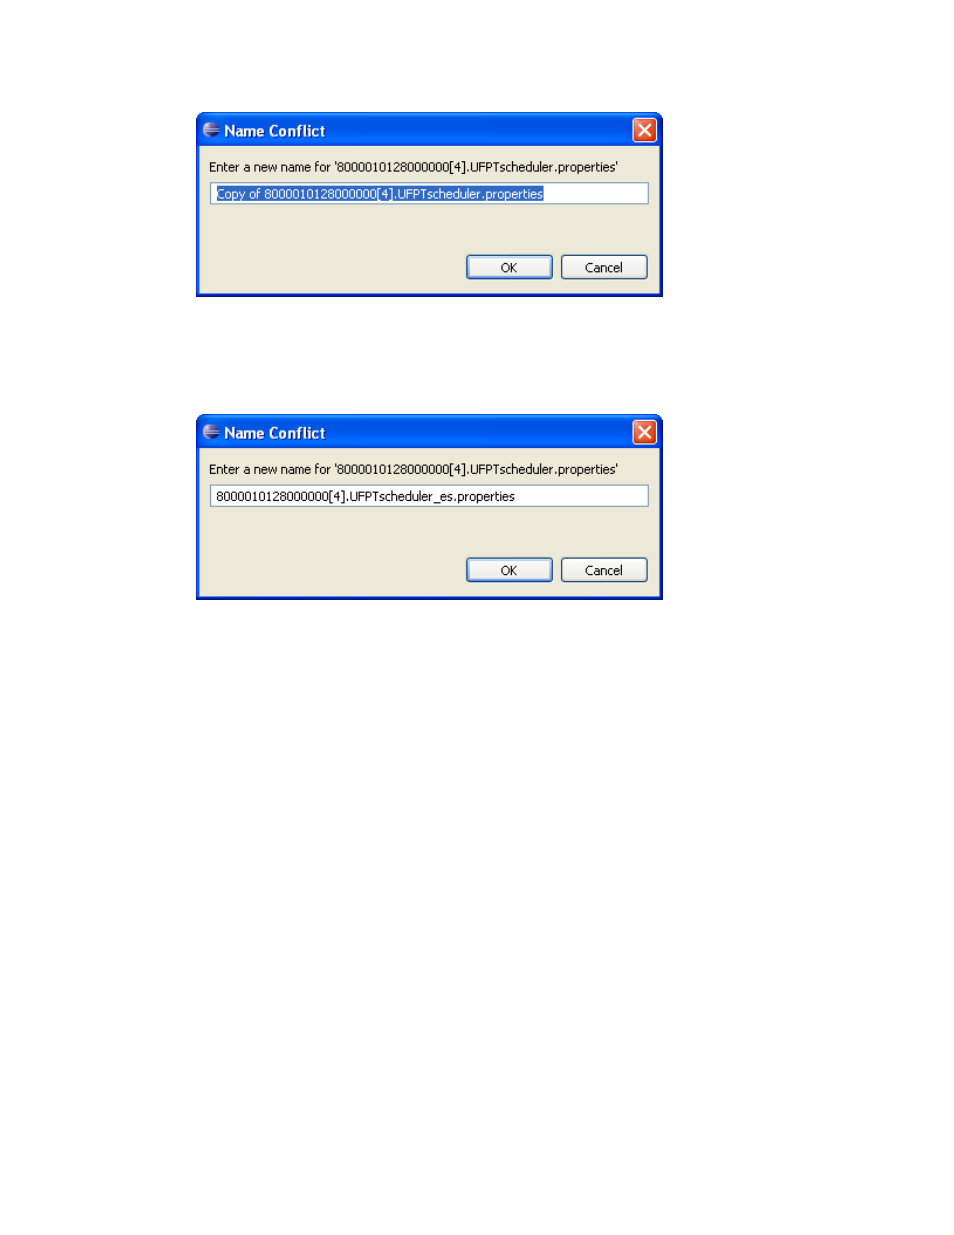
2. Re-name the copy by deleting the “Copy of” pre-fix and inserting the “<_language[_REGION]
[_variant]>” suffix between the name of the embedded application and the .properties extension.
For example, you can create a Spanish version of the Event Scheduler by copying and pasting the
8000010128000000[4].UFPTscheduler.properties file and re-naming it
8000010128000000[4].UFPTscheduler_es.properties.
3. Click OK. The new localized version of the .properties file appears in the C/C++ Projects view.
4. Double-click the new localized version of the .properties file to begin translating its properties in
the Editor view.
5. Copy the localized copy of the embedded application’s .properties file to the SmartServer. To do
this, follow these steps:
a. Browse to the LonWorks\iLon100\images\iLon100 4.0<x> <Language>\web\nls\echelon
directory or on your computer (or other location where your working copy of the NLS files is
stored).
b. Use FTP to access the root/web/user/echelon/ folder on the flash disk of your SmartServer.
12. Copy the <application><_language[_REGION] [_variant]>.properties file in the
LonWorks\iLon100\images\iLon100 4.0<x> <Language>\web\nls\echelon folder on your
computer to the root/web/nls/echelon/ folder on the SmartServer flash disk.
Creating a Localized Custom SmartServer Web Page
You can create new custom SmartServer Web pages using i.LON Vision 2.0 and have the Web pages
appear in a localized language. To create localized custom SmartServer Web pages, you must translate
the COMMON.properties file and the .properties file of the application objects to be used in your
custom SmartServer Web pages as described in the previous sections. In addition, i.LON Vision 2.0
must be installed on your computer. For more information on installing i.LON Vision 2.0, see the
i.LON Vision 2.0 User’s Guide.
To create a localized custom SmartServer Web page, you do the following:
1. Start i.LON Vision 2.0. To do this, click Start, point to Programs, point to Echelon i.LON
Vision 2.0 SmartServer 2.0, and then click i.LON Vision 2.0 SmartServer 2.0. i.LON Vision
2.0 opens.