Cub Cadet I-Beam Style User Manual
Page 78
3-59
3
2.Place the gear selector indicator bracket in the
Forward Wheel Drive position.
3.Standing behind the tiller, grasp the upper han-
dle bar assembly with two hands.
4.Slowly engage the bail to the upper handle bar
assembly and make certain the drive wheels
are spinning.
5.If the wheels do not spin, loosen the hex jam
nut securing the eyebolt to the threaded clutch
cable end using a 7/32” and a 3/8” wrench.
6.Tighten the threaded cable end two complete
rotations at a time, checking the clutch bail
engagement for spinning tires.
7.When the proper adjustment has been
achieved, tighten the hex jam nut down secur-
ing the eyebolt to the threaded cable end using
a 7/32” wrench and a 3/8” wrench.
IMPORTANT: Perform the Neutral Clutch
Cable Adjustment section prior to operating the
tiller.
Secondary Forward Clutch Cable Adjustment
IMPORTANT: Perform the Primary Forward
Clutch Cable Adjustment section prior to per-
forming this section.
1.Disconnect and ground the spark plug wire
against the engine.
2.Remove the hairpin and clevis pin securing the
left wheel assembly to the wheel shaft.
3.Slide the left wheel assembly away from the
belt cover.
NOTE
Do not remove the left wheel assembly.
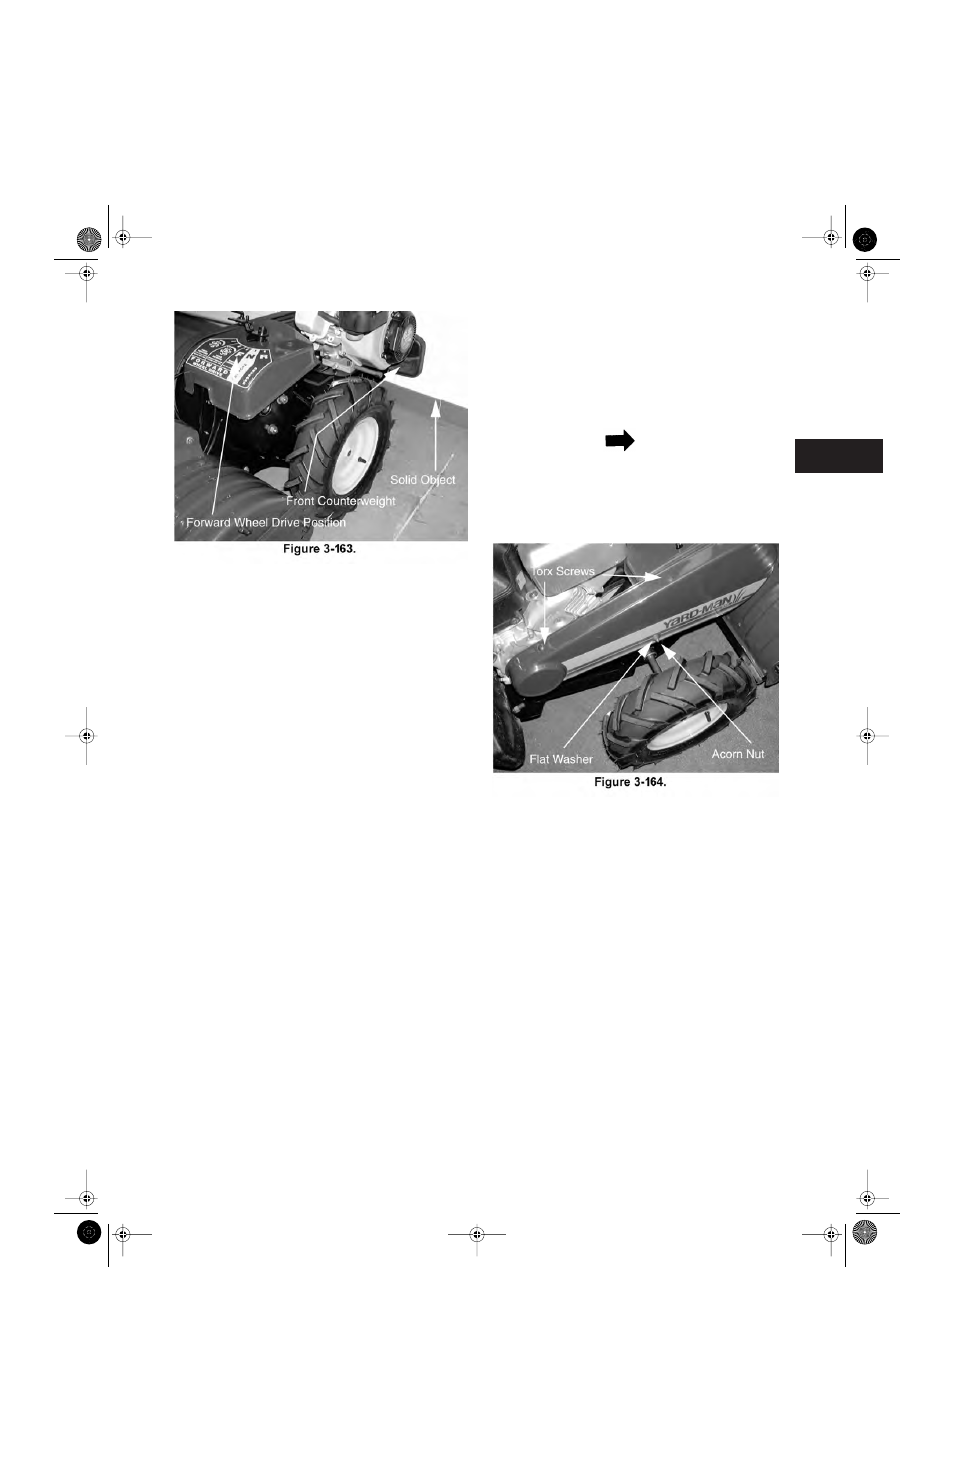
4.Remove both torx screws securing the top of
the belt cover to the tiller casing using a male
T27 torx. See Figure 3-164.
5.Remove the acorn lock nut and flat washer
securing the side belt cover to the tiller casing
using a 7/16” socket.
6.Remove the hex screw securing the belt cover
to the engine mounting bracket using a 3/8”
socket.
7.Remove the belt cover from the tiller.
8.Remove the hex screw, lock washer, and flat
washer securing the input pulley to the input
shaft using a 7/16” socket. See Figure 3-165.
Tillers.fm Page 59 Tuesday, February 19, 2002 1:28 PM