2 boards, Arrangement of hw – 2N NetStar Admin manual User Manual
Page 29
29
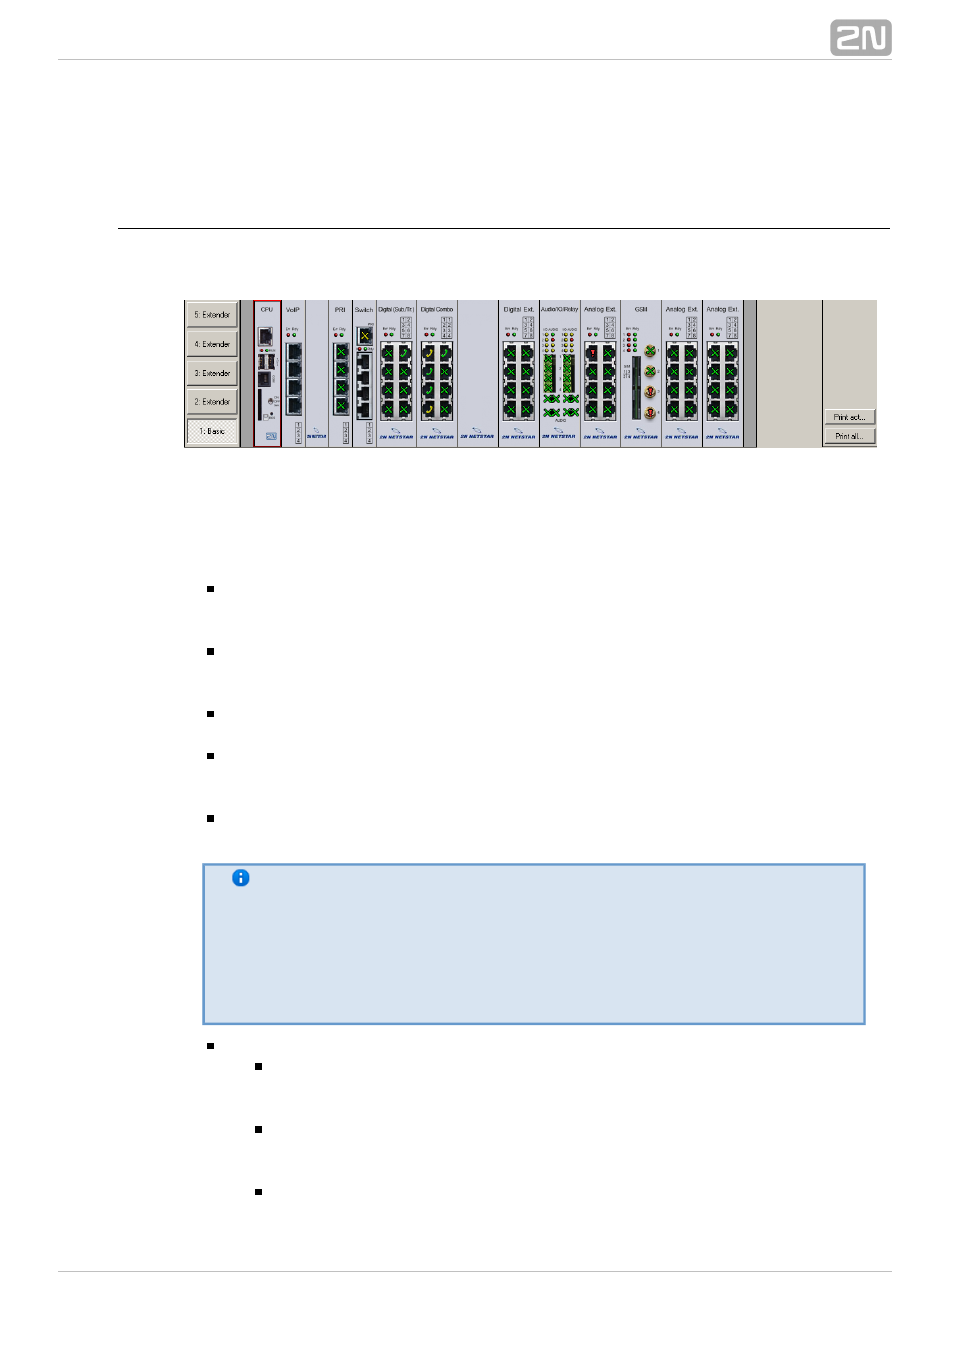
2.2 Boards
Arrangement of HW
Unfolding the
menu you can see the rack fitting as shown in the figure
HW – Rack
below.
Figure: View of PBX Basic Unit Panel
Push the buttons on the left-hand side of the PBX to switch between the basic unit and
extender views. Click on the right-hand mouse button in the basic unit or extender
view to display the following options:
Add board – click on an empty (no-board) PBX position to use this option. Add a
board that has been detected by the PBX (using the Detected option) or a board
from the list of supported boards for this position.
Remove board – use this option to remove a selected board. If virtual ports or
resources have been assigned to the board, you will be asked whether they
should be removed or retained.
Migrate virtual port/resource – use only if the context menu has been
displayed on a port to initiate a virtual port substitution dialogue.
Synchronise with detected – use this option to synchronise the current unit or
extender with the detected PBX boards. Before a board is removed from the
current configuration, you are asked to confirm the removal.
Expert menu – use this option to access the advanced unit, board or port
configuration functions. For details see later.
Let us explain the terms "virtual port" and "physical port" and their
difference for convenience. Basically, a virtual port is used for
software setting of basic properties of a physical port. The advantage
of this approach is the fact that the defined set of properties is
attributed to a physical port only if the virtual port is assigned to it.
Thus, you can esily move virtual ports between physical ports and
change their functions as necessary.
Expert menu – Virtual port
Assign virtual port/resource – use this option to assign an existing
virtual port to a physical port. Select a virtual port from the list of existing
ports.
Create virtual port/resource – use this option only for physical ports
without any assigned virtual port. The new virtual port is automatically
assigned to this physical port.
Remove virtual port/resource – use this option to remove a virtual port