4 extensions, Menu, Extensions – 2N NetStar Admin manual User Manual
Page 218: Extension creation
218
8.4 Extensions
Extension Creation
This tag gets displayed when you click on the
menu. A list of
Users – Extensions
available extensions is on the left and settings for a selected extension on the right. On
the left, you can also use the context menu with the following options:
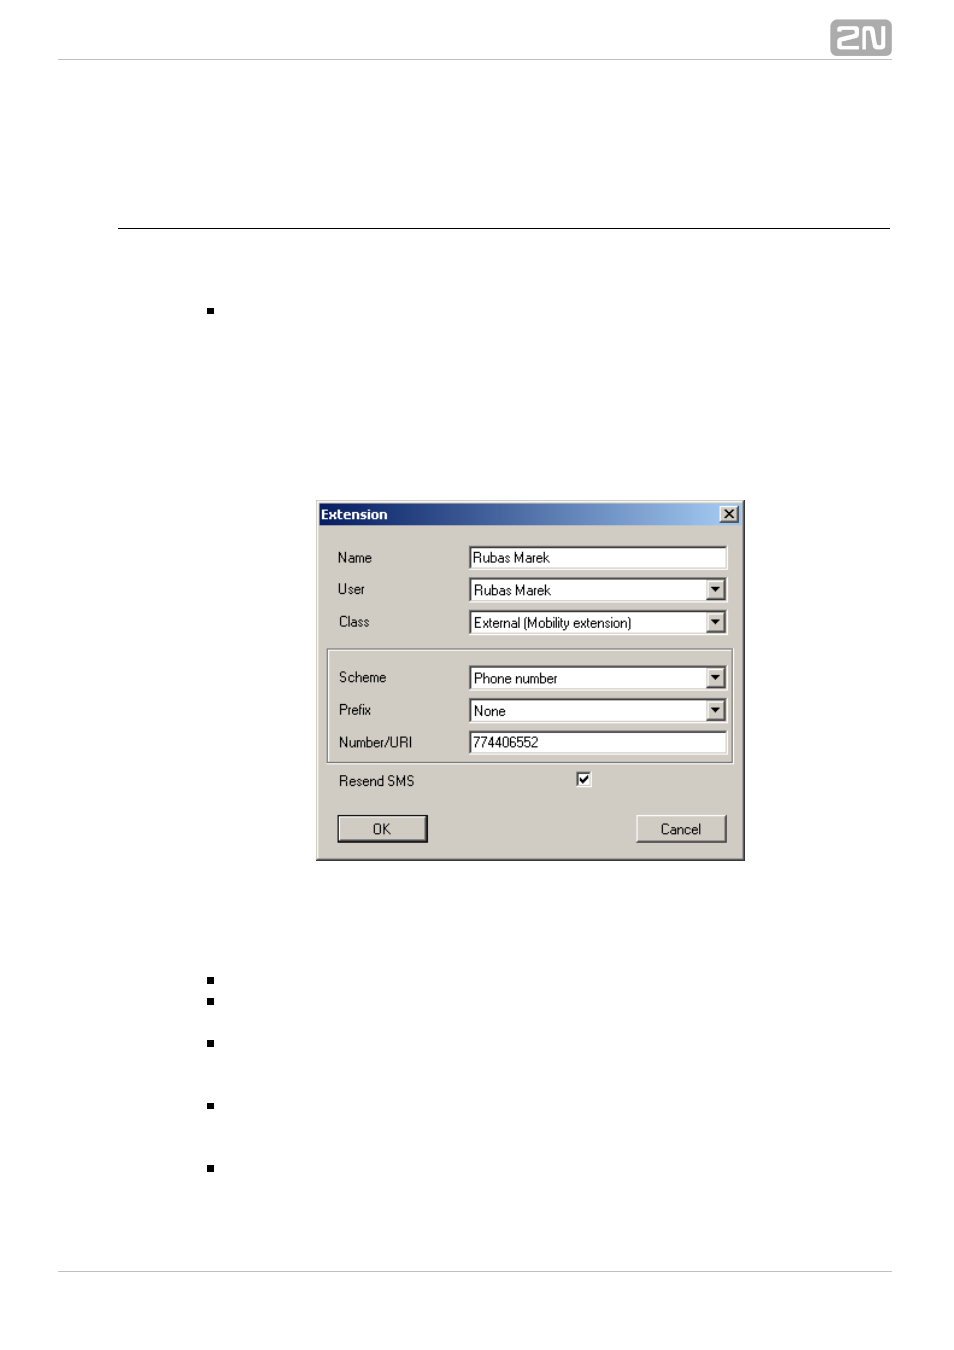
Add – use this option to add a extension. After clicking on this option you will
see a dialogue box as shown in Figure 1. First define the extension name. If you
choose an already existing name, the extension will not be created and you will
be warned. Assign each extension to a specific user in this dialogue box too.
Furthermore, fill in the
and, if you are creating an external
extension number
extension, fill in the
too (for call routing within other networks)
Routing number
and, if applicable, check the option
to resend all incoming SMS
Resend SMS
messages to the external extension.
Figure: Extension Creation Dialogue
Delete – use this option to delete a extension.
Rename – use this option to rename a extension. If you fill in an already
existing name, you will be warned.
Copy extension – use this option to create a extension for the selected user
with the same settings as the currently selected extension has. All the user has
to do is enter a new extension name.
Find – use this option to search extensive corporate databases for a extension by
its name or number. The name or number to be searched need not be complete
(may be a part of the string only).
Find next – use this option to enable repeated searching of the string that has
been entered in the
function. This option is unavailable until you fill in the
Find