Ag Leader EZ-Guide 500 Getting Started Guide User Manual
Page 38
Enter any additional pattern information (if necessary):
Set the A+ heading (for A+ patterns only)
a.
Define the number of headland circuits (for headlands only)
b.
Define the pattern on the field.
Step 1. Entering the vehicle information
From the main guidance screen, select
and then press
:
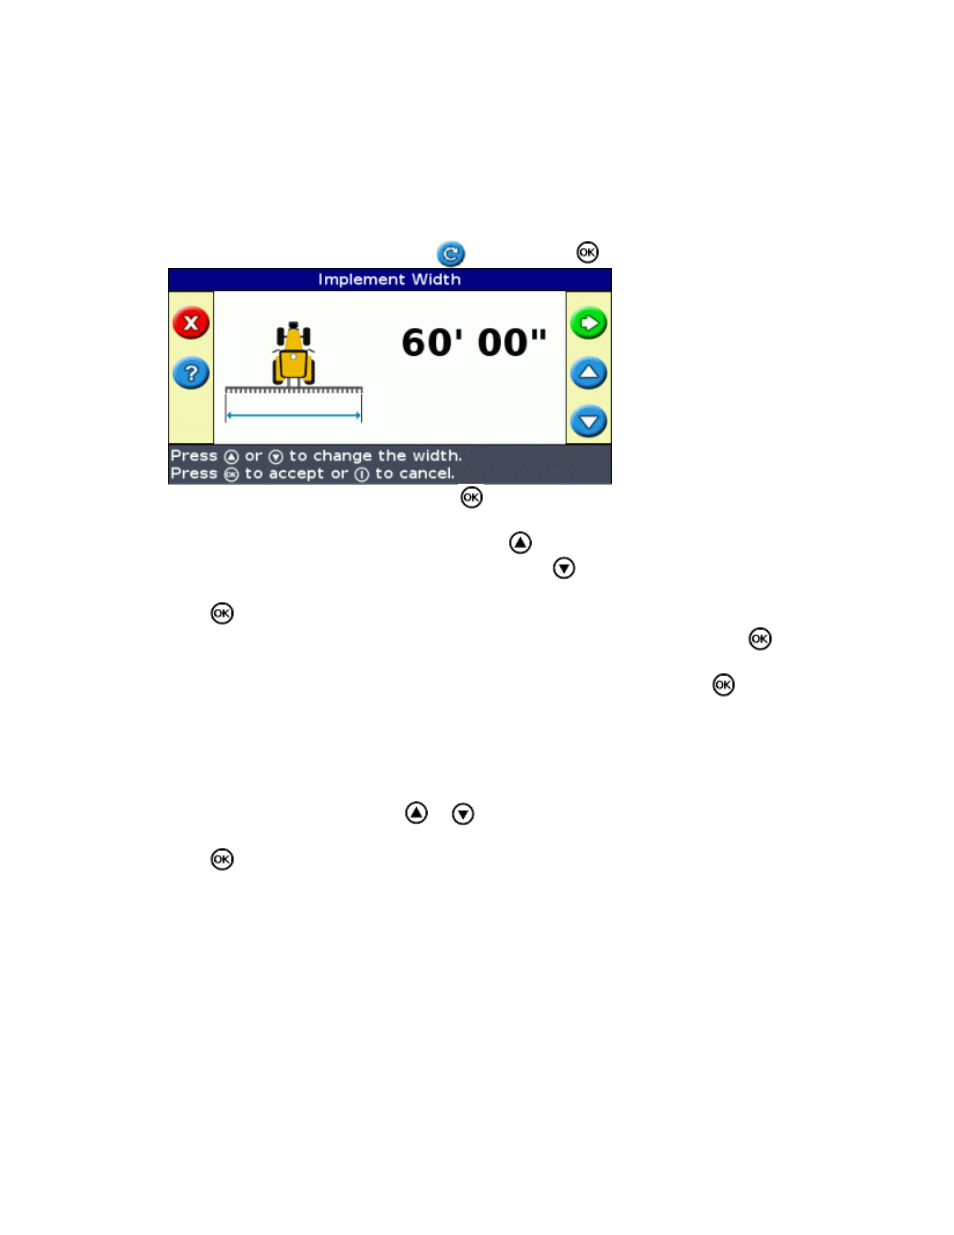
1.
Enter the implement width and then press
. The Overlap/Skip screen appears.
2.
Do one of the following:
3.
If you want your passes to overlap, press
to enter an overlap distance.
♦
If you want a space between your passes, press
to enter a skip distance.
♦
Press
. The Forward/Back Offset screen appears.
4.
Enter the distance that the implement is offset back from the antenna and then press
. The Left/Right
Offset screen appears.
5.
Enter the distance that the implement is offset from the antenna and then press
.
6.
Step 2. Selecting a pattern
Note: You automatically create a new field when you select a pattern.
On the Pattern Type screen, press
or
until you have selected the type of pattern that you want to
create. For a detailed description of each guidance pattern, see
1.
Press
.
2.
If you selected A+, the A+ Heading screen appears. See Step 3.
♦
If you selected Headland, the Headlands Circuits screen appears. See Step 3.
♦
If you selected Straight AB, Identical Curve, Adaptive Curve, FreeForm, or Pivot, the main
guidance screen appears. To begin driving, see Step 4.
♦
Step 3. Setting any additional line information (if necessary)
Setting the A+ line heading
When you create an A+ line, you need to specify the heading of the line:
34