How to add a motion-triggered output – Milestone Basis+ 6.5 User Manual
Page 98
Milestone XProtect Basis+ 6.5; Administrator’s Manual
described in How to Add a Motion-Triggered Output on page 98.
8. When ready, click the Output Settings for [Device Name] [Camera Name] window’s Exit
button to return to the Camera Settings for [Device Name] [Camera Name] window (see
page 39).
9. In the Camera Settings for [Device Name] [Camera Name] window, click OK to return to
the Administrator window (see page 26).
10. Close the Administrator. The defined output will now be available in the Remote Client
Client/Smart Client, as described in the beginning of this text. Note that individual users’
rights may prevent them from accessing specific cameras and/or output in the Remote
Client and Smart Client; such rights are defined through the Image Server Administrator
window (see page 109).
How to Add a Motion-Triggered Output
Note: Access to features in the Administrator application, including those described in the
following, may require administrator rights.
Output (e.g. lights, sirens, etc.) connected to cameras or other devices can be triggered
automatically when motion is detected by a camera. The output does not necessarily have to be
physically connected to the motion-detecting camera.
Note: The following describes one way of adding a motion-triggered output, namely through the
Output Settings for [Device Name] [Camera Name] window (see page 88). Alternatively, motion-
triggered output may be based on VMD events or—if a device has its own motion detection
capabilities—on input events. Once such VMD or input events have been added, they can be tied to
output through the I/O Control window (see page 88). In the following, it is assumed that the
required output unit has been connected to the output port on the required camera or other device,
but that it has not yet been defined on your XProtect Basis+ system. If you have already defined
the output on your system, begin at step 5.
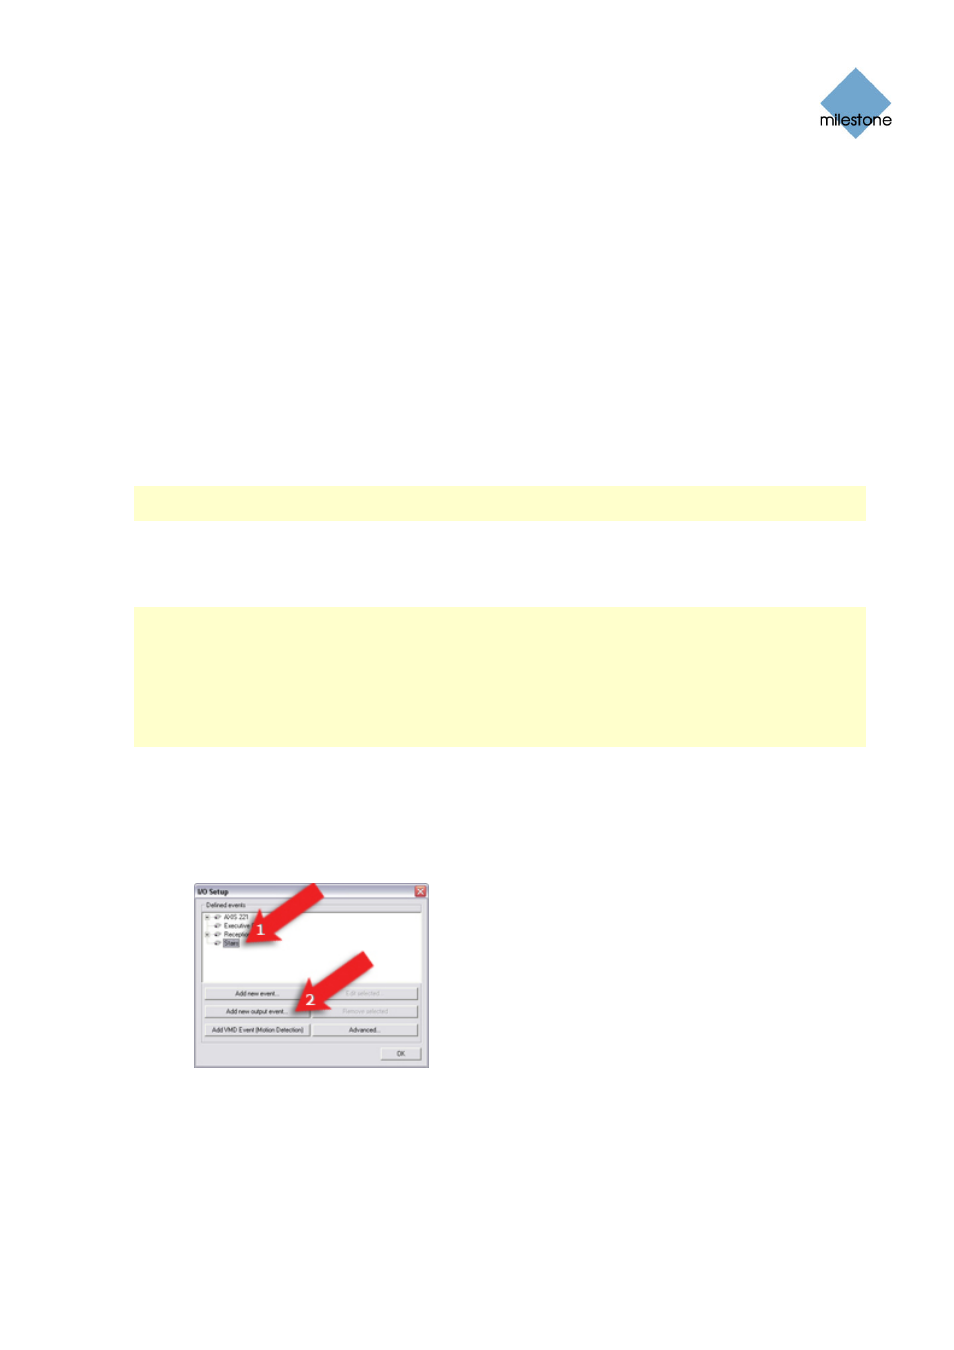
1. In the Administrator window (see page 26), click the I/O Setup button.
This will open the I/O Setup window (see page 74).
2. In the I/O Setup window (see page 74), first select the camera or other device to which the
output unit is connected, then click the Add new output event... button:
This will open the Add New Output window 82.
3. In the Add New Output window, the External output connected to field will show the name
of the selected camera or other device. Now specify information in the following fields:
•
Output connected on: Select the camera/device output port on which the output
unit is connected. Many cameras/devices only have a single output port; in that
www.milestonesys.com
Page 98
Input, Events & Output