How to add an event button – Milestone Basis+ 6.5 User Manual
Page 91
Milestone XProtect Basis+ 6.5; Administrator’s Manual
Click OK to close the I/O setup window and return to the Administrator window (see page
26). For system administrators defining actions to be triggered by events, the event will
now be selectable in line with other events defined on XProtect Basis+.
How to Add an Event Button
Events can be used for automatically triggering actions in XProtect Basis+, such as starting or
stopping recording on cameras, triggering e-mail notifications, making PTZ cameras move to
specific preset positions, activating output, etc. An event may also trigger several actions
simultaneously.
Several types of events exist (see About Input, Events & Output ...on page 73). In most cases,
events occur and actions are triggered without the need for human intervention by XProtect Basis+
users: System administrators define the criteria for each event, for example a certain amount of
detected motion or input from a specific sensor; when the criteria are met, the system interprets it
as an event, and automatically triggers the required actions.
However, you may also want users to be able to manually force an event to occur. For this
purpose, XProtect Basis+ lets you define event buttons. Event buttons let users manually trigger
events from the Smart Client. In the Smart Client, event buttons are actually not buttons; instead
users manually trigger events by selecting them from a list. See also 84 for examples of the many
ways in which you can use event buttons.
To add an event button, do the following:
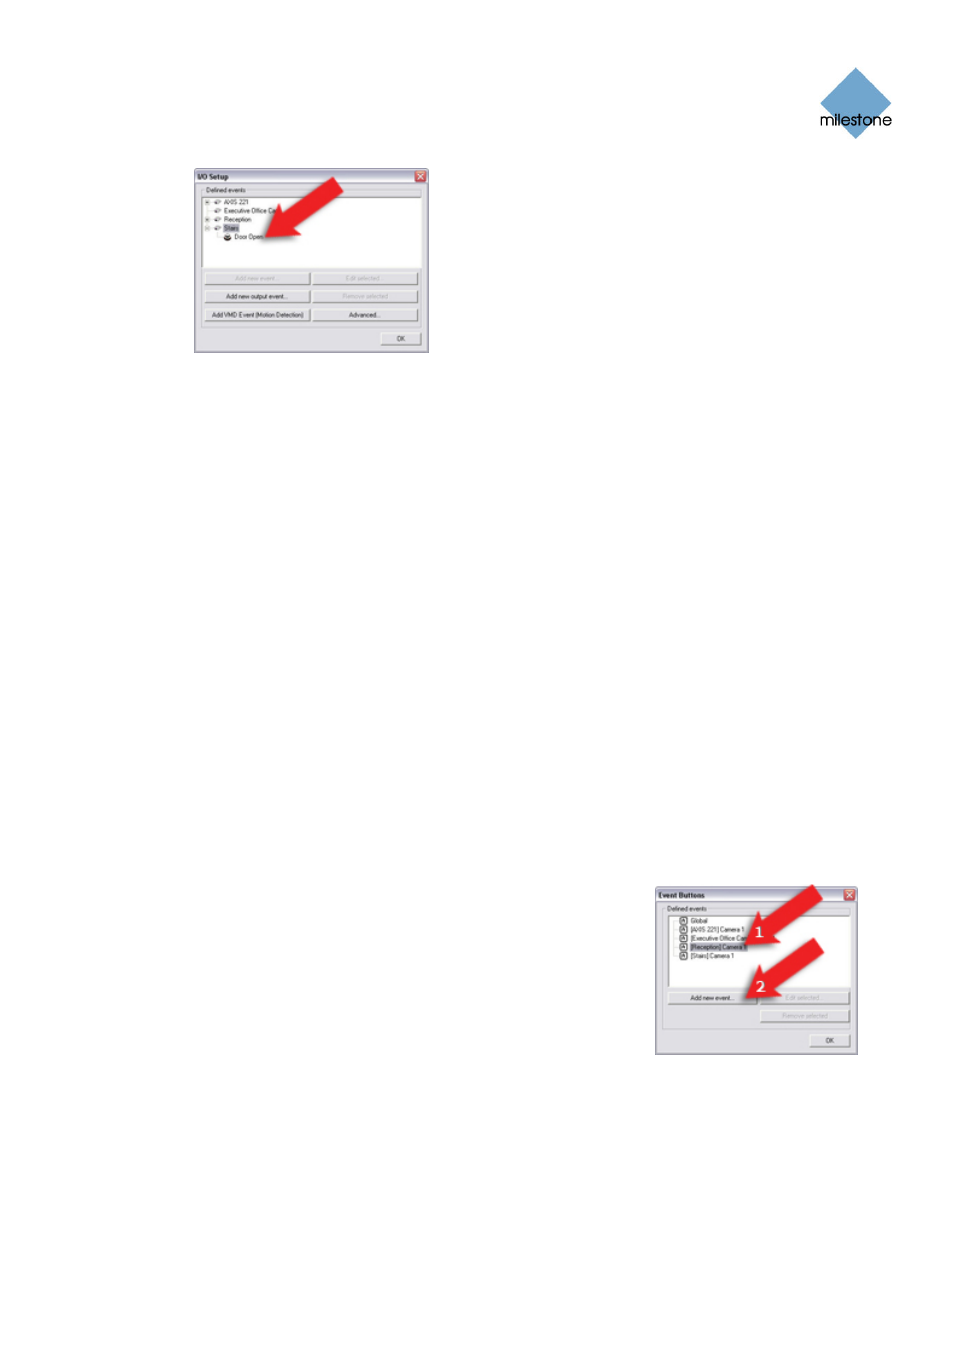
1. In the Administrator window (see page 26), click the Event Buttons... button.
This will open the Event Buttons window (see page 85).
2. In the Event Buttons window, first select the camera or other
device for which you want the event button to be available,
then click the Add new event... button.
Note that you are also able to make the event button
globally available (i.e. available to users regardless of which
camera/device they have selected in the Smart Clients.
To make the event button globally available, simply select
Global (at the top of the list) instead of a particular
camera/device. This will open the Add New Event window (for adding event buttons) – see
page 86.
3. In the Add New Event window (for adding event buttons), the Button related to field will
show the name of the selected camera or other device. If you are adding a globally
available event button, the field will display Global. Now specify information in the following
fields:
www.milestonesys.com
Page 91
Input, Events & Output