Preview image, Adjust motion detection window, Noise sensitivity – Milestone Basis+ 6.5 User Manual
Page 46
Milestone XProtect Basis+ 6.5; Administrator’s Manual
Note: As cameras are separate units which may have separate timing devices, power supplies,
etc., camera time and XProtect Basis+ system time may not correspond fully, and this may
occasionally lead to confusion. As all images are time-stamped by XProtect Basis+ upon reception
and exact date and time information for each image is thus already known, it is recommended that
you keep the Include Date and Time in Image check box cleared. Should you want to use the
Include Date and Time in Image feature, it is recommended that you click the Synchronize Time
button, if available. Clicking the Synchronize Time button will set camera time to system time, but
does not guarantee that camera time will match system time indefinitely.
Tip: For consistent synchronization, you may, if supported by the camera, auto-synchronize
camera and system time via a time server.
Preview Image
When adjusting camera settings, you are able to view the effect of your settings by clicking the
Preview Image button, located at the bottom of the window. Clicking the Preview Image button will
provide you with an image from the camera in question, as it would look with the settings specified
in the Camera Settings section. When you have found the best possible camera settings, click OK
to apply the settings for the camera.
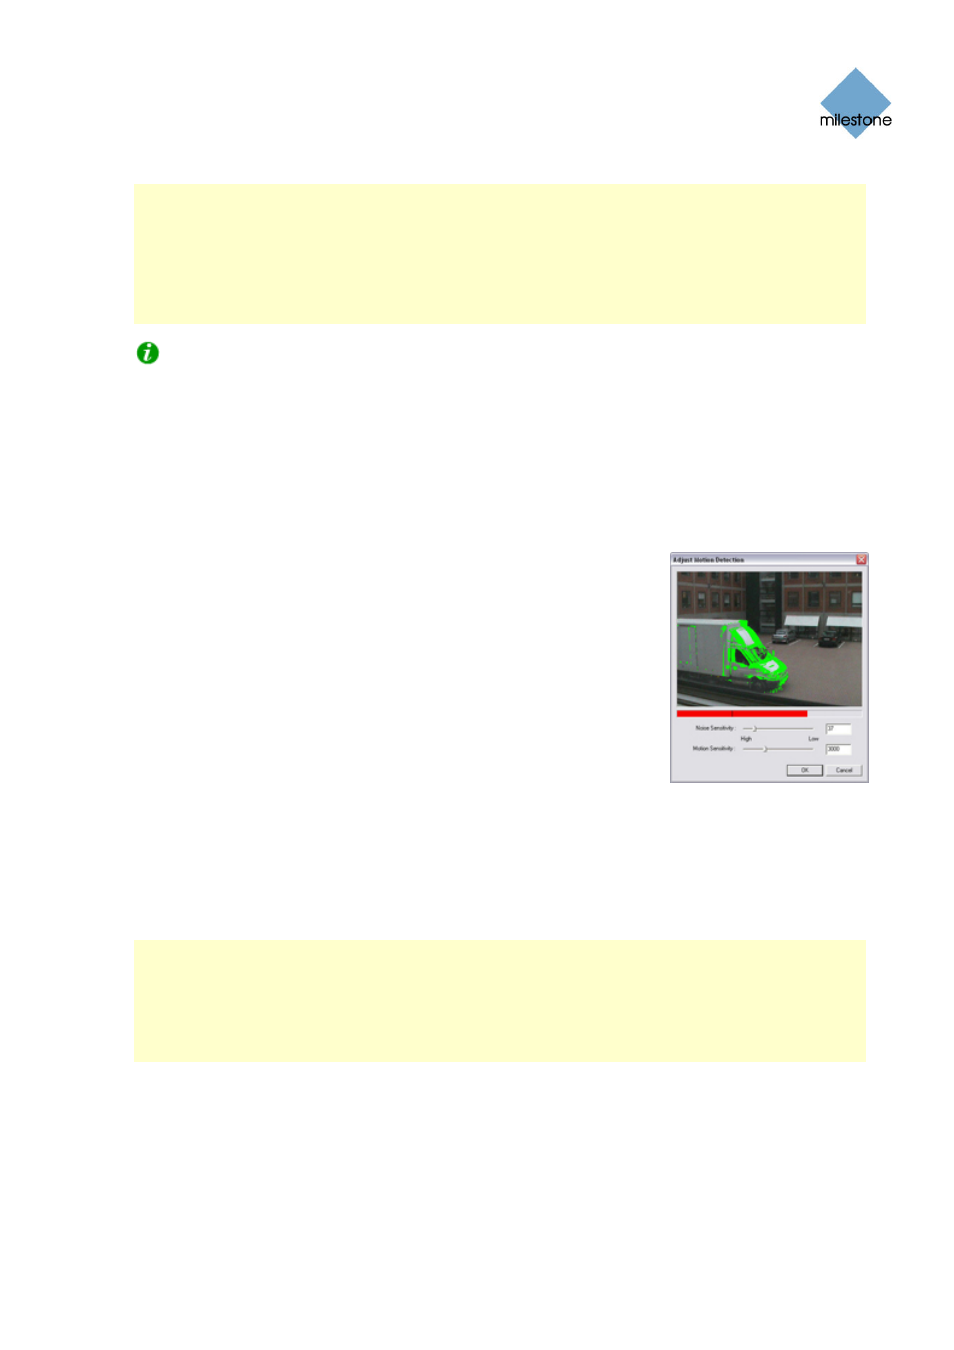
Adjust Motion Detection Window
The Adjust Motion Detection window lets you specify motion detection
sensitivity for a specific camera. Depending on your configuration,
motion detection sensitivity settings may determine when recordings
from the camera are transferred to the surveillance system, when
alerts are generated, when external outputs (such as lights or sirens)
are triggered, etc.
Motion detection sensitivity is therefore a key element in your XProtect
Basis+ surveillance solution, and time spent on finding the best possible motion detection settings
for each camera may help you later avoid unnecessary alerts, etc.
Depending on the physical location of the camera, it may be a very good idea to test motion
detection settings under different physical conditions (day/night, windy/calm weather, etc.).
You access the Adjust Motion Detection window by clicking the Motion Detection... button in the
Camera Settings for [Device Name] [Camera Name] window (see page 39).
Note: Before you configure motion detection sensitivity for a camera, it is highly recommended
that you have configured the camera’s image quality settings, such as resolution, compression,
etc., in the Configure Device window (see page 45), and that you have specified any areas to be
excluded from motion detection (for example if the camera covers an area where a tree is swaying
in the wind or where cars regularly pass by in the background) in the Define Exclusion Regions
window (see page 47). If you later change image quality settings and/or exclusion area settings,
you should always test motion detection sensitivity settings afterwards.
The Adjust Motion Detection window features two sliders; one for setting Noise Sensitivity and one
for setting Motion Sensitivity:
Noise Sensitivity
Noise is insignificant changes in individual pixels which should not be regarded as motion.
www.milestonesys.com Page
46 Camera
Administration