14 trusted remote hosts import – ZyXEL Communications NBG410W3G User Manual
Page 217
Chapter 11 Certificates
NBG410W3G Series User’s Guide
217
11.14 Trusted Remote Hosts Import
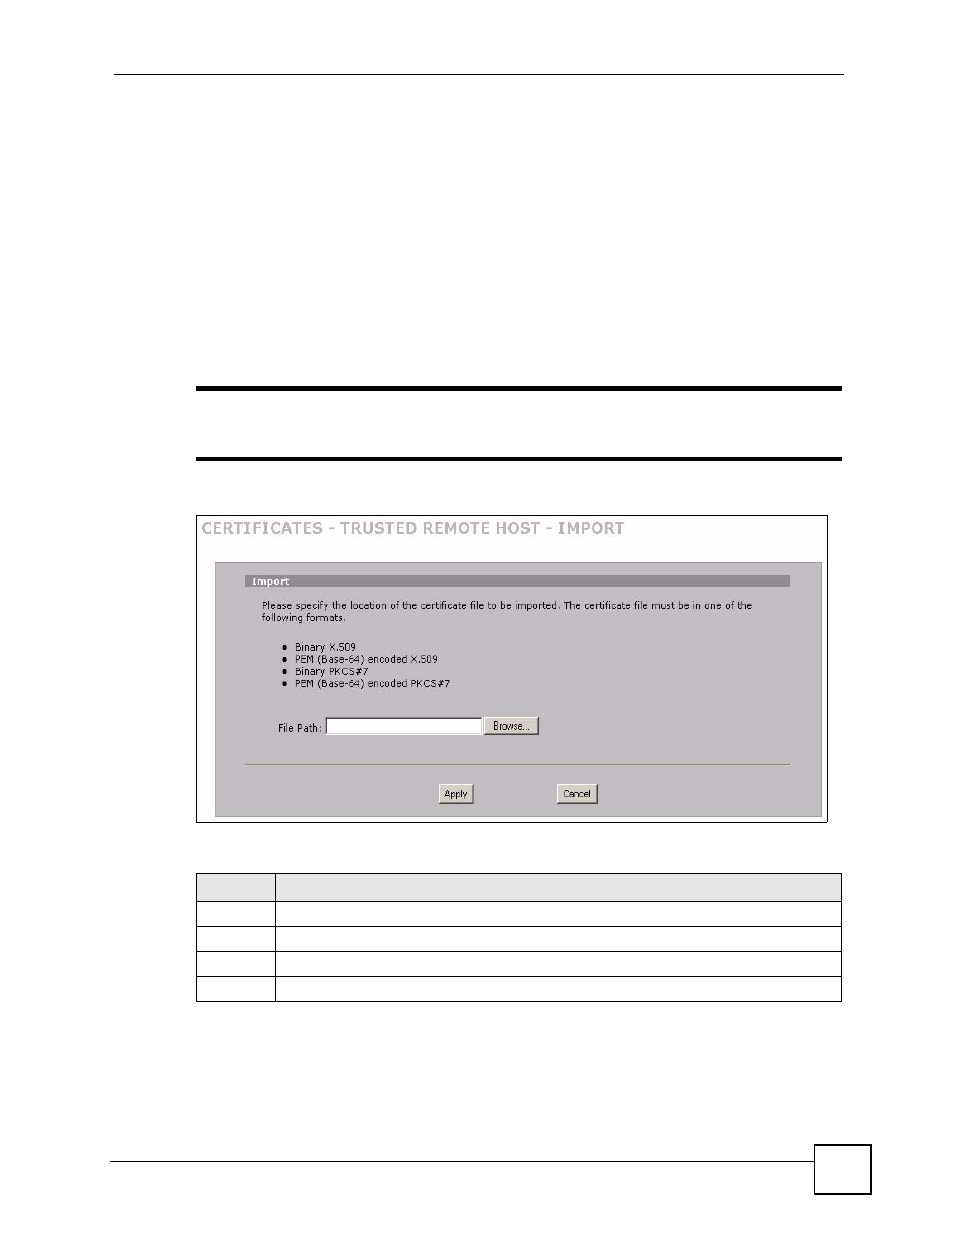
Click SECURITY > CERTIFICATES > Trusted Remote Hosts to open the Trusted
Remote Hosts screen and then click Import to open the Trusted Remote Host Import
screen.
You may have peers with certificates that you want to trust, but the certificates were not signed
by one of the certification authorities on the Trusted CAs screen. Follow the instructions in
this screen to save a peer’s certificates from a computer to the ZyXEL Device.
You do not need to add any certificate that is signed by one of the certification authorities on
the Trusted CAs screen since the ZyXEL Device automatically accepts any valid certificate
signed by a trusted certification authority as being trustworthy.
"
The trusted remote host certificate must be a self-signed certificate; and you
must remove any spaces from its filename before you can import it.
Figure 132 SECURITY > CERTIFICATES > Trusted Remote Hosts > Import
The following table describes the labels in this screen.
Table 61 SECURITY > CERTIFICATES > Trusted Remote Hosts > Import
LABEL
DESCRIPTION
File Path
Type in the location of the file you want to upload in this field or click Browse to find it.
Browse Click
Browse to find the certificate file you want to upload.
Apply
Click Apply to save the certificate on the ZyXEL Device.
Cancel
Click Cancel to quit and return to the Trusted Remote Hosts screen.