Specifying automation settings in xplay, Specifying automation settings in xplay -3, Specifying automation settings in xplay” on – Grass Valley Xplay Vertigo Suite v.5.0 User Manual
Page 94
Xplay User Manual
5-3
Controlling Xplay devices using automation protocols
Specifying Automation settings in Xplay
For automation to control a Vertigo playout device, Xplay must run on the same device that
is to be controlled. To ensure frame accuracy during playout, you must configure both Xplay
and the device’s A
UTOMATION
settings to be complementary. Note that frame accuracy is
not supported when using playlists.
To configure Xplay’s Automation settings:
1.
Open Xplay on the rendering machine that will be controlled by the automation system.
2.
Select the T
OOLS
>S
ETTINGS
from the Xplay menu commands to open the S
ETTINGS
dialog box.
3.
Navigate through X
PLAY
>A
UTOMATION
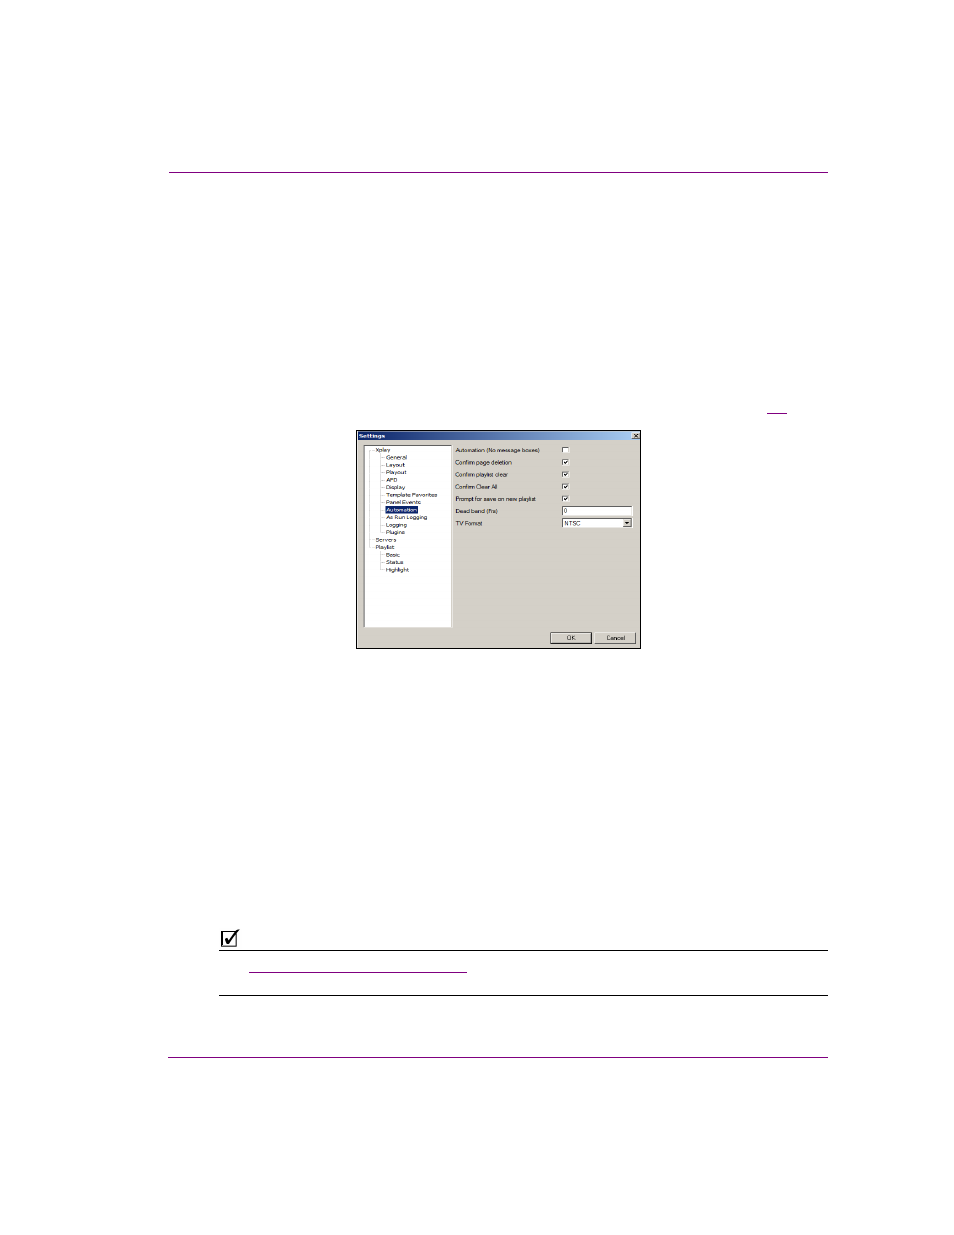
to display Xplay’s Automation settings (figure
Figure 5-3. Xplay’s Automation settings
4.
Enable the A
UTOMATION
(N
O
M
ESSAGE
BOXES
) setting, which overrides the behavior of
the four (4) settings below it and prevents message boxes from appearing during Xplay
operations.
5.
Optional: if you are planning on using the Evertz protocol, then you must specify the
D
EAD
BAND
setting (otherwise ignore this setting). The Dead band setting allows you to
synchronize the taking and clearing of multiple templates within the Evertz protocol.
6.
Select from the TV F
ORMAT
setting’s drop-down list the format target TV format for the
execution of automation commands and page creation. This is used to determine the
number of frames per second and to display timecode values. This TV Format should
match the TV Format of the templates that you build and the Rendering Resolution
setting of your rendering device.
7.
Click OK.
N
OTE
See
“Automation settings” on page 6-25
for further information regarding Xplay’s A
UTOMATION
settings.