Adding media into adobe premiere elements – Adobe Premiere Elements 12 User Manual
Page 40
Adding media into Adobe Premiere Elements
Elements Organizer
Adobe Revel
Files And Folders
Add media from Embedded Elements Organizer
Import from Adobe Revel
Add files from Files and Folders
Import photos from your digital camera, phones, or removable drive
Import from Flip, AVCHD, cameras, phones, or removable drives
Capture video from DV/HDV camcorders, webcams, and WDM devices
You can add media to Premiere Elements using one of these methods:
capturing from live or recorded sources
importing files from other types of storage
adding from the Project Assets panel
recording narrations from a microphone
When you add media files to Premiere Elements, they are added to the Quick view timeline and the Expert view timeline. In addition, they are
added to the Project Assets panel in the Expert view.
A thumbnail, called a clip, represents each file in the Project Assets panel. Clips, whether they contain audio, video, or images, are the building
blocks of your movies.
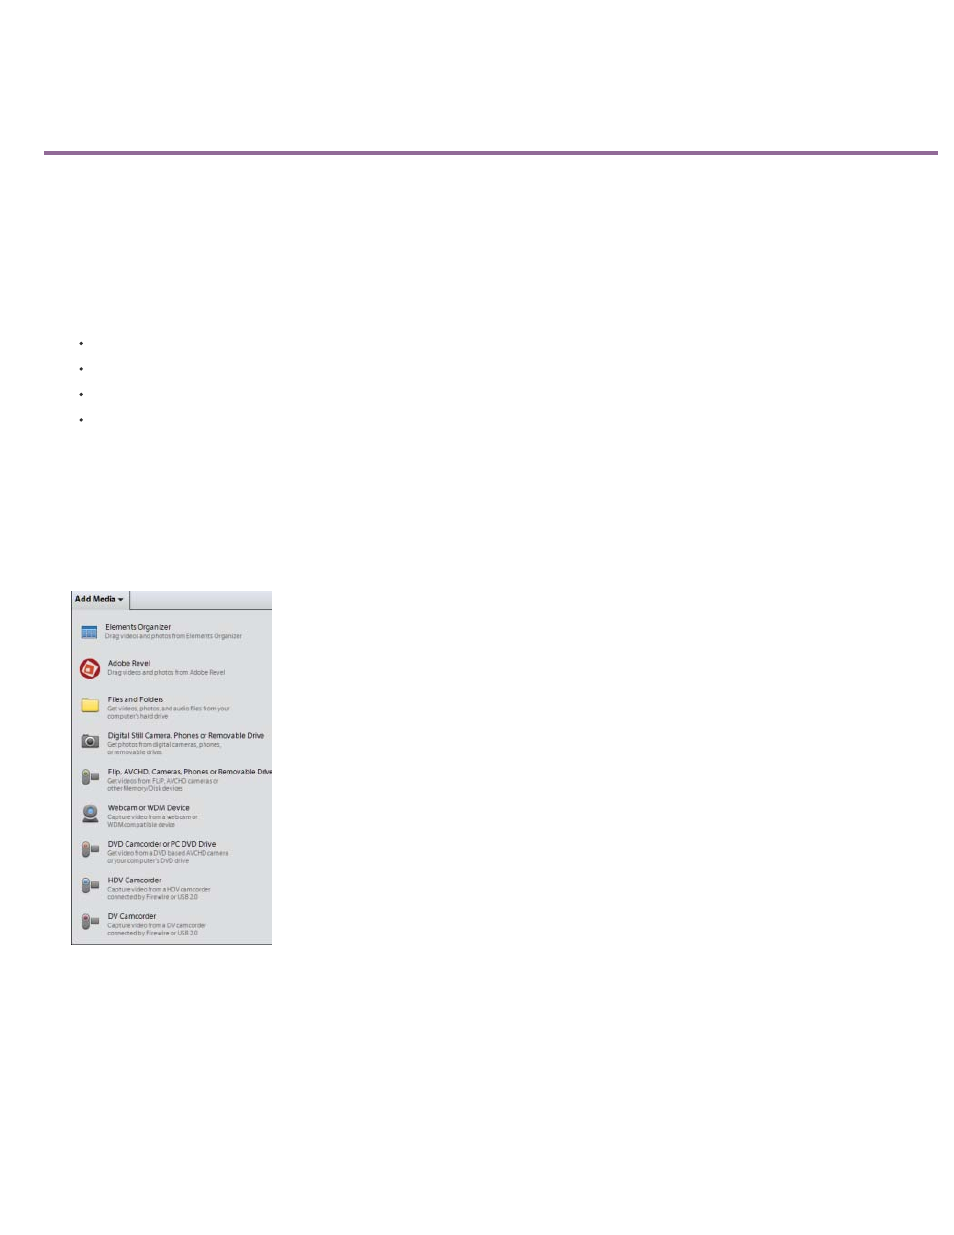
To add new media into Premiere Elements, click Add Media.
Use any of the following options in the Add Media panel to add media files:
Add Media panel
Select this option to add media from the albums in Elements Organizer. From the Elements Organizer application, drag
video and images to the Quick view/Expert view timeline or the Project Assets panel.
Select this option to add media from Adobe Revel. From the Adobe Revel online albums, drag video and images to the Quick
view/Expert view timeline or the Project Assets panel.
Import videos, photos, and audio files from your personal computer’s hard drive.
36