Create a rolling or crawling title – Adobe Premiere Elements 12 User Manual
Page 213
Note:
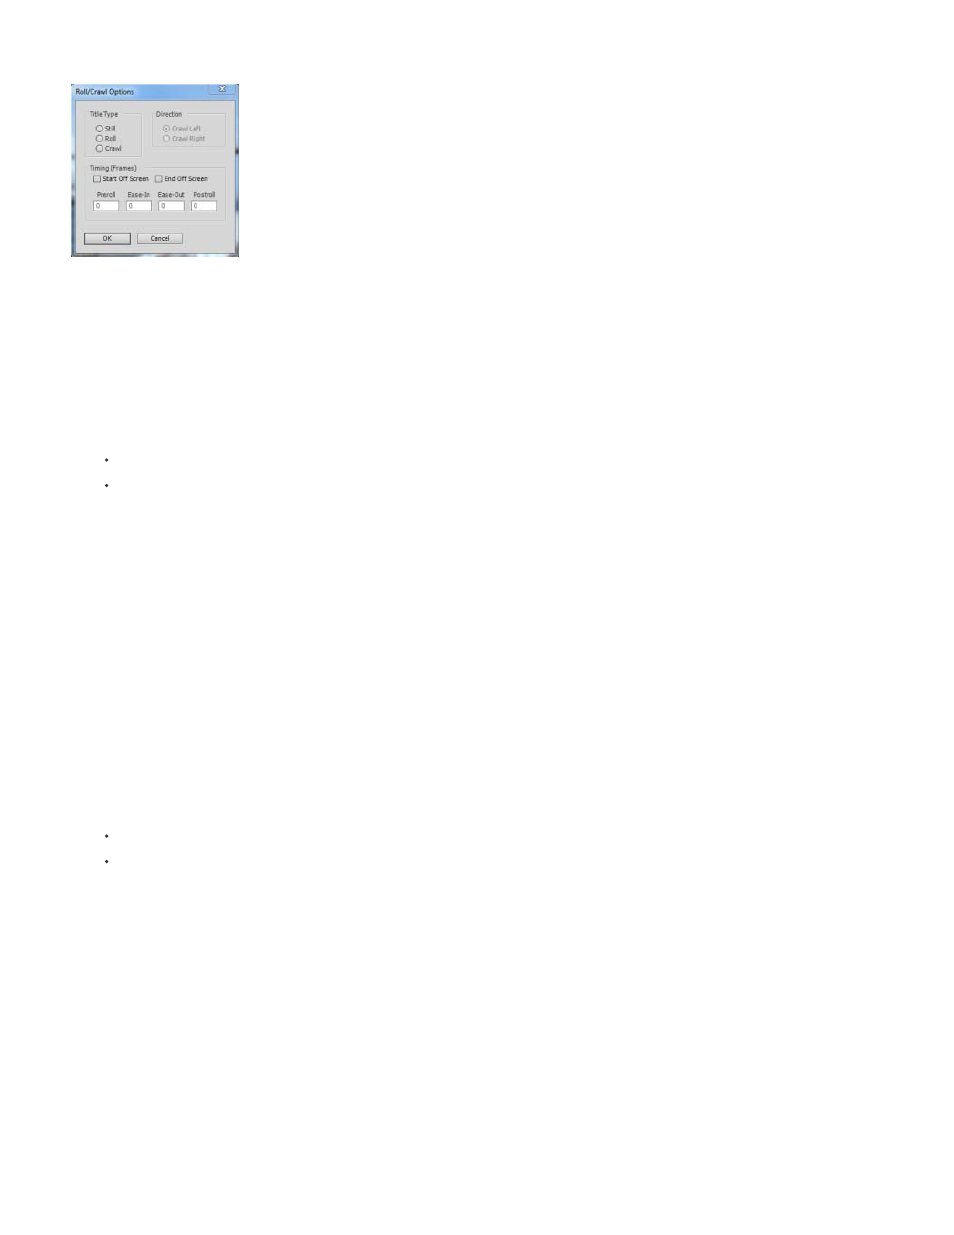
Title Type
Start Off Screen
End Off Screen
Use Roll/Crawl options to change a rolling title to a crawling title or vice versa, specify the direction of a crawl, and set the timing of movement.
A rolling title is commonly used for production credits.
Create a rolling or crawling title
1. Do one of the following:
To create a rolling title, choose Text > Roll/Crawl Options > Roll.
To create a crawling title, choose Text > Roll/Crawl Options > Crawl.
2. Create the text and graphic objects for the title. Use the Monitor panel's scroll bar to view offscreen areas of the title. When the title is added
to the Quick view timeline or the Expert view timeline, the hidden offscreen areas roll or crawl into view.
3. Select the Roll/Crawl Options in the Roll/Crawl Options dialog box.
4. Specify options as desired, and then click OK.
You can specify a direction for crawling titles only. Rolling titles always move from the bottom to the top of the screen.
Set roll and crawl options
1. Do one of the following:
In the Quick view timeline, select the superimposed clip. In the Monitor panel, click the clip, and then double-click the title text.
In the Expert view timeline, double-click the title clip. (If necessary, scroll up the Video tracks to the Video 2 track.)
The Adjust panel changes to display the text options.
2. Select Text > Roll/Crawl Options, and set the following options as desired. Click in the Monitor panel outside of the box to save the
converted title.
Specifies the kind of title you want. Boxes created for rolling or crawling extend into offscreen areas when you convert a rolling or
crawling title into a static title.
Specifies that the roll or crawl begins out of view and moves into view.
Specifies that the roll or crawl continues until the objects are out of view.
209