Batch rendering in a shell – Apple Shake 4 Tutorials User Manual
Page 45
Chapter 1
Shake Basics
45
2
In the File Name text field, type “orchid.shk” as the name for the script, then click OK.
Note: To Save As, use Command-Shift-S or Control-Shift-S, or choose File > Save As.
To render files to disk:
1
From the menu bar, choose Render > Render FileOut Nodes.
The Render window appears.
Note: You can also right-click in the Node View, then choose Render > Render FileOut
Nodes from the shortcut menu.
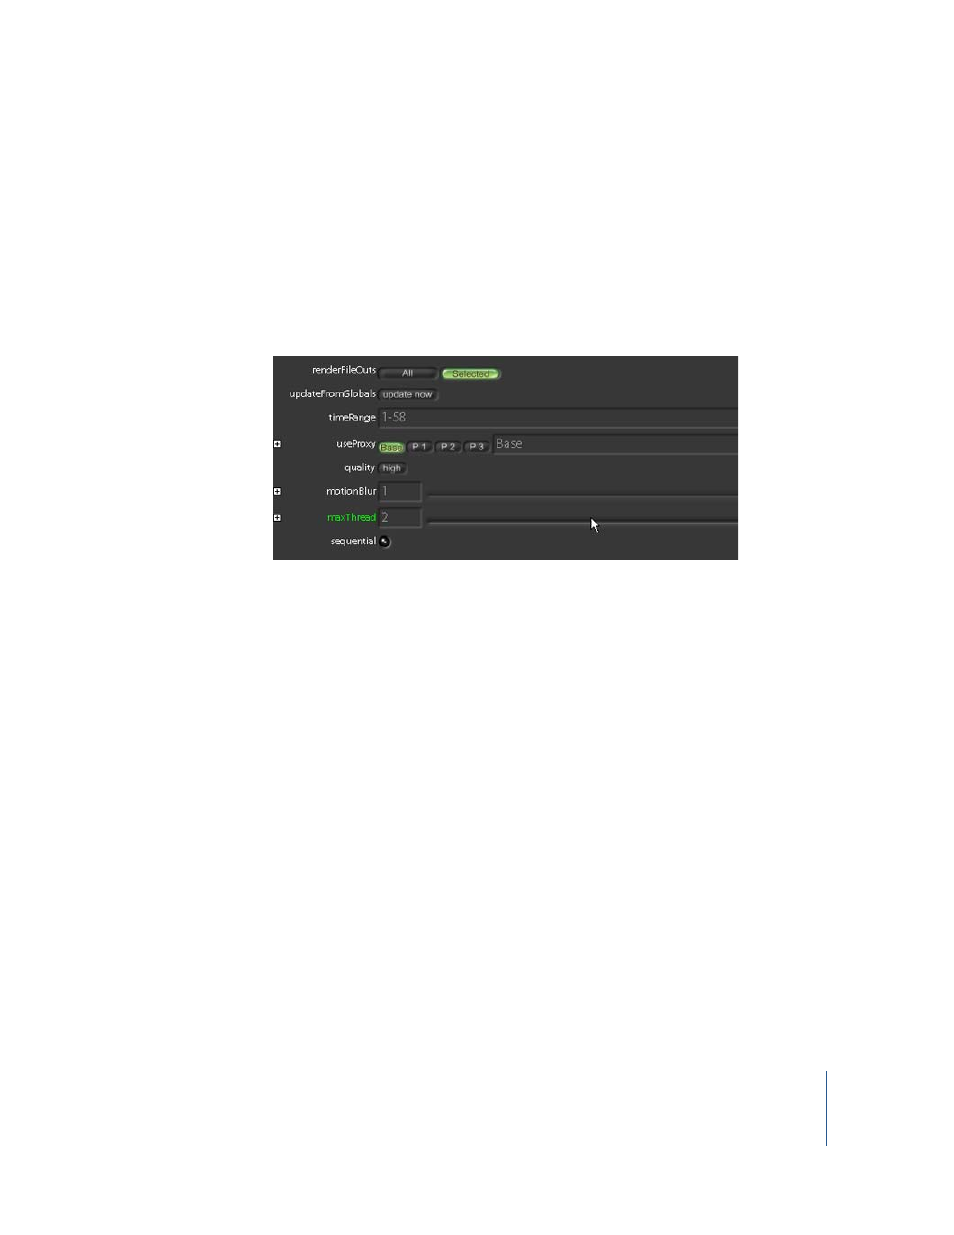
In the Render window, you can enter a new time range, proxy scale, quality level,
motion blur, and the number of CPUs to use for the render. To render all FileOut nodes,
enable All in the renderFileOuts parameter.
To render only active FileOuts, enable Selected. You can also select a FileOut node after
the Render Parameters window is opened.
2
Click the Auto button to copy the time range from the Globals tab.
3
Click Render.
The images are rendered to disk, and a 320 x 243 snapshot view of the current frame is
displayed. The snapshot is always 320 x 243, regardless of input resolution, and only
shows the currently rendering frame.
Batch Rendering in a Shell
You can choose to render on the command line. Click the Save button at the top of the
Node View (or press Command-Shift-S or Control-Shift-S) to save the script. If you have
not yet saved the script, you are prompted for a script name; otherwise it writes over
what you had before.
Note: If you are working in a shell, you have usually set environment variables. For
more information, see “Environment Variables for Shake” in Chapter 14 of the Shake 4
User Manual.
1
Save your script and hide or quit Shake.