Filtering and masking – Apple Shake 4 Tutorials User Manual
Page 33
Chapter 1
Shake Basics
33
4
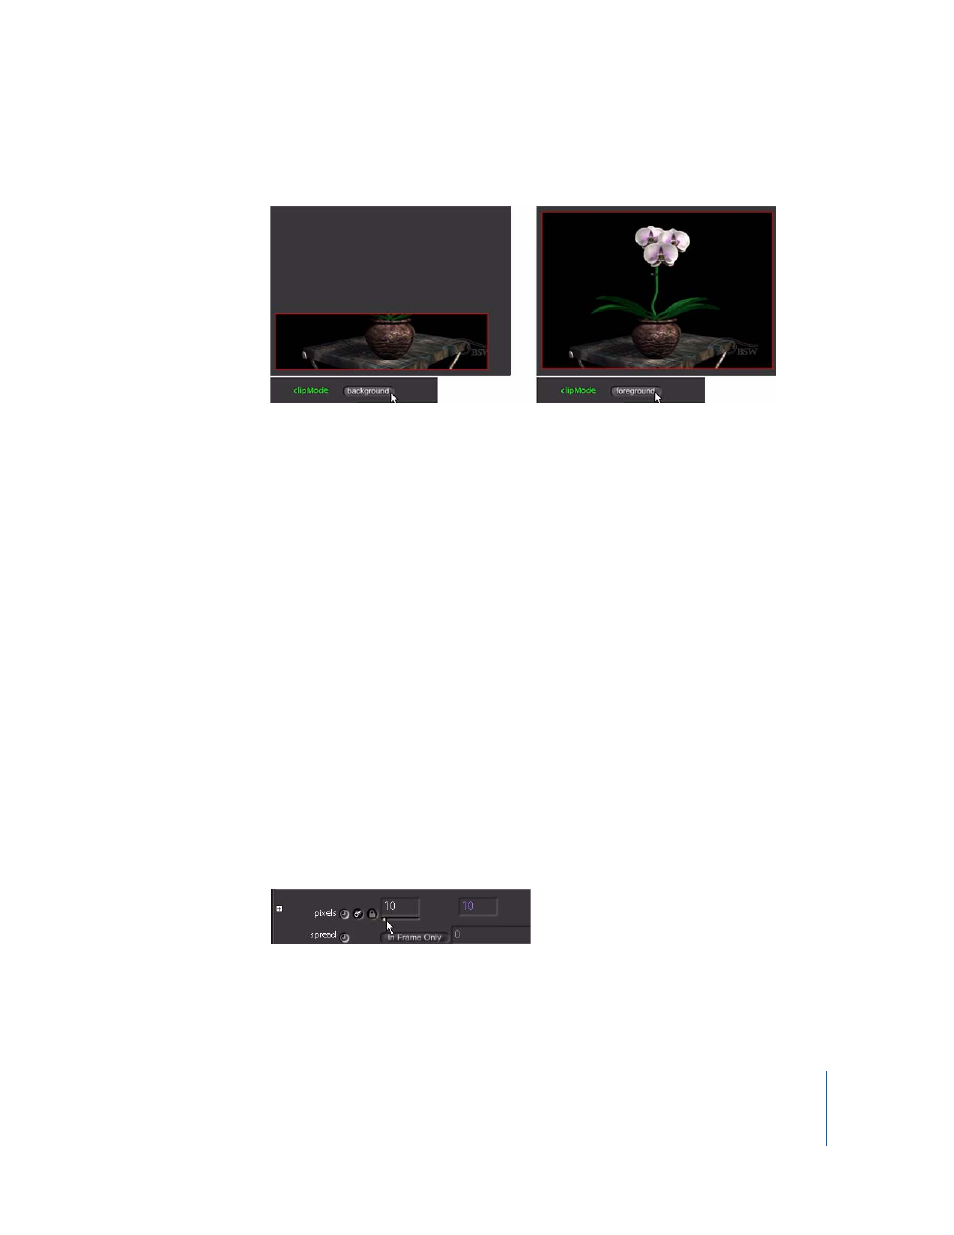
To ensure that the resolution is 720 x 486 pixels, set clipMode to foreground.
The image is no longer clipped.
5
Double-click the Over1 node to view the full composite again.
In this situation, the Over1 node restores the orchid image, even without the clipMode
fix. This is because orchid isn’t truly clipped. The Shake Infinite Workspace ensures that
images are never permanently clipped due to framing. If an image is clipped at one
point in the node tree, the image data will still be there when the resolution is
increased further down the tree.
Filtering and Masking
All the elements in this project are in sharp focus. Softening a portion of the
background will add an illusion of depth to the shot. You don’t have a “soft-focus”
version of the background, but you can create one with a Blur node and an RGrad
mask. Add the blur effect first, then mask it to create a depth-of-focus effect.
To add the blur effect to the background:
1
Select the background node, then insert a Filter–Blur node.
2
Click the left side of the Over1 node to load it into the Viewer.
3
Click the right side of the Blur1 node to load it into the Parameters tab.
4
In the Blur1 parameters, drag the slider beneath the first pixels value field (the slider
appears when you move the pointer over it), and set the blur pixels to 20.
Not bad, but the angle of the background walls means the sides which are closer to the
camera should gradually draw into focus. You can fix this with a mask.