Masking – Apple Shake 4 Tutorials User Manual
Page 169
Chapter 5
Using Keylight
169
So right about now, you may be thinking that these parameters are useless and ought
never be touched. To the contrary, these parameters are often useful, but this example
reveals problems you must consider when keying—noise and edge detail. In this case,
another approach should be taken, which is the use of masks. Hair is one of the hardest
keys to pull. Filling in the inside of the mask is one of the easiest things to do.
Therefore, it is better to use masks to fill in holes instead of risking losing hair detail.
Masking
In this step, draw a shape to get rid of most of the noise and still maintain the hair
detail. This mask is then also used to get rid of the line on the left side of the image.
To add a rotoshape:
1
Display the alpha channel view in the Viewer.
2
From the Image tab,
Shift-Control
-click the RotoShape command button.
This inserts the node without connecting it to anything in the node tree.
3
Load the Keylight1 node into the Viewer (click the left side of the node), then load the
RotoShape1 parameters into the Parameters1 tab (click the right side of the
RotoShape1 node).
Rotoshape controls appear in the Viewer shelf, and the Add Shapes button is enabled
by default.
4
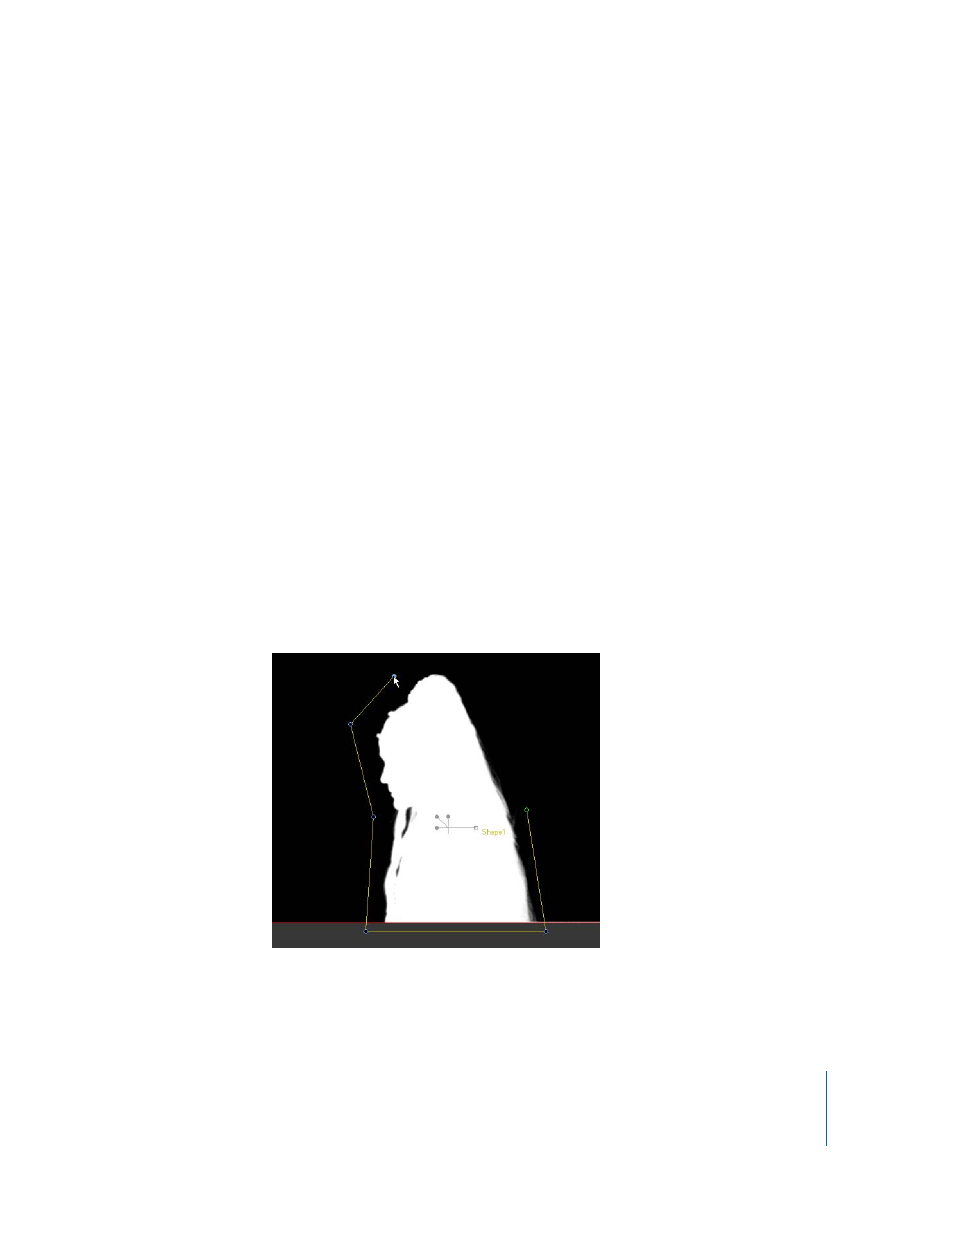
Click in the Viewer to draw a loose rotoshape around the figure.
5
Click on the first point to close the shape.