Tips for navigating in the multi-pane viewer – Apple Shake 4 Tutorials User Manual
Page 113
Chapter 3
Depth Compositing
113
The wireframe camera lets you adjust the position of the rendering camera, which
becomes the output of the MultiPlane node. The Camera1 view is the default, but you
can specify a different camera for output.
Each panel shows an independent view of your scene, and you can use the standard
onscreen controls to pan and zoom inside them.
To navigate in the multi-pane Viewer:
1
To pan, hold down the middle mouse button and drag in the Side pane.
You can also hold down the Option or Alt key and drag inside the pane.
It may appear that you’re moving the camera, but this only pans the editing view of the
scene.
2
To zoom, press Control-Option or Control-Alt and drag inside the Top pane.
You can also move the pointer over a pane and press the plus (+) or minus (–) key to
zoom in increments.
3
To rotate the perspective, press X while dragging the pointer in the Perspective pane.
Note: The multi-pane display becomes active whenever the MultiPlane node is loaded
into the Parameters tab, even when you explicitly load another node into the Viewer. In
these cases, the displayed Camera panel is the equivalent of the standard Shake Viewer.
Tips for Navigating in the Multi-Pane Viewer
•
The standard pan and zoom controls for the Viewer work in the MultiPlane panes.
•
In Perspective view, press X and drag the pointer to rotate the view.
•
Press F (for “frame”) over a pane to fit all scene elements in the view.
•
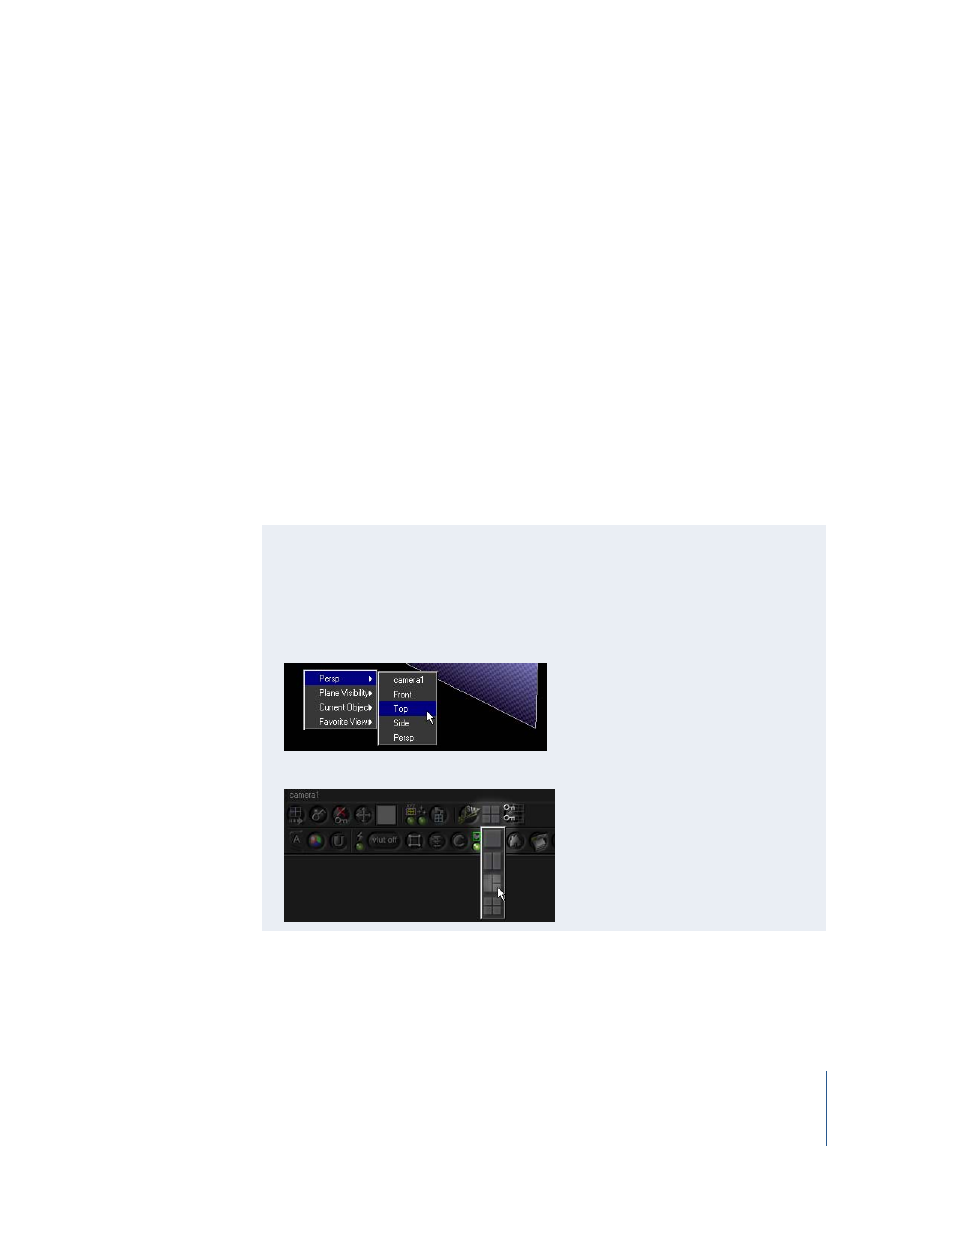
Right-click in a pane, then choose the desired 3D view from the shortcut menu:
Top, Bottom, Side, Perspective, or one of the cameras associated with the scene.
•
Click the Viewer Layout button to select a different pane configuration.