Panning, zooming, and framing, Setting the frame range – Apple Shake 4 Tutorials User Manual
Page 23
Chapter 1
Shake Basics
23
Panning, Zooming, and Framing
While working in Shake, you’ll need to pan, zoom, and frame the contents of the Node
View, the Viewer, and other windows in Shake.
•
To pan: Drag the pointer over a window while pressing the middle mouse button. Or,
drag the pointer while pressing Option (Mac OS X) or Alt (Linux/IRIX)
•
To zoom: Drag the pointer over the window while pressing Control-Option (Mac OS X)
or Control-Alt (Linux/IRIX). You can also press plus (+) or minus (–) to zoom in or out.
•
To frame: Move the mouse pointer over the window and press F.
•
To expand or shrink the window: Move the pointer over a panel and press the Space
bar This toggles the window between full-screen and standard view.
Setting the Frame Range
There are two places to set the frame range in Shake. The first and most important is in
the Globals tab. The Globals tab lists all script settings—the frame range, proxy
settings, default resolutions, GUI settings, and quality settings. The first Parameters tab
contains a listing of parameters for a selected node.
There are two ways to show the Globals tab:
m
Click the Globals tab.
m
Double-click an empty area in the Node View.
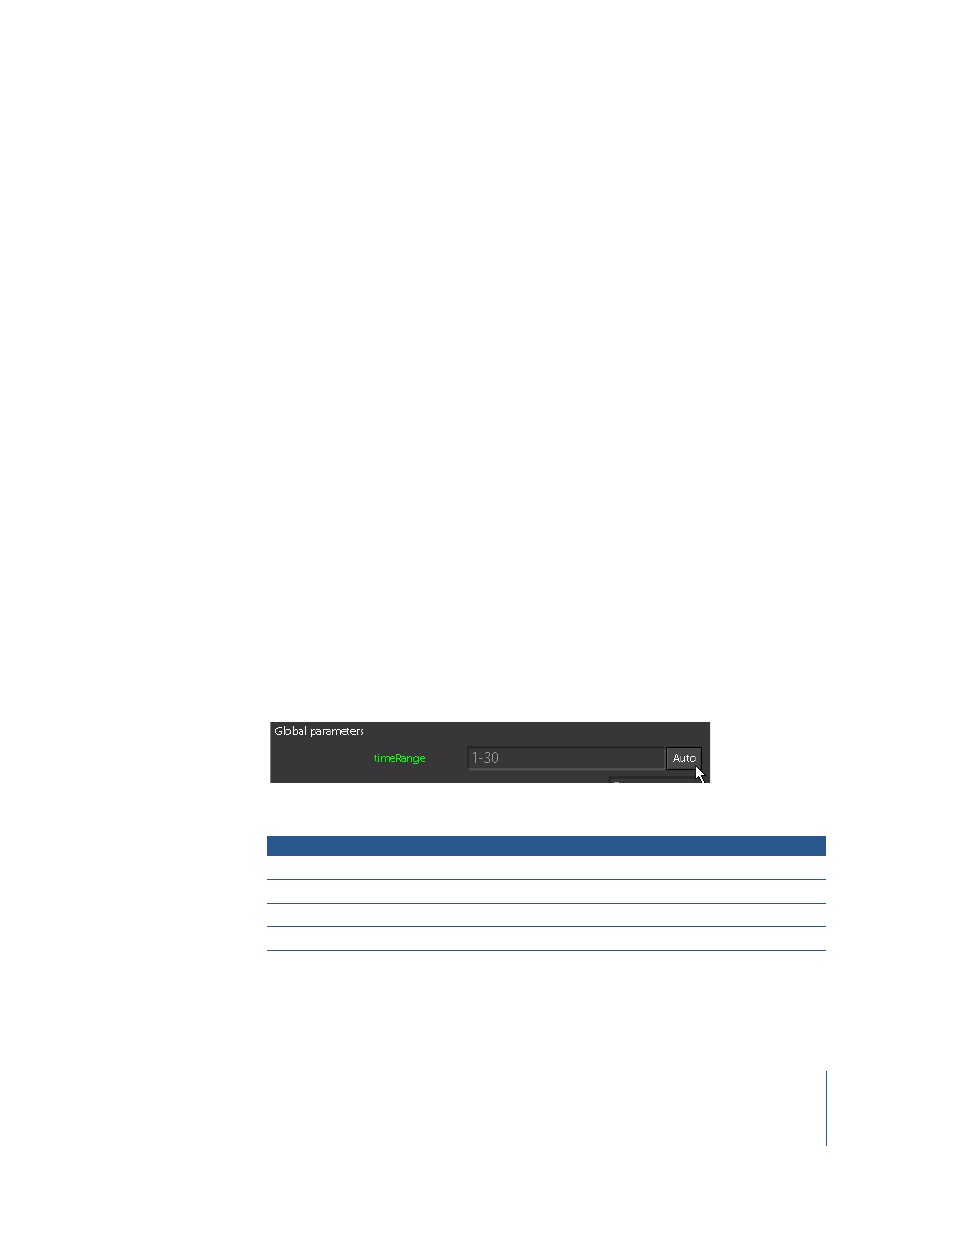
The first parameter in the Globals tab is the timeRange parameter. This frame range
determines which frames are rendered. Although it is saved in the script, you can
override it in the command line. Click the Auto button to examine the FileIn nodes and
determine the frame range automatically.
To enter the time range:
m
Click Auto in the timeRange parameter.
The timeRange parameter is extremely flexible because you can customize the range:
Entry
Calculates
1-56
Frames 1 to 56
20-30
11 images from frames 20 to 30
1-56x3
Frames 1, 4, 7, and so on
1,10,20-30x2
Frames 1, 10, 20, 22, 24, 26, 28, and 30