3 setting procedure of each setting item, Model6300 – KYORITSU 6300 Instruction Manual User Manual
Page 30
MODEL6300
4. 4
MODEL6300
Section 4 Setting
Section
4
‣ ‧
‣ ‧ • ⁈
• ⁈ ‥ •
‥ • • ⁈
• ⁈ •
• • ⁈
‣ ⁂
‣ ⁂․ ⁉
․ ⁉ ‣ ⁂‥ ⁉
‥ ⁉ ‥ ⁂
‥ ⁂‥ ⁉
‥ ⁉ ‥ ⁂ … ⁉
‧ ″
‧ ″
‣ •
‣ • ″
․ •
․ • ″
‧ • ″
‧ • ″
‣ •
‣ • • ″
• ″
․ •
․ • • ″
• ″ ‧ • •
‧ • • ″ ‣ • •
• • • ″
• ″
‣ ‧
‣ ‧• ⁈
• ⁈ ‥ •
‥ •• ⁈
• ⁈ •
••⁈
‣ ⁂
‣ ⁂․ ⁉
․ ⁉ ‣⁂‥ ⁉
‥ ⁉ ‥ ⁂
‥ ⁂‥ ⁉
‥ ⁉ ‥⁂ …⁉
‧″
‧″
‣•
‣• ″
․•
․• ″
‧•″
‧•″
‣•
‣• •″
•″ ․•
․• •″
•″ ‧••
‧•• ″ ‣ ••
•• •″
•″
4-3 Setting procedure of each setting item
NOTE
During the integration/demand measurement or in stand-by mode, the
settings can be viewed only for checking and cannot be changed.
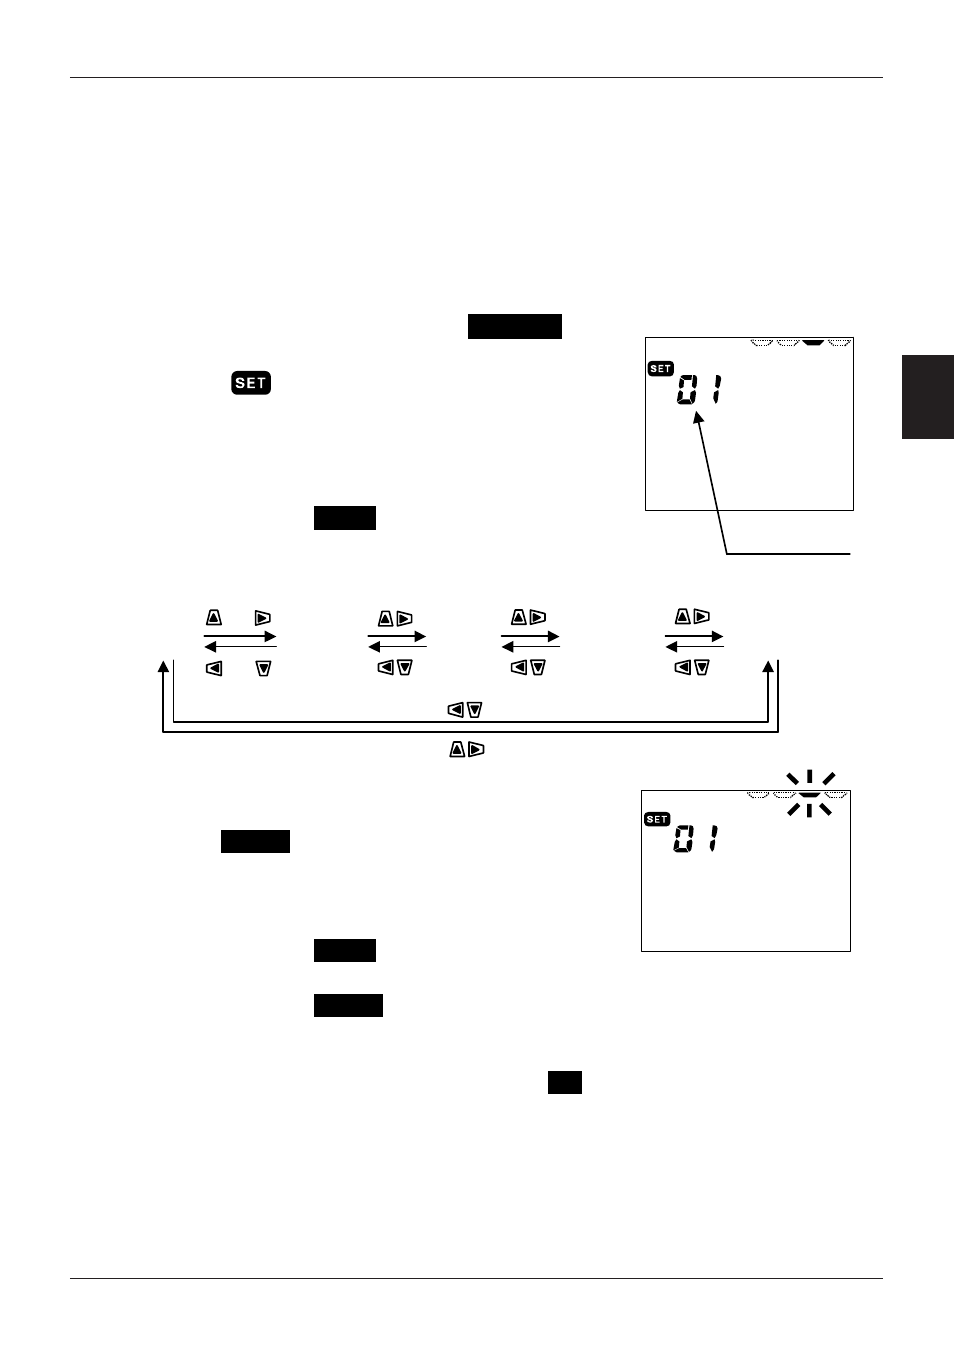
(1) Setting item selection screen (hereinafter, called selection screen)
* Set the Function switch to
SET UP
range.
* Then selection screen is displayed, and
“ ” mark and
item number appear.
* When turning on the instrument, setting
screen for; “Setting 01”: Wiring, is displayed.
(2) Setting Item number selection
* Press the
Cursor
key and select the desired
item number.
* Item number changes in following sequence.
(3) Changing the value/status of a Setting item
* Select the item number desired, press the
ENTER
key to go into setting change mode.
* When the instrument is in setting change
mode, the previous set value (or default value)
will flicker.
* Press the
Cursor
key and select the
value/status desired.
* Press the
ENTER
key to confirm the selection.
(4) Selection
cancellation
* Following step (3) above, press the
Esc
key. This will cancel
value/status selected, restore the previous values and exit setting
change mode.
Item number
Setting01
Setting02
Setting24
Setting25
• • •
or
or