Playback level, Do not change playback level, Fade to full in – Gilderfluke&Co Sd-50 Audio & Show Controllers User Manual
Page 98: Ramp levels
A Binary Select pattern can be used to directly access all possible 255 SoundFiles which can be loaded onto a Sd-50/
xx. If you are assigning inputs as part of a binary address, you should start by assigning ‘bit #0’. It is on this input that you
will be able to tell the Sd-50/xx to start, stop, or change volumes (fade in or out). The other inputs can then be assigned as
binary bits ‘1’, ‘2’, ‘3’ etc.. The number of bits used will determine how many SoundFiles can be directly selected through the
inputs:
# of binary
bits used
Bits
# of SoundFiles
1
2
3
4
5
6
7
8
0 to 0
1 SoundFile
0 to 1
3 SoundFiles
0 to 2
7 SoundFiles
0 to 3
15 SoundFiles
0 to 4
31 SoundFiles
0 to 5
63 SoundFiles
0 to 6
127 SoundFiles
0 to 7
255 SoundFiles
It is pointless to assign more bits than you have SoundFiles. i.e.: If you have twelve SoundFiles, don’t assign any bits
numbers above ‘3’.
When a group of inputs are acting as binary selects, any change in the inputs is considered a ‘closing’. All the inputs
going to ‘zero’ value simultaneously is considered an ‘opening’. All opening and closing actions are configured by selecting
‘Bit #0’.
Any input can be used as any bit number. You are not limited to assigning input ‘3’ as ‘bit #3’ in the binary input pattern.
This allows you to do miswire the inputs, and correct it in the configuration.
As a shortcut, buttons are available to quickly set the inputs as ‘All unused’, ‘All Independent’ or ‘All Binary’. If any bits
are assigned as binary bits, these will be shown below these buttons.
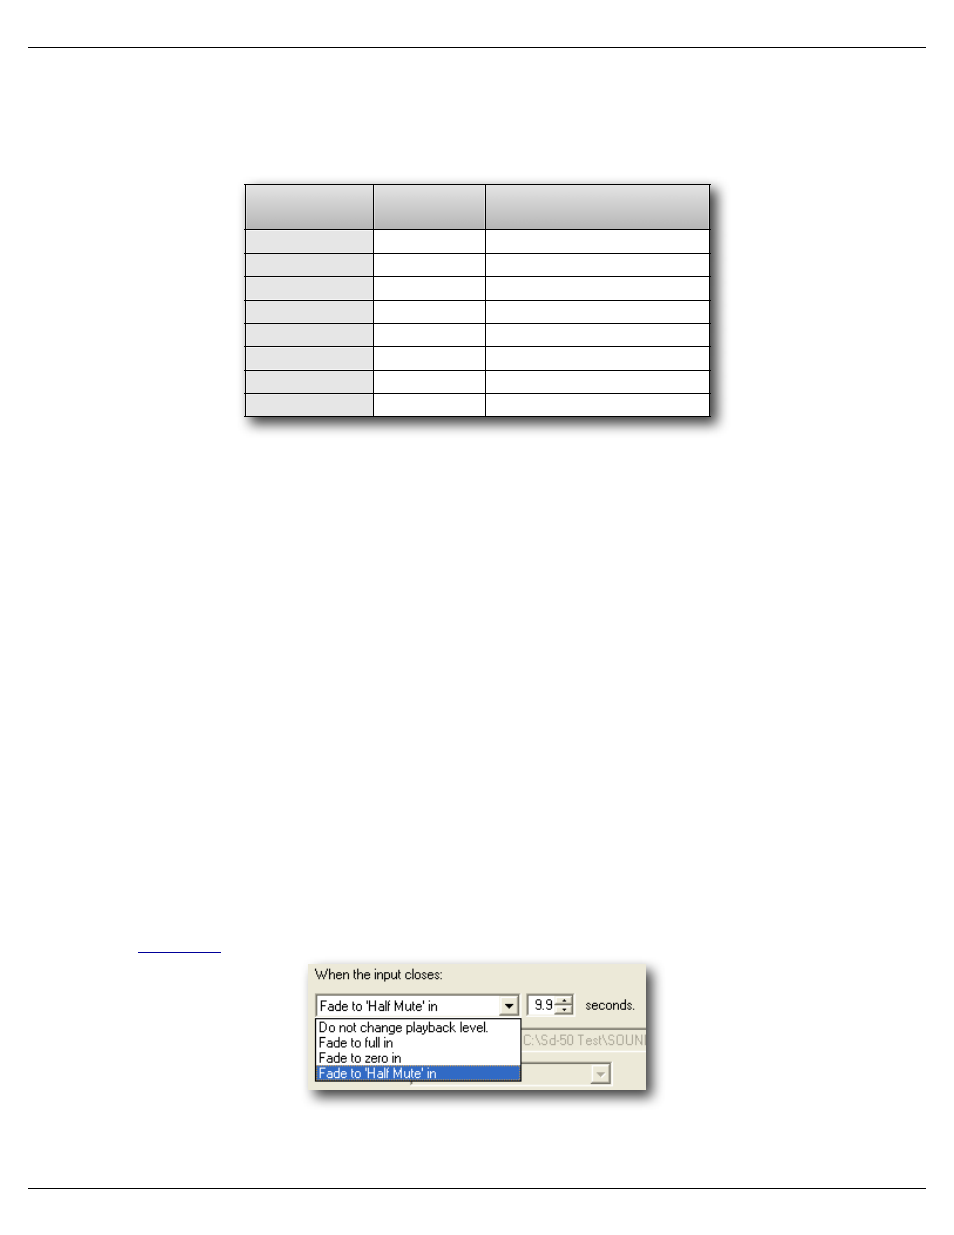
For each independent input, you can set a different action for the ‘closing’ edges (when power starts flowing through the
optoisolators on the inputs) and ‘opening’ edges (when current stops lowing through the optoisolators).
Playback Level
This popup allows you to select a change in audio level on the outputs on this input/edge. Your options are:
a)! Do not change Playback Level
This leaves the audio levels where they were before.
b)! Fade to Full In
This ramps the audio towards the ‘full’ level. The ‘In’ in the command refers to the time it will take to
ramp to the selected level. Ramp rates available are between 0 and 9.9 seconds. The audio level is set on
the
tab, or by the RealTime level control, if this option has been selected.
Gilderfluke & Co.• 205 South Flower Street • Burbank, California 91502 • 818/840-9484 • 800/776-5972 • fax 818/840-9485
Sd-50/xx Manual / October 29, 2012 2:29 PM / page 98 of 120