Xerox VersaLink C500/DN Color Laser Printer User Manual
Page 195
3. Touch
Device
→
Support
→
Image Position
.
4. To adjust registration, select the source paper tray.
a.
Touch
Paper Supply
.
b.
Touch the required tray.
5. Using the chart printed in Verifying Paper Registration, select the side for registration.
• For adjusting Side 1, touch
Adjusted Side
, then touch
Side 1
.
• For adjusting Side 2, touch
Adjusted Side
, then touch
Side 2
.
6. To adjust the registration, touch
Lead/Side Registration
.
• To adjust the side-to-side registration, for
Side Registration
, touch the
Plus
icon (
+
) or the
Minus
icon (
–
).
• To adjust the top-to-bottom registration, for
Lead Registration
, touch the
Plus
icon (
+
) or the
Minus
icon (
–
).
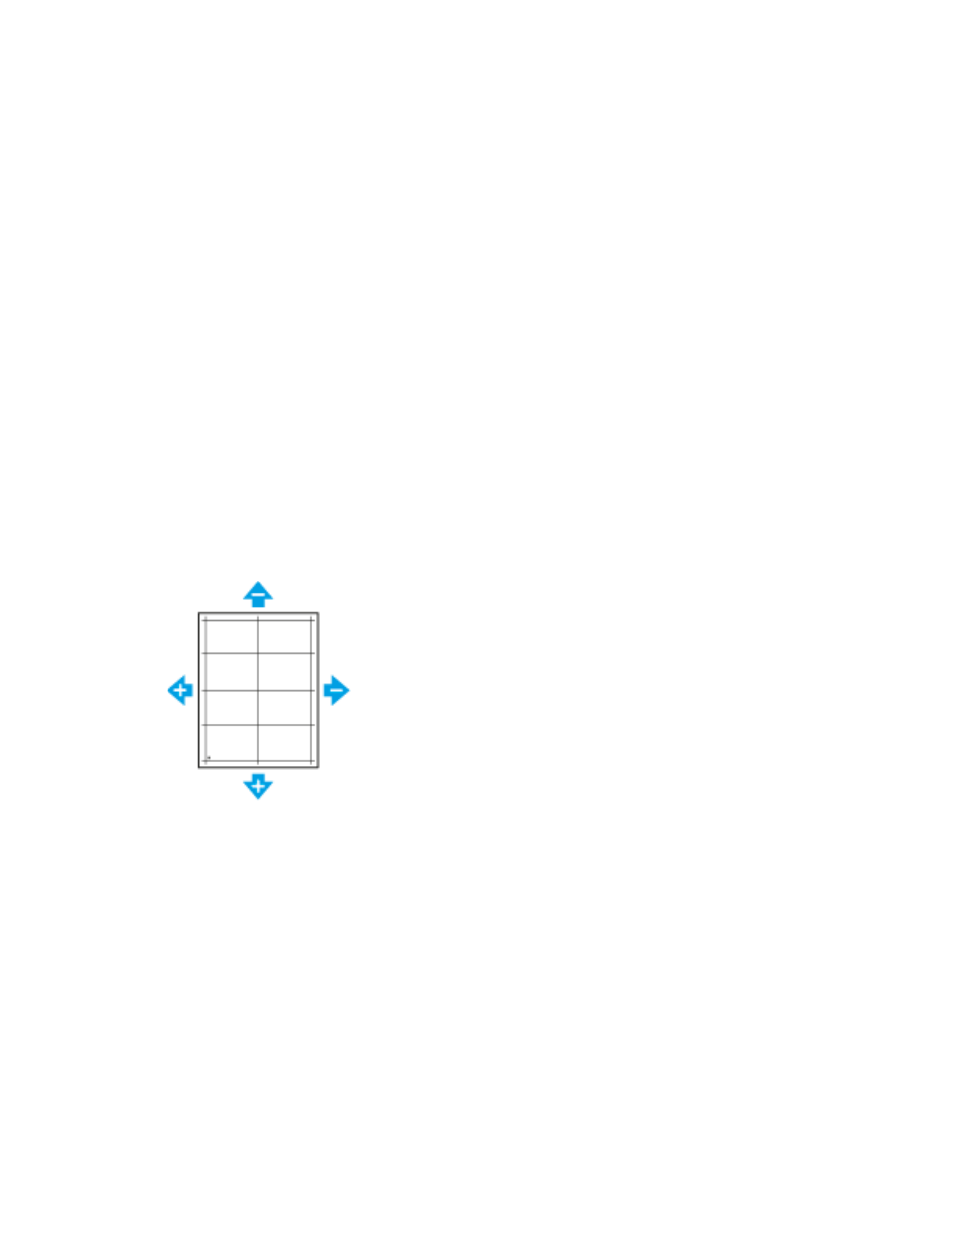
For reference, position the chart so that Side-1 or Side-2 dots are at the bottom of the page.
•
For Lead Registration, a positive value shifts the image down the page.
•
For Side Registration, a positive value shifts the image to the left.
7. To save your settings, touch
OK
.
8. As needed, repeat steps 4 through 6 to enter more values.
9. Print another sample page, then repeat the process until you complete the registration
corrections.
10. To return to the Home screen, press the
Home
button.
Xerox
®
VersaLink
®
Series Multifunction and Single Function Printers
System Administrator Guide
195