Dixon Aficio 1515 User Manual
Page 625
Printing with NetWare
55
5
FFFF
Click [Wizard], and then click [OK].
GGGG
If necessary, enter the print server
name in the [Device Name:] box,
and then click [Next >].
HHHH
Select the [NetWare] check box,
and then click [Next >].
IIII
Click [NDS Mode:], enter the file
server name in the [File Server
Name:]
box, the NDS tree name in
the [NDS Tree:] box and the context
in the [NDS Context:] box, and then
click [Next >].
• In the [File Server Name:] box, en-
ter the file server name (up to 47
alphanumeric characters) of the
server to make the print server.
You can also click [Browse…] to
s e l e c t a f i l e s e r v e r i n t h e
[Browse…]
dialog box.
• In the [NDS Tree:] box, enter the
NDS tree name (using up to 32
alphanumeric characters (“-”
and “_” can be used)) of the
NDS tree in which you want to
m a k e t h e p r i n t s e r v e r .
[Browse…]
to select an NDS tree
f r o m t h o s e l i s t e d i n t h e
[Browse…]
dialog box.
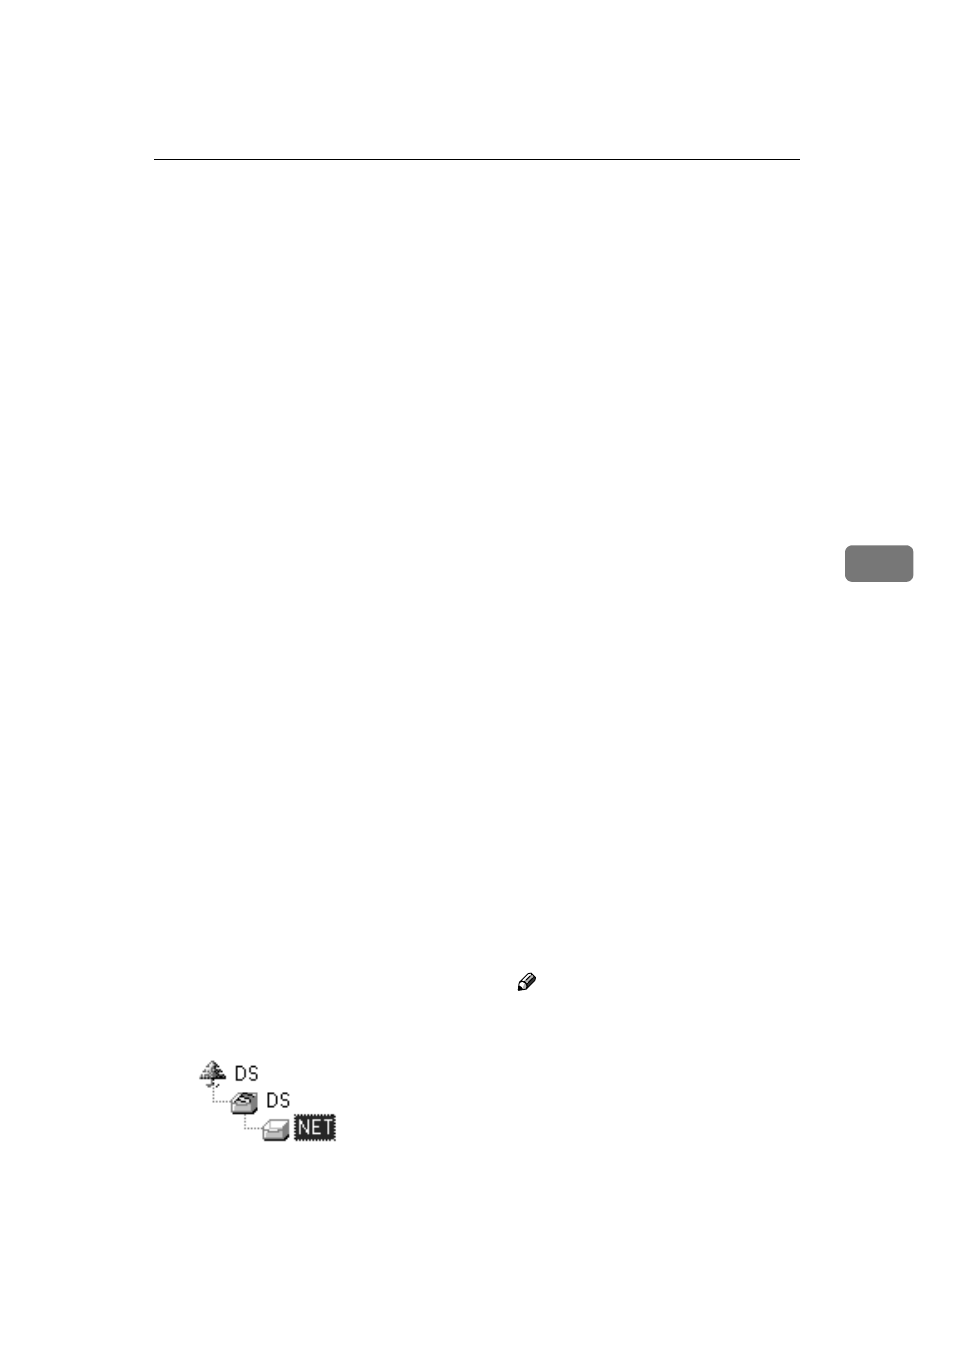
• In the [NDS Context:] box, enter
the NDS context in which to
make the print server. As con-
text, object names are entered in
lower object order and divided
by a period. For example, if you
want to create a print server in
N E T u n d e r D S , e n t e r
“NET.DS”.
JJJJ
Enter the print server name in the
[Print Server Name:]
box, the printer
name in the [Printer Name:] box, the
print queue name in the [Print
Queue Name:]
box, and the print
queue volume in the [Queue Vol-
ume:]
, and then click [Next >].
• In the [Print Server Name:] box,
enter the name of the NetWare
print server using up to 47 char-
acters.
• In the [Printer Name:] box, enter
the name of the NetWare print-
er using up to 47 characters.
• In the [Print Queue Name:] box,
enter the name of the print
queue to be added to NetWare.
• In [Queue Volume:], enter the
print queue volume. As a vol-
ume, object names are entered
from a lower object and divided
by a period. You can also click
[Browse…]
to select a volume in
the [Browse…] dialog box.
KKKK
After confirming the settings,
click [Next >].
LLLL
Click [Finish].
The settings take effect, and NIB
Setup Tool closes.
MMMM
Quit SmartDeviceMonitor for
Admin.
NNNN
Restart the printer.
Note
❒ To make sure the printer is cor-
rectly configured, enter the fol-
lowing from the comm and
prompt:
F:>NLIST USER /A/B
❒ If the printer works as config-
ured, the name of the print serv-
er appears as an attached user.