Setting up simulation from the windows gui, Figure 12-1. copy the contents of – Altera Mentor Verification IP Altera Edition AMBA AXI3/4TM User Manual
Page 674
Mentor VIP AE AXI3/4 User Guide, V10.2b
654
Getting Started with Qsys and the BFMs
Setting Up Simulation from the Windows GUI
September 2013
Setting Up Simulation from the Windows GUI
The following steps outline how to set up the simulation environment from a Windows GUI.
This example uses the Windows7 platform.
1. Create a work folder into which you copy the contents of the qsys-examples folder,
which includes the ex1_back_to_back_sv folder from the Installation.
a. Using the GUI, select a location for your work folder, then click the New folder
option on the window’s menu bar to create and name a work folder. For this
example, name the work folder axi3-qsys-examples. Refer to figures
and
below.
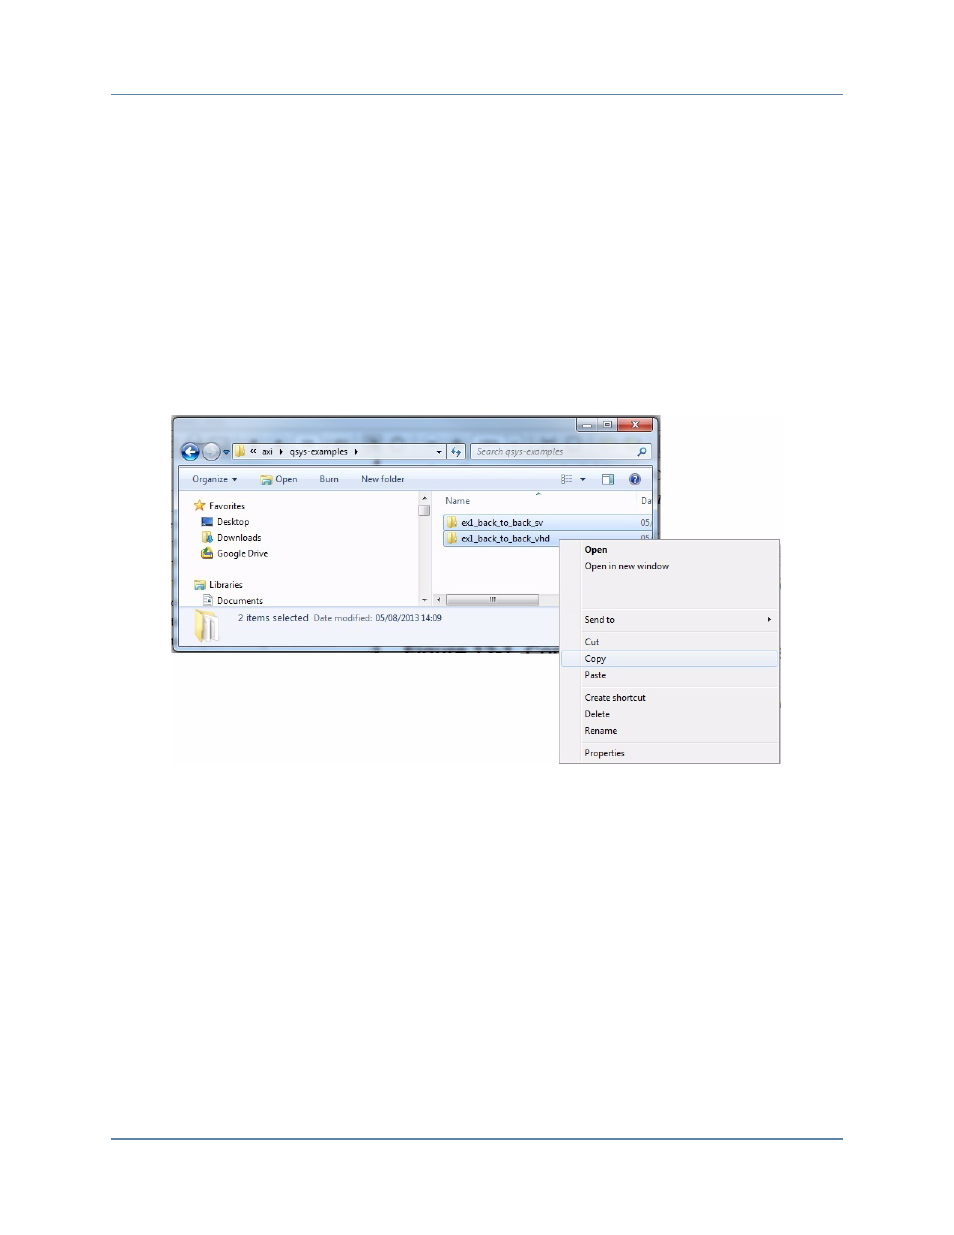
Figure 12-1. Copy the Contents of qsys-examples from the Installation Folder
b. Copy the contents of the qsys-examples folder from the Installation folder to your
work folder.
Open the Installation and work folders. In the Installation folder, double-click the
qsys-examples folder to select and open it. When the folder opens, type CTRL/A to
select the contents of the directory, then right-click to display the drop down menu
and select Copy from the drop-down menu.
Go to the open work folder. Double-click on the folder.
When the folder opens, right-click inside the work folder and select Paste from the
drop-down menu to copy the contents of the qsys-examples folder to the new axi3-
qsys-examples work folder.
Paste the qsys-examples from the Installation Folder into the axi3-qsys-examples
work folder (refer to
).