Preface, Using mounting screws, Mounting your controller vertically – Rockwell Automation 1761 MicroLogix 1000 Programmable Controllers User Manual
Page 34
Preface
MicroLogix 1000 Programmable Controllers User Manual
1–18
Using Mounting Screws
To install your controller using mounting screws:
2. Secure the template to the mounting
surface. (Make sure your controller
is spaced properly.)
1. Use the mounting template from
the MicroLogix 1000
Programmable Controllers
Installation Instructions,
publication 1761-5.1.2 or
MicroLogix 1000 (Analog)
Programmable Controllers
Installation Instructions,
publication 1761-5.1.3, that was
shipped with your controller.
5. Mount the controller.
4. Remove the mounting template.
3. Drill holes through the template.
Note
Leave the protective wrap attached
until you are finished wiring the
controller.
Mounting
Template
Protective Wrap
(remove after wiring)
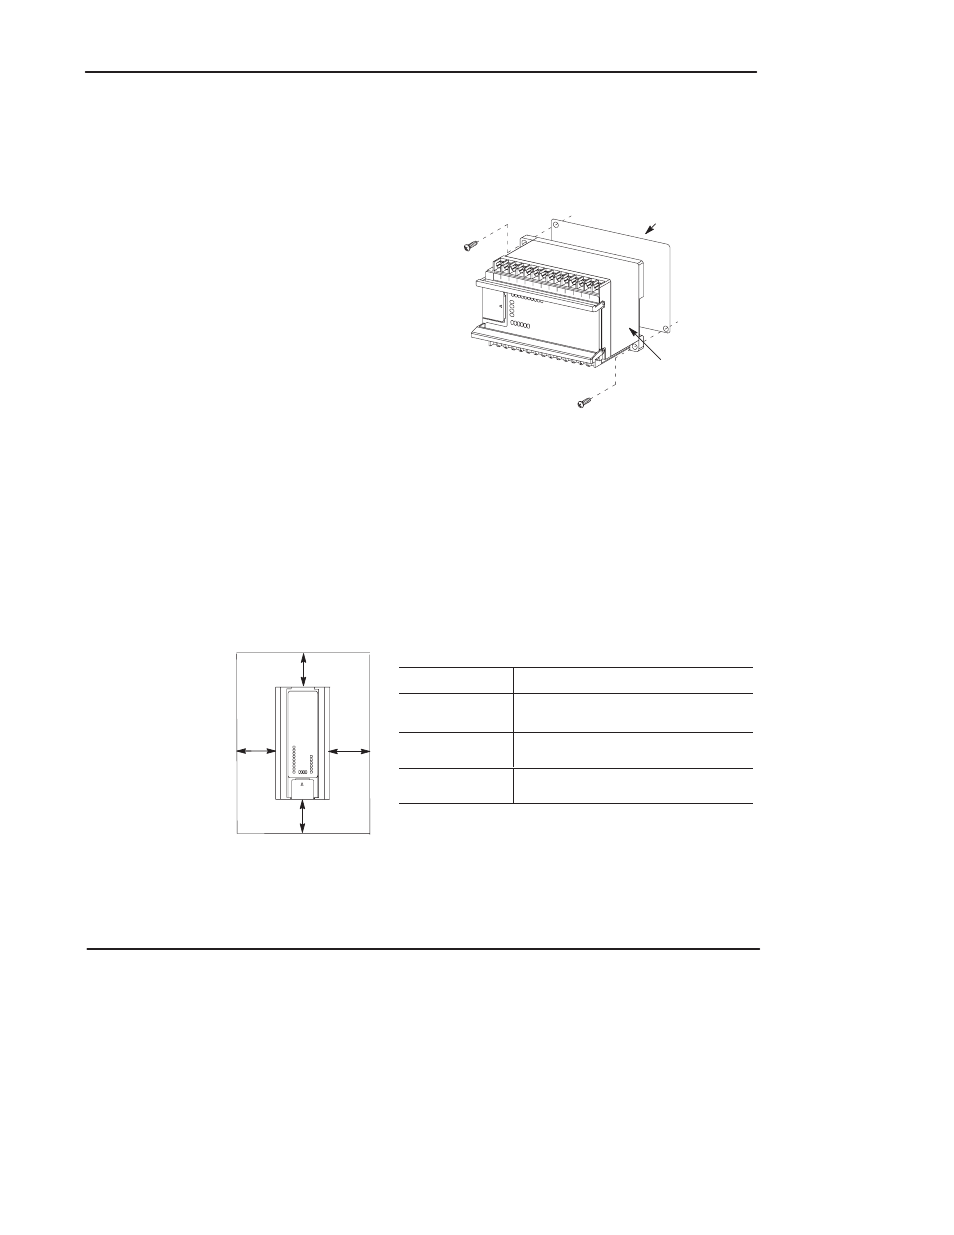
Mounting Your Controller Vertically
Your controller can also be mounted vertically within an enclosure using mounting
screws or a DIN rail. To insure the stability of your controller, we recommend using
mounting screws.
To insure the controller’s reliability, the following environmental specifications
must not be exceeded.
Description:
Specification:
Operating
Temperature
Discrete: 0
°
C to +45
°
C (+32
°
F to +113
°
F)
➀
Analog: 0
°
C to +40
°
C (+32
°
F to +113
°
F)
➀
Operating Shock
(Panel mounted)
9.0g peak acceleration (11
±
1 ms duration)
3 times each direction, each axis
Operating Shock
(DIN rail mounted)
7.0g peak acceleration (11
±
1 ms duration)
3 times each direction, each axis
➀
DC input voltage derated linearly from +30
°
C (30V to 26.4V).
Note: When mounting your controller vertically, the nameplate should be facing
downward.
A
A
A
A
Top
Bottom
Side
Side
A. Greater than or equal
to 50.8 mm (2 in.).