Flow monitor warning, Calibrating an injection pump, Performed. for more information, see – Kinze Ag Leader Integra User Manual
Page 266: Calibrating an
250
Firmware Version 5.2
• Error Delay
The number of seconds that the actual rate falls out of the error threshold before an alarm sounds.
Flow Monitor Warning
• Error Threshold
The percentage of perceived application error, based on the discharge flow sensor.
• Enable Warning
The Enable Warning check box allows you the option of displaying the Flow Monitor Warning.
Calibrating an Injection Pump
Calibrate the injection pump at the beginning of each season and any time repairs are made.
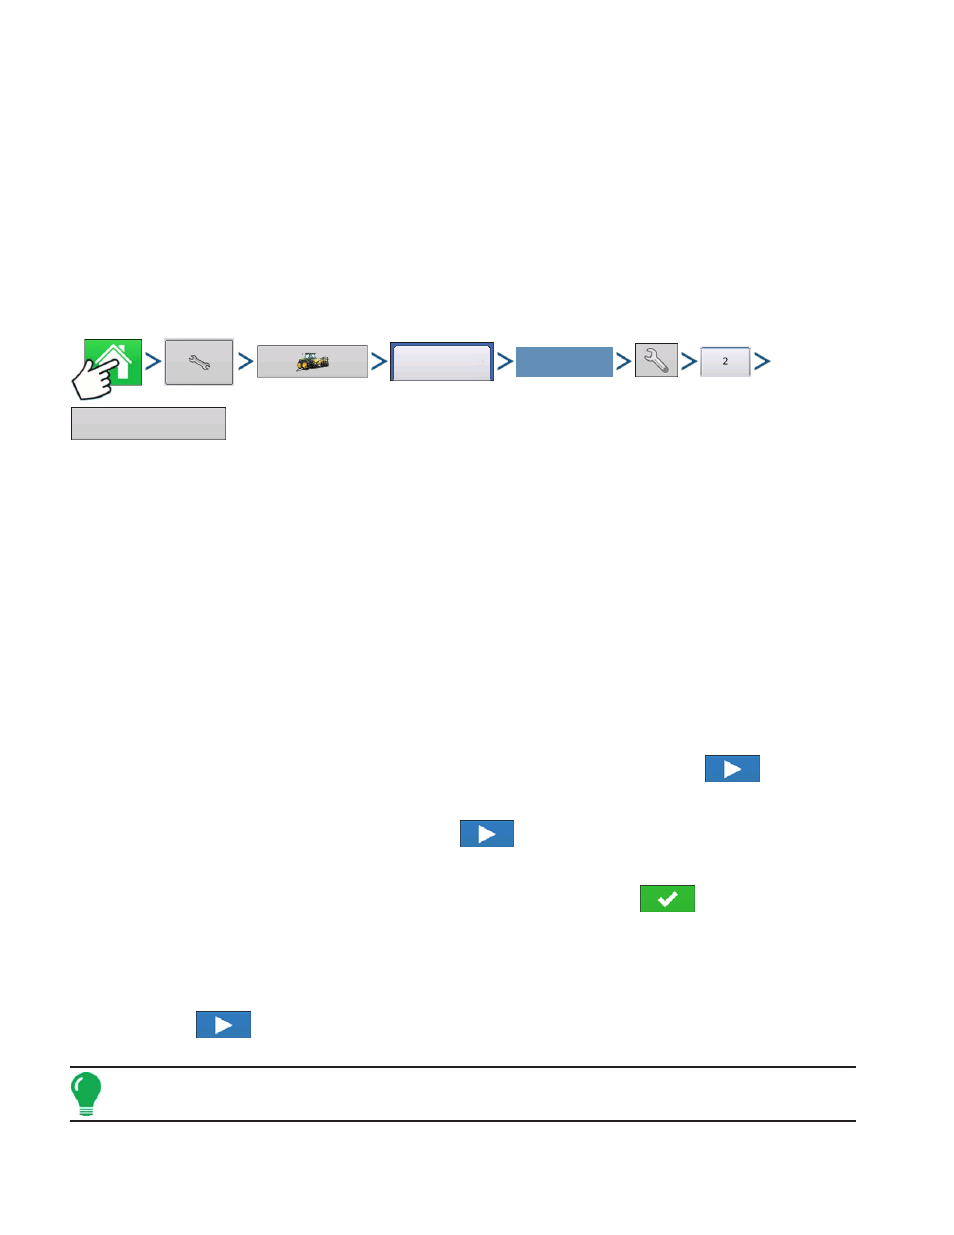
Press: Home button > Setup (wrench) button > Configuration (tractor) button > Configuration tab > your
specific configuration > Setup (wrench) button > 2 tab >Controller Settings button
1. Enter Factory Calibration
Before entering a Direct Injection Calibration, a Factory Calibration must be entered. If you have not already
done so, enter the Factory Calibration Number by pressing the Factory Calibration button. This number is
found on the tag of the Digital Pump Speed Sensor. This tag number represents pulses per 10 fluid ounces.
Divide the tag number by 10 and enter this number. Once entered, this number should not be changed.
2. Press Perform Calibration
Underneath Pump Calibration, press the Perform Calibration button.
3. Prime the Direct Injection Pump
The Pump Calibration Wizard appears. Before beginning this calibration procedure, it is recommended that
you first prime the Direct Injection pump. Press the Prime button and continue along with the priming
procedure as described in
. After the priming
procedure is finished, you will return to this Pump Calibration Wizard window. Press
to continue.
4. Enter the Dispense Amount
Enter the amount that you want dispensed. Press
to continue.
5. Acknowledge the Warning
Prepare to catch any product dispensed in an appropriate container. Press
to continue.
6. Start Calibration
Press the green-colored START button to begin the calibration procedure. The Pump Calibration Wizard
automatically counts up to the amount that you specified in Step 4. The button will turn red and displays
STOP while the product is being dispensed. When the procedure is finished, the button will again turn
green. Press
to continue.
Note: You may press the Reset button if you wish to start the calibration procedure over.
Configuration
Select Your Specific
Configuration
Controller Settings