Position settings – Google Earth User Guide User Manual
Page 83
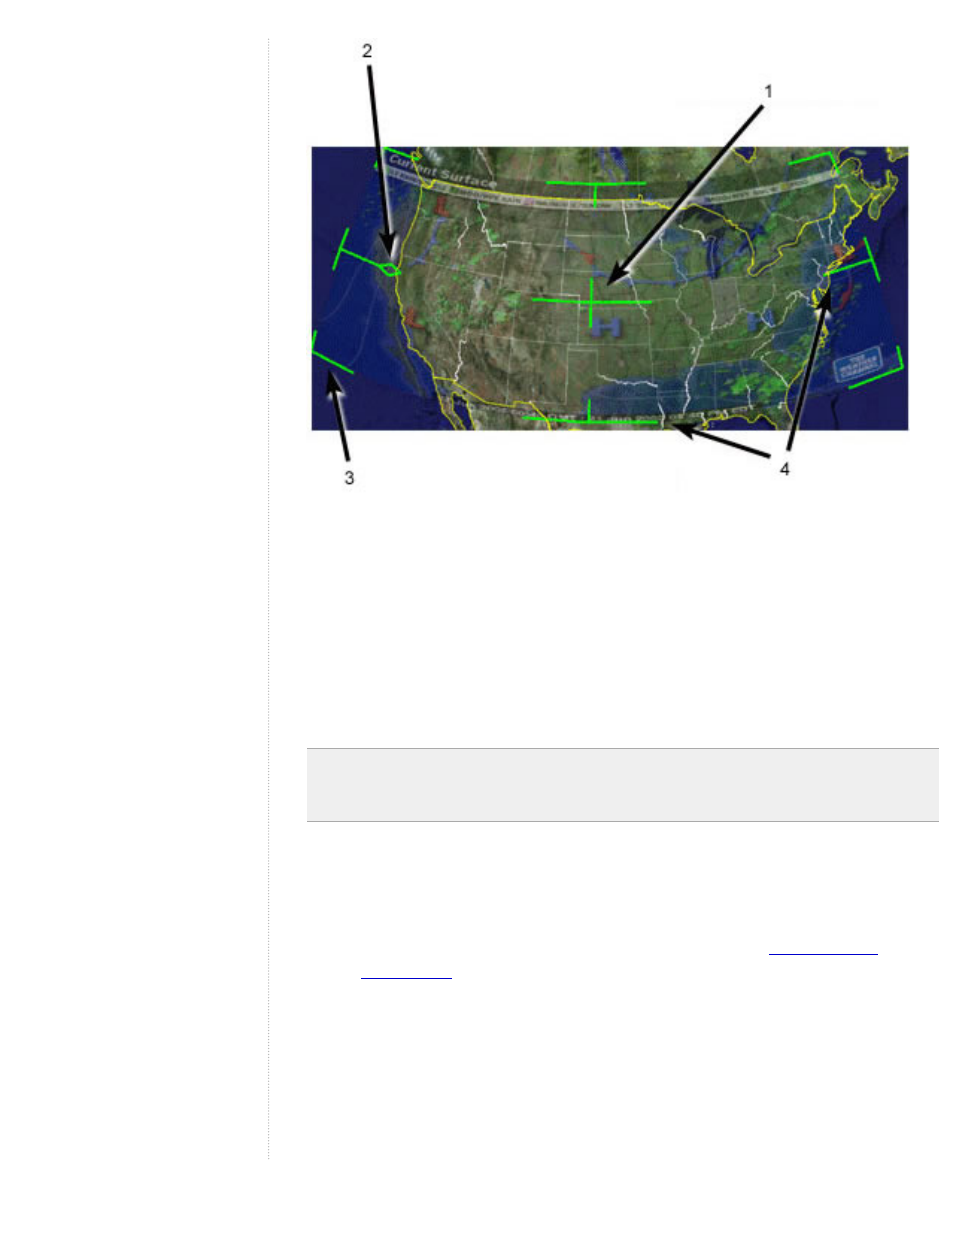
1. Use the center cross-hair marker to slide the entire overlay on the globe
and position it from the center. (Tip: do this first.)
2. Use the triangle marker to rotate the image for better placement.
3. Use any of the corner cross-hair markers to stretch or skew the selected
corner. If you press the Shift key when selecting this marker, the image is
scaled from the center.
4. Use any of the four side anchors to stretch the image in or out of from the
selected side. If you press the Shift key when doing this, the image is
scaled from the center.
Tip - Try positioning the center of the image as a reference point first, and then
use the Shift key in combination with one of the anchors to scale the image for
best positioning.
Position settings
When you select the Location tab, you can use the following settings:
●
Manual coordinates for each corner of the image overlay. This is
similar in principle to the manual setting discussed in
, except that instead of setting coordinates for a single point,
you set coordinates for each corner of the image overlay. You might want
to use this feature if your image overlay comes from a precise map where
the exact coordinates are known.
●
Draw Order - If you have more than one overlay for a given region, you
can set the draw order for overlays to determine which image is displayed
relative to other images. Overlays with higher numbers are drawn before
those with lower numbers.